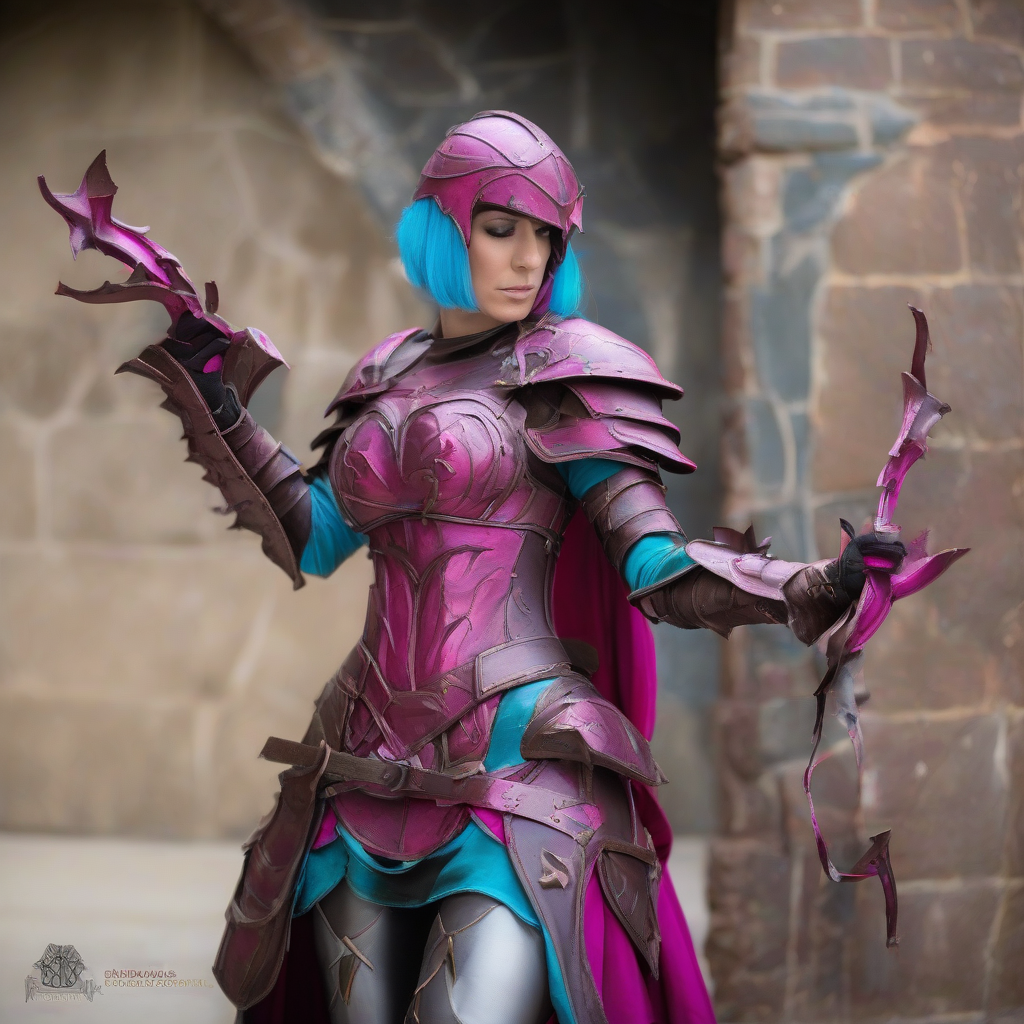
The recent surge in high-fidelity character designs from Zenless Zone Zero has pushed the boundaries of what is expected in modern cosplay. Among the most challenging designs are characters featuring Ethereal-inspired aesthetics, specifically those sporting multi-limbed mechanical tentacles. These appendages are not merely accessories; they are extensions of the character's silhouette, often requiring complex engineering to achieve the fluid, organic, yet metallic "S-curve" poses that define the aesthetic.
Understanding the Physics of Articulation
To replicate the fluid movement seen in game models, you must move beyond static foam sculptures. The secret to a convincing tentacle lies in its internal skeleton. For props that need to hold a pose while maintaining a sleek profile, "loc-line" or modular coolant hose segments are the industry gold standard. These plastic segments snap together to form a spine that can be bent into any shape and will hold that position under the weight of the outer shell.
When selecting your spine material, consider the weight of your chosen cladding. If you are using heavy EVA foam or 3D-printed shells, you will need a higher diameter of loc-line to prevent sagging. For lighter designs, thin aluminum armature wire wrapped in foam padding is sufficient, though it lacks the satisfying "click" of modular hoses when adjusting for a photoshoot.
Material Selection for the "Ethereal" Aesthetic
The visual appeal of these tentacles often comes from a mixture of high-gloss finishes and matte, organic textures. Achieving this contrast requires a multi-material approach:
- EVA Foam (High Density): Best for the base structure. Use a heat gun to seal the foam thoroughly before painting to ensure a smooth, non-porous finish.
- Worbla or Thermoplastic: Ideal for creating the rigid, metallic plating that overlays the tentacle. It allows for sharp edges and complex geometric details that foam cannot easily replicate.
- Silicone or Latex: For the "fleshy" or "glowing" interior parts of the tentacle. Casting thin layers of translucent silicone over LED strips creates a haunting, bioluminescent effect that mimics the game’s aesthetic perfectly.
Structural Weight Distribution
A common mistake in building multi-tentacle rigs is failing to account for the center of gravity. Four tentacles attached to a standard backplate can easily pull a cosplayer backward. To mitigate this, consider these engineering tips:
- The Internal Harness: Do not rely on a simple strap system. Build a rigid corset or a hidden backpack frame that distributes the weight across your shoulders and hips.
- Counter-weighting: If your tentacles are heavy, ensure your front-facing costume elements (such as a heavy chest piece or belts) are reinforced to act as a counter-balance.
- Attachment Points: Use industrial-strength neodymium magnets or sliding rail systems to attach the tentacles to the backplate. This allows you to remove the limbs for transport and ensures you can adjust the angle of the "S-curve" on-site without needing tools.
Achieving the Signature S-Curve
The "S-curve" is what gives these tentacles their predatory, elegant look. To achieve this, you must think in terms of joints rather than a single arc. Divide each tentacle into at least three distinct segments. By bending the first segment outward, the second inward, and the third outward again, you create a natural, serpentine silhouette.
During the posing process, look at your character’s reference art from multiple angles. If the tentacles are meant to frame the face or torso, ensure the tips are positioned to draw the viewer’s eye toward the cosplayer’s expression. The prop should enhance the pose, not obscure the performance.
Finishing Techniques for High-Gloss Realism
For that "newly emerged from the Hollow" look, the paint job must be impeccable. A common technique used by top-tier builders is the "candy coat" method. Start with a high-gloss black base coat, apply a metallic chrome layer, and finish with a translucent colored lacquer. This creates a depth of color that makes the prop look like polished metal or wet organic matter.
Furthermore, don't ignore the weathering. Even if the tentacles look high-tech, adding subtle "oil leaks" or grime in the crevices of the plating adds a layer of realism that makes the prop feel like it exists in the gritty, neon-soaked world of Zenless Zone Zero. Use a dark wash to fill in the recessed areas, then lightly dry-brush silver or metallic paint over the raised edges to highlight the wear and tear of battle.
Safety and Mobility Considerations
When you are wearing a prop with a significant wingspan, you become a hazard to your surroundings and yourself. Always build with mobility in mind:
- Breakaway Points: If a tentacle gets snagged on a doorway or a passerby, it should ideally detach from the main harness rather than pulling you over or breaking your costume.
- Visual Aids: Since the tentacles extend beyond your peripheral vision, have a spotter or "handler" with you at conventions to help you navigate crowds.
- Storage and Transport: Design your tentacles to be modular. Using threaded inserts or quick-release pins allows you to break down a six-foot prop into manageable pieces that fit into a standard suitcase.
By blending mechanical engineering with artistic finishing, you can transform these complex character designs from digital concepts into breathtaking, physical realities. Whether you are aiming for a photoshoot or a convention floor walk, the secret is in the spine, the balance, and the finish.