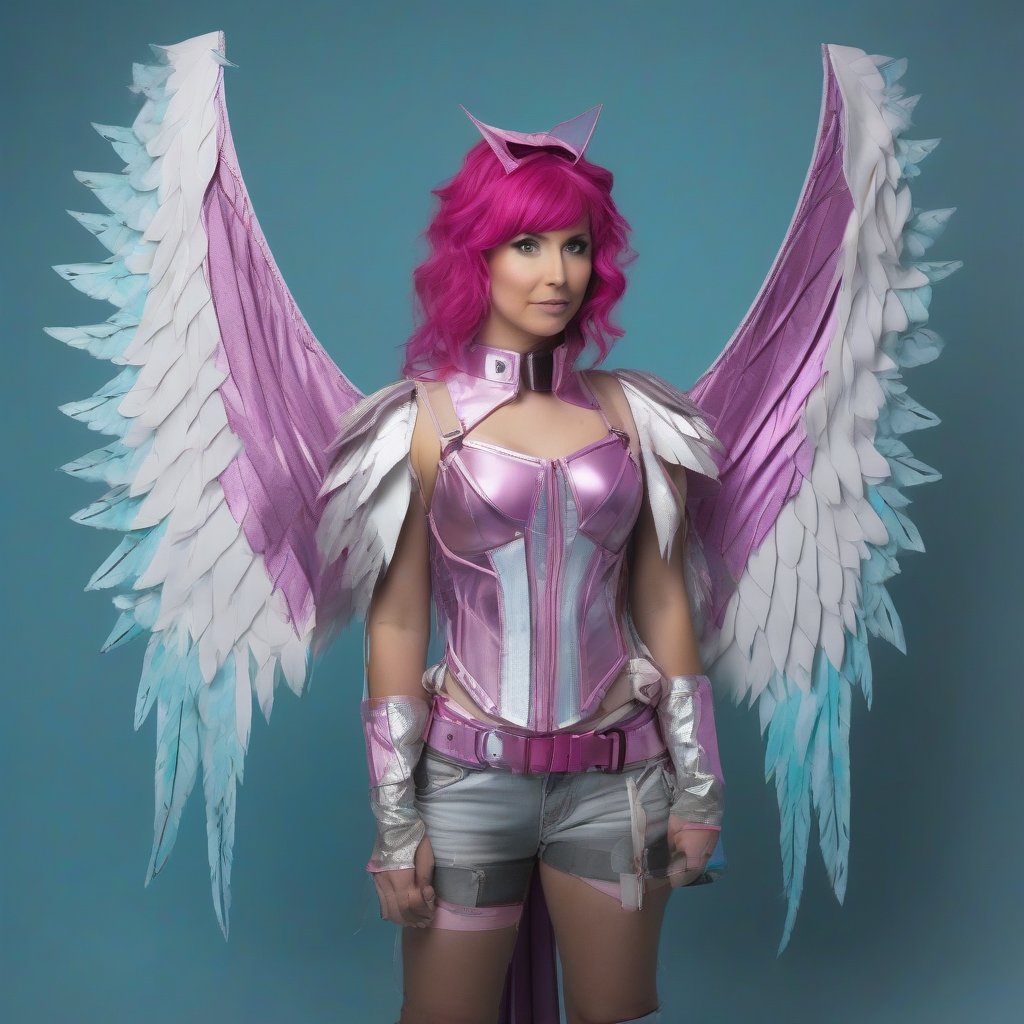
The dream of wearing massive, sweeping wings often clashes with the reality of physics. When a prop extends several feet from the body, it creates a lever effect that puts immense torque on the wearer's lower back and shoulders. Without a proper support system, the wings will either sag, pull the costume backward, or cause physical strain that cuts a convention day short. The secret to professional-grade wings is not just the frame, but the invisible harness that anchors that frame to the wearer's core.
Understanding Weight Distribution and Leverage
Before picking up a sewing machine, you must understand where the weight needs to go. Many beginners make the mistake of attaching wings directly to a garment or a simple set of shoulder straps. This concentrates all the weight on the trapezius muscles, leading to rapid fatigue and a "backward lean" that ruins the silhouette of the costume.
To achieve stability, the harness must transfer the load from the shoulders to the hips and waist. By utilizing the strongest parts of the human skeletal structure—the pelvis and the core—you can support significantly larger structures without compromising your posture. A successful harness acts as a bridge, locking the wing assembly to your center of gravity rather than letting it hang off your shoulders.
Selecting High-Strength Materials
Standard costume fabrics like satin or thin cotton are insufficient for load-bearing harnesses. You need materials with low stretch and high tensile strength to prevent the harness from sagging over time.
- Heavy-Duty Nylon Webbing: This is the gold standard for harnesses. It is available in various widths and is designed to withstand hundreds of pounds of pressure. Use 1-inch or 2-inch webbing for the primary load-bearing straps.
- Industrial Strength Velcro: Use wide strips of hook-and-loop fasteners for adjustable closures, but always pair them with a buckle or a sewn seam for critical points of failure.
- Polypropylene Webbing: A lighter alternative to nylon, though slightly less durable. It is useful for secondary stabilizing straps.
- Heavy-Duty Thread: Use bonded nylon or upholstery thread. Standard all-purpose thread can snap under the constant tension of a heavy prop.
Designing the Harness Architecture
An invisible harness typically consists of three main components: the waist belt, the shoulder yoke, and the mounting plate. The goal is to create a rigid "skeleton" that sits flush against the body, hidden by the outer costume layers.
The Waist Belt
The waist belt is the most critical element. It should sit firmly on the iliac crest (the top of the hip bones) rather than the soft tissue of the stomach. A wide belt distributes the pressure more evenly, preventing the harness from digging into the skin. Ensure the belt is reinforced with a non-stretch material and features a secure fastening system, such as a heavy-duty plastic side-release buckle.
The Shoulder Yoke
The yoke should resemble a modified backpack. Instead of two independent straps, a connected Y-shape or X-shape across the back prevents the straps from sliding off the shoulders. The straps should be padded with high-density foam or neoprene to prevent chafing and to distribute the downward pressure across a larger surface area of the shoulders.
The Mounting Plate
The mounting plate is the interface between the fabric harness and the rigid wing frame. This is often a piece of HDPE plastic, aluminum, or reinforced leather sewn directly into the back of the harness. The plate provides a flat, stable surface where the wing's central spine can be bolted or riveted. By distributing the attachment point across a plate rather than a single piece of fabric, you prevent the fabric from tearing under the weight of the wings.
Sewing Techniques for Load-Bearing Seams
When sewing a harness, a simple straight stitch is not enough. The tension placed on the connection points is immense, and a single line of stitching can easily unravel.
- The Box-X Stitch: This is the industry standard for webbing. Sew a square around the perimeter of the attachment area, then sew a diagonal "X" through the center. This distributes the stress across four different directions.
- Backstitching: Always backstitch at the beginning and end of every seam. For high-stress areas, backstitch multiple times.
- Reinforcement Patches: If you are attaching the harness to a fabric garment, sew a patch of heavy canvas or nylon webbing on the inside of the garment first. This prevents the harness from ripping through the costume fabric.
- Edge Finishing: Use a tight zigzag stitch or a serger on the edges of any foam padding to prevent the material from fraying or peeling away from the webbing.
Integrating the Harness into the Costume
To keep the harness "invisible," you must strategically plan the layers of your outfit. The harness should be the first layer put on after undergarments.
For Form-Fitting Costumes: Use a low-profile harness made of thin, high-strength webbing. Ensure the mounting plate is contoured to the curve of your back to minimize the "bump" visible through the fabric. You can use a small piece of flesh-colored power-mesh to smooth the transition between the harness and the skin.
For Layered or Voluminous Costumes: You have more freedom with padding and bulk. Use the outer layers—such as a cape, a jacket, or an oversized bodice—to mask the straps. If the costume has a built-in corset or wide belt, integrate the harness directly into these structural elements to eliminate the need for extra straps.
Final Fitting and Safety Checks
Once the harness is sewn and the wings are attached, perform a series of stress tests before heading to a convention. Put on the full ensemble and move through a range of motions: bend forward, twist your torso, and walk briskly.
Check for "pinch points" where the webbing might be cutting into your skin. If you feel excessive pressure in one area, add a piece of shoulder padding or widen the strap. Most importantly, ensure you have a "quick-release" method. If the wings get caught in a doorway or a crowd, you should be able to detach the wing frame from the harness quickly without having to strip off your entire costume. Using heavy-duty bolts with wing nuts or quick-release pins allows you to separate the prop from the wearable harness in seconds.