Introduction
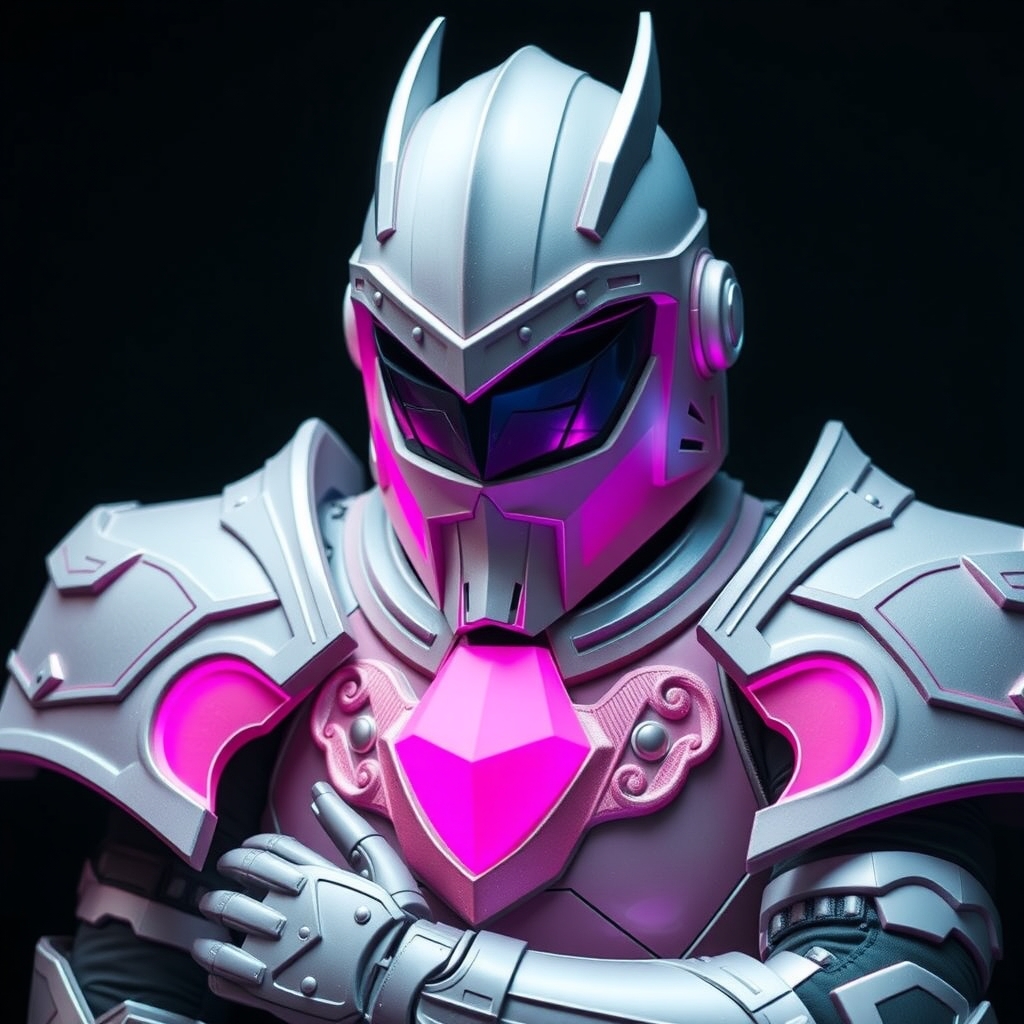
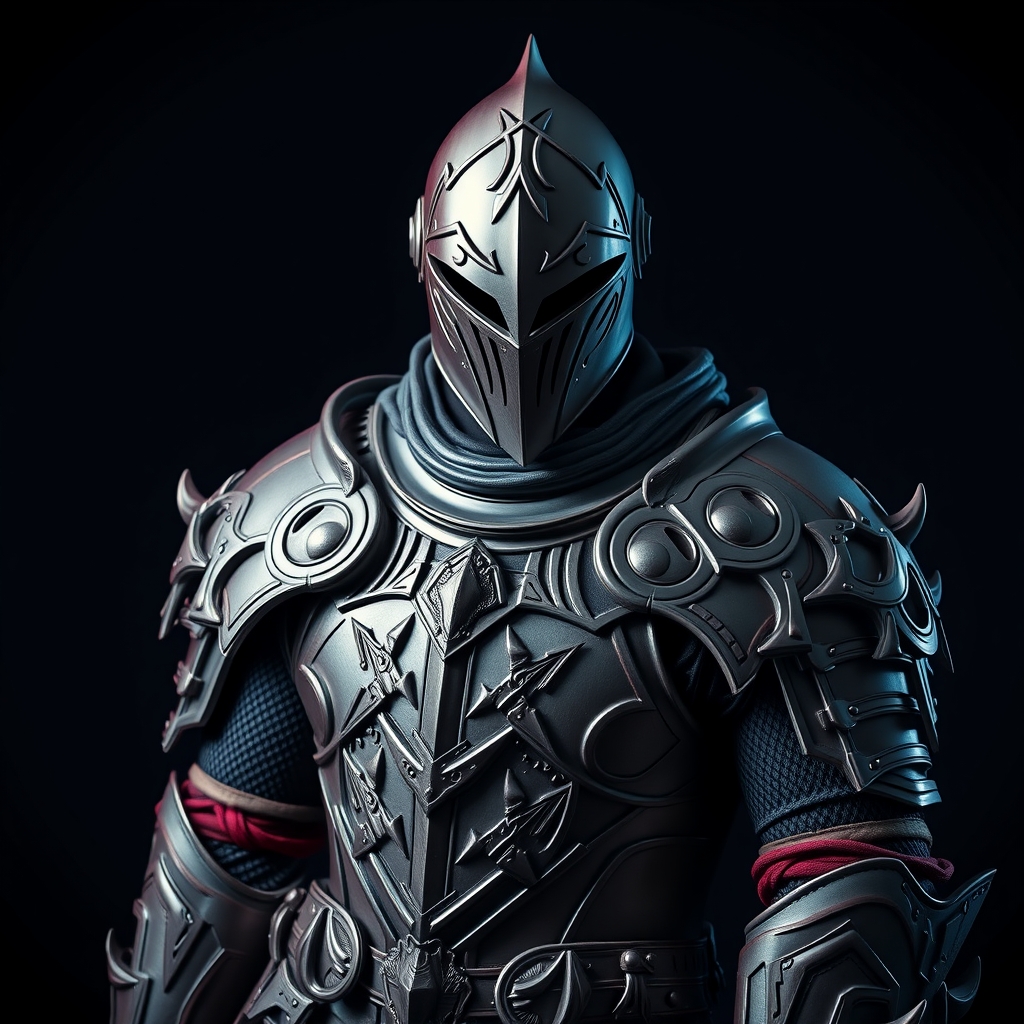
Dark Souls, the notoriously challenging game series, has captivated gamers and cosplayers alike with its rich lore and hauntingly beautiful armor designs. One of the most recognizable and coveted armor sets is the Dark Knight armor, a symbol of resilience and determination. In this guide, we'll walk you through the process of crafting this iconic armor using Worbla and EVA foam, two popular materials in the cosplay community.
Materials and Tools
Before starting your project, gather the necessary materials and tools:
- Worbla (thermoplastic material)
- EVA foam (ethylene-vinyl acetate foam)
- Heat gun or Worbla heat gun
- Scissors or a craft knife
- Hot glue gun
- Sandpaper and files
- Paint and primer (optional)
- Reference images of the Dark Knight armor
Pattern Making and EVA Foam Preparation
Begin by creating a pattern for your armor pieces using paper or cardboard. You can also use 3D modeling software or find existing patterns online. Cut out the patterns and use them to cut corresponding shapes from the EVA foam. For a more accurate fit, use a combination of thin and thick EVA foam sheets.
To prepare the EVA foam, cut it into the desired shapes and smooth out any rough edges with sandpaper. Apply a coat of primer if you plan to paint the foam later.
Worbla Application and Shaping
Now it's time to apply Worbla to your EVA foam pieces. Preheat your heat gun or Worbla heat gun according to the manufacturer's instructions. Place the Worbla sheet over the EVA foam piece, and apply heat evenly to ensure a smooth, wrinkle-free application.
Use a combination of heat and pressure to shape the Worbla into the desired form. You can also use a Worbla tool or a modeling tool to help shape and smooth out the material.
Assembly and Finishing Touches
Once you have all your Worbla-covered EVA foam pieces, it's time to assemble the armor. Use hot glue to attach the pieces together, starting with the main body sections and working your way down to the smaller details.
To add a weathered, battle-worn look to your armor, use a combination of sandpaper, files, and paint. Apply a coat of primer and paint to the armor, and then use a weathering kit or paint washes to add depth and texture.
Tips and Variations
To take your Dark Knight armor to the next level, consider adding these details:
- Add a leather or fabric lining to the inside of the armor for a more comfortable fit.
- Use a combination of materials, such as metal or resin, to add additional details or accents.
- Experiment with different weathering techniques to achieve a unique, personalized look.
Remember to always follow safety guidelines when working with power tools and materials, and don't hesitate to reach out to online communities or forums for advice and support.
Conclusion
Crafting the Dark Knight armor with Worbla and EVA foam requires patience, dedication, and attention to detail. With this guide, you'll be well on your way to creating a show-stopping cosplay that's sure to impress. Happy crafting!