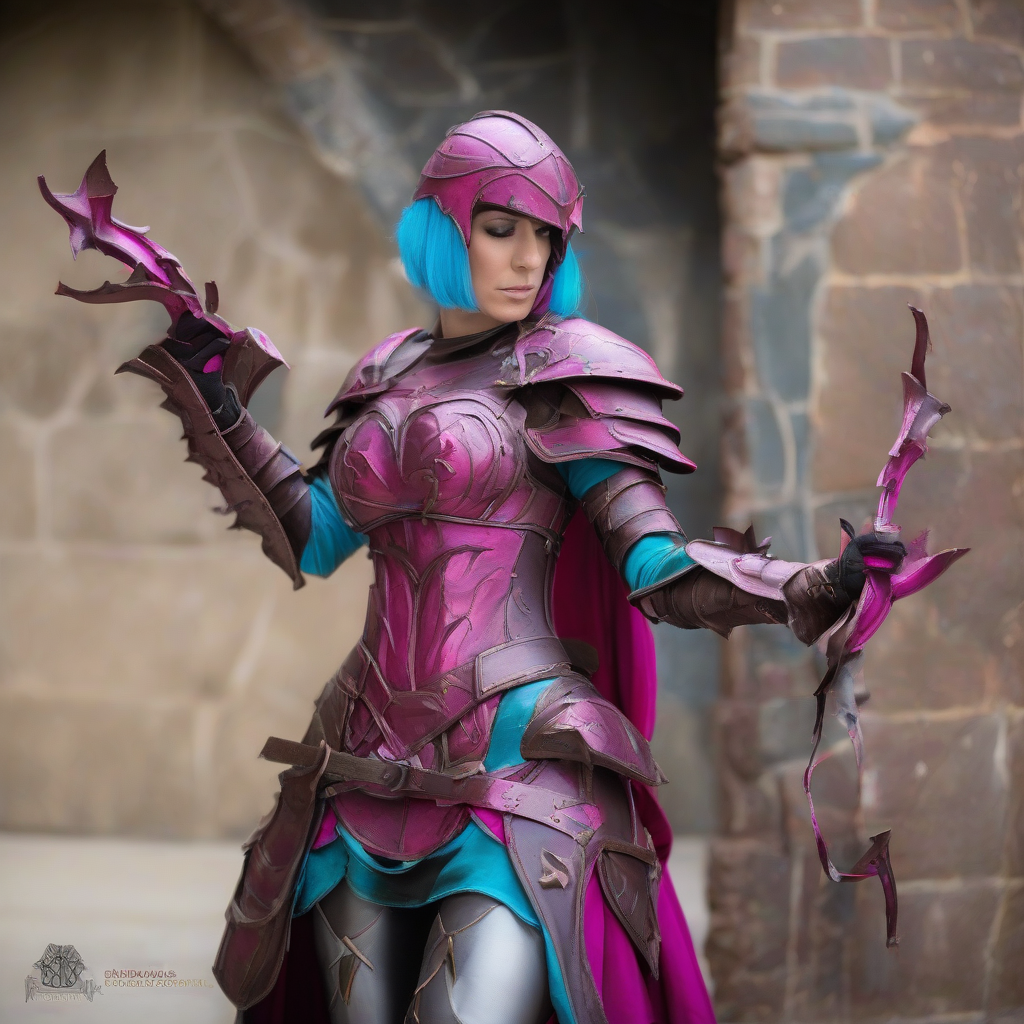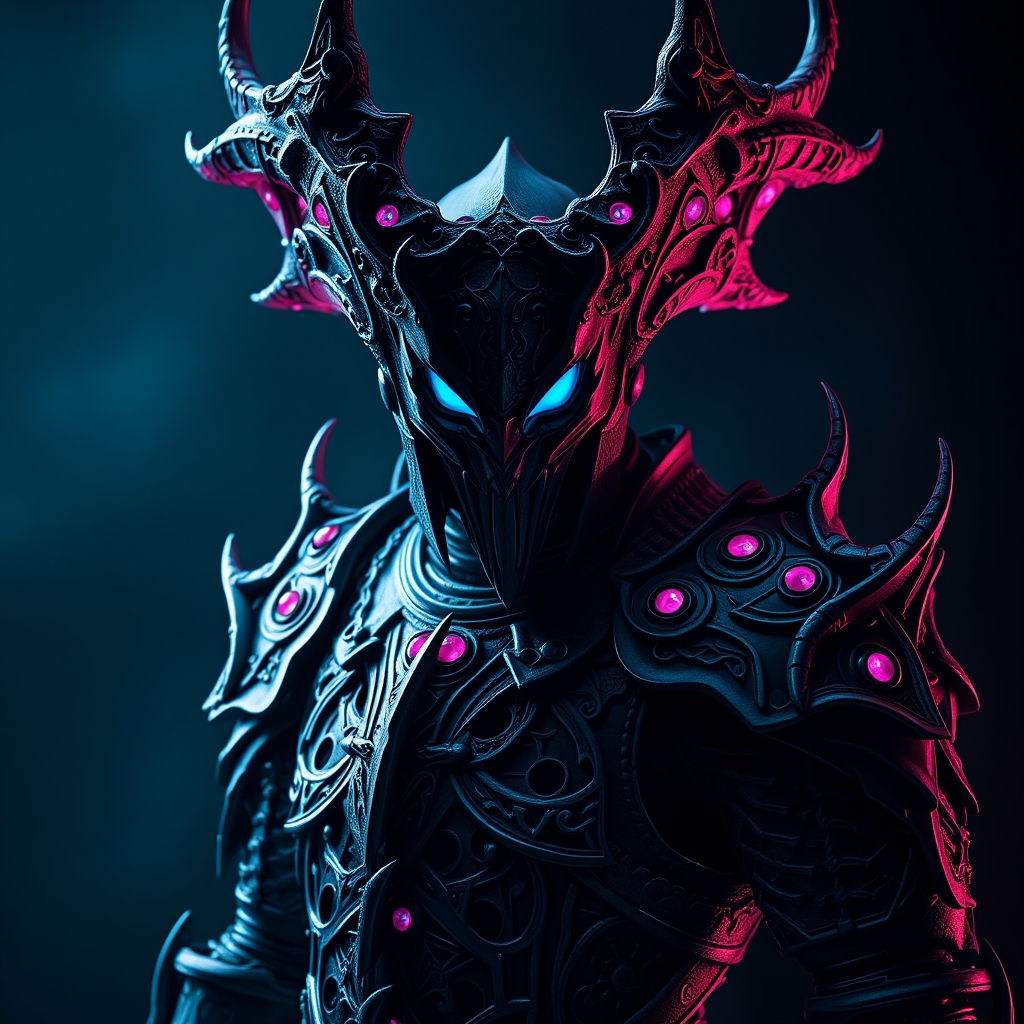
Daedric armor is a masterclass in aggressive geometry. With its obsidian-like sheen, jagged spikes, and organic yet metallic flow, it is one of the most challenging sets to replicate for a human wearer. To achieve hyper-realism, a cosplayer cannot rely on a single medium. 3D printing provides the necessary mathematical precision for the complex curves, while thermoplastics like Worbla allow for the structural reinforcement and custom fitting required for a full day at a convention.
The Hybrid Workflow: Why Mix 3D Printing and Worbla?
Many builders make the mistake of choosing one or the other. Pure 3D prints can be brittle and heavy, often cracking at the joints during movement. Pure Worbla builds, while lightweight, often struggle to capture the razor-sharp edges and symmetrical complexity of Daedric design. By using a hybrid approach, you use 3D printing for the "hero" details—the ornate filigree, the spikes, and the core plates—and Worbla for the connecting pieces, straps, and structural reinforcement.
This method ensures that your armor doesn't just look like a prop, but functions like a garment. The thermoplastic acts as a shock absorber between the rigid plastic prints, preventing the armor from digging into your skin or snapping under the pressure of a crowd.
Phase 1: Digital Sculpting and Slicing for Wearability
Before the printer even starts, you must consider the "human gap." Daedric armor is designed for a digital avatar, not a biological body. When preparing your files, focus on these three critical adjustments:
- The Clearance Zone: Scale your pieces to be 5-10% larger than your actual measurements. You need room for under-costuming, padding, and the thickness of the Worbla reinforcements.
- Strategic Splitting: Instead of printing massive plates, split your armor into interlocking segments. This reduces print time and allows you to create "floating" plates that mimic the movement of real articulated armor.
- Wall Thickness: Use a low infill (10-15%) but increase your wall count to 3 or 4. This keeps the armor lightweight while providing enough "meat" for sanding and filing without punching through the shell.
Phase 2: Printing and Post-Processing the "Obsidian" Base
For Daedric armor, PLA+ or PETG are the preferred filaments due to their durability. However, the "stair-stepping" effect of 3D prints is the enemy of realism. To achieve that seamless, forged look, follow a rigorous sanding sequence.
- Mechanical Sanding: Start with 80-grit to knock down the layer lines, moving quickly to 120 and then 220.
- Filler Priming: Apply a high-build filler primer. This fills the microscopic gaps between layers. Sand the primer back with 400-grit until the surface feels like polished stone.
- The Worbla Bridge: For areas where the 3D print meets the body (like the inner rim of a gauntlet), heat a strip of Worbla and press it directly onto the plastic. This creates a soft, flexible edge that prevents the hard plastic from chafing your skin.
Phase 3: Structural Reinforcement with Thermoplastics
The most common failure point in heavy armor is the strap system. Glue alone will not hold a full set of Daedric plate. This is where Worbla becomes the "skeleton" of the build.
Instead of using nylon webbing alone, create Worbla anchors. Heat a small piece of thermoplastic and mold it over the 3D-printed part, creating a reinforced loop or "bracket." Rivet your leather straps through these Worbla anchors. This distributes the weight of the armor across a larger surface area of the print, preventing the plastic from cracking under the tension of the straps.
Additionally, use Worbla to create "shims" or spacers. If a chest piece is sitting too flat against your sternum, a small, heated piece of Worbla can be molded into a custom ergonomic curve, pushing the armor out to create a more natural, cinematic silhouette.
Phase 4: Achieving the Daedric Finish
Hyper-realism is found in the paint. Daedric armor isn't just "black"; it is a complex interplay of obsidian, scorched metal, and ethereal energy.
The Base Coat: Avoid flat black. Use a deep charcoal or a "satin" black. This allows light to catch the edges of the armor, defining the shapes rather than letting them disappear into a black void.
The Metallic Edge: Use a technique called "dry brushing." Load a brush with a metallic silver or gunmetal paint, wipe most of it off on a paper towel, and lightly hit the sharpest edges of the armor. This simulates "edge wear," where the dark coating has been rubbed away by combat, revealing the metal beneath.
The Glow Effect: To simulate the Daedric energy, use a deep crimson ink or airbrush. Apply this in the recessed grooves of the armor. Use a "center-out" gradient: a dark red at the edges of the groove, fading into a bright, almost white-orange in the very center. This creates an optical illusion of internal luminescence.
Phase 5: Weathering for World-Building
Freshly painted armor looks like a toy. To make it look like it was forged in the depths of the Deadlands, you need to add "environmental storytelling."
- Soot and Ash: Mix black acrylic paint with a bit of matte medium and a sponge. Dab this into the crevices and around the joints to simulate accumulated ash and soot.
- Battle Damage: Use a soldering iron or a Dremel to create small nicks and gouges in the 3D prints before painting. When you apply your metallic edge-wear over these gouges, it looks like a genuine sword strike.
- The Final Seal: Use a varied varnish approach. Apply a high-gloss clear coat only to the "gem" areas or the deepest blacks, and a matte sealer to the weathered areas. This contrast in sheen is what tricks the human eye into seeing different materials (stone vs. metal vs. energy).