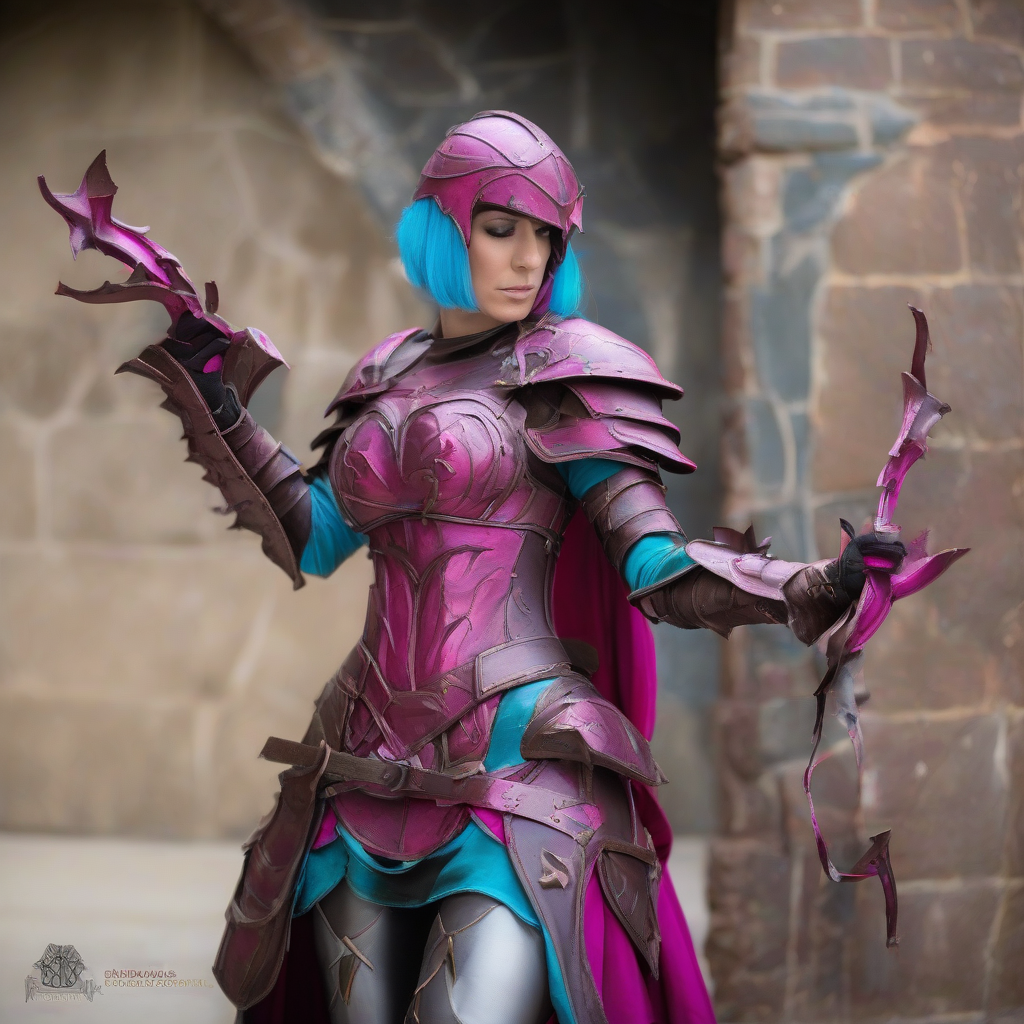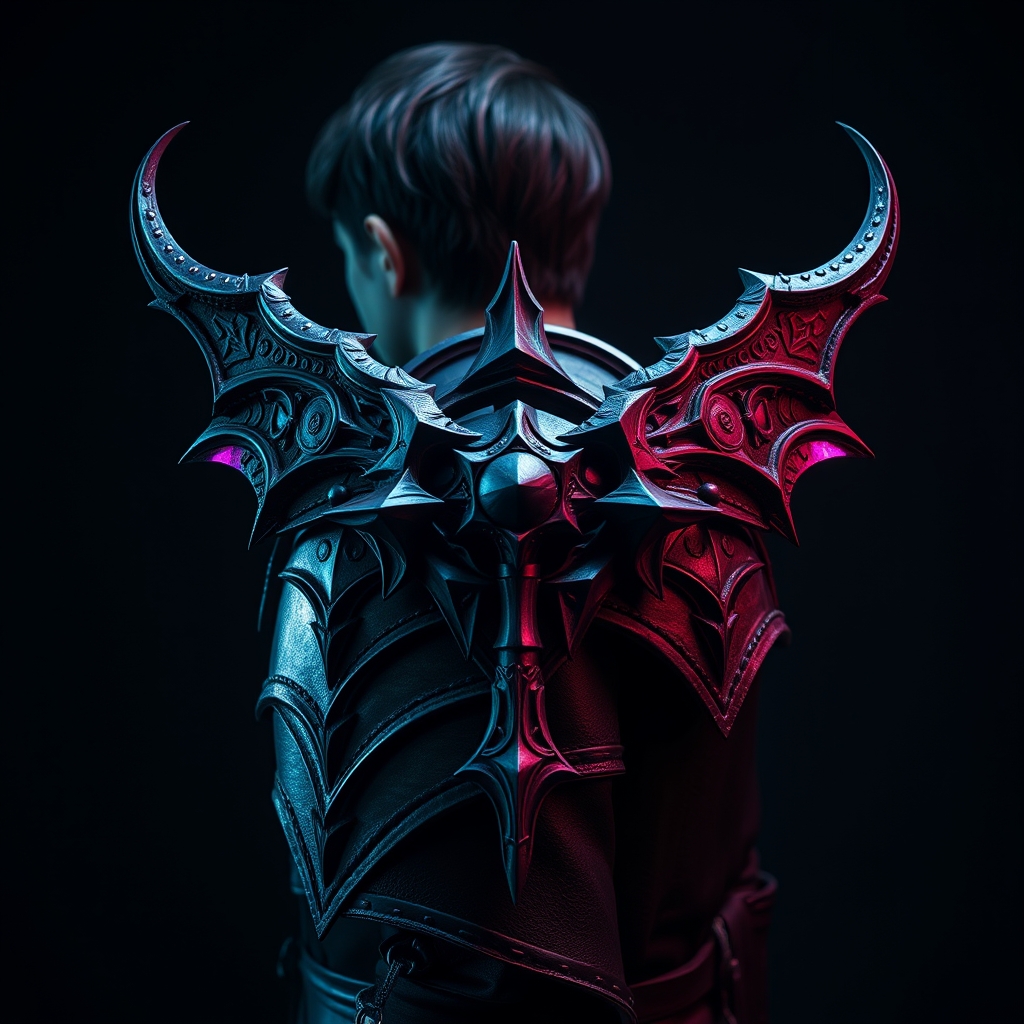
The Daedric armor set from The Elder Scrolls is iconic for its menacing, obsidian-like finish and sharp, aggressive geometry. While foam is a staple of the cosplay community, achieving the "hyper-realistic" look—where the armor looks like forged ebony and blood-infused metal—requires the precision of 3D printing and the surface refinement of resin. This guide focuses on transforming raw plastic prints into museum-quality shoulder pauldrons that maintain their scale without sacrificing mobility.
Phase 1: Optimizing the Print for Scale and Strength
Shoulder armor is subject to high stress; it bumps into doorways and shifts with every arm movement. To ensure your Daedric pauldrons don't crack, you must prioritize structural integrity over print speed.
- Material Choice: While PLA is common, PETG or a high-quality ABS are preferable for armor due to their slight flexibility and better heat resistance. If using a resin printer (SLA), use a "Tough" or "ABS-like" resin to prevent the spikes from snapping.
- Wall Thickness and Infill: Set your wall loops to at least 4 layers. Use a 15-20% Gyroid infill. Gyroid provides equal strength in all directions, which is critical for the organic, curving shapes of Daedric gear.
- Orientation: Print the pauldrons at a 45-degree angle. This minimizes the surface area of each layer, reducing the "stair-step" effect on the curved top of the shoulder and placing supports on the interior surface where they won't affect the visible exterior.
Phase 2: The Secret to a "Cast" Look: Resin Coating
The biggest giveaway of a 3D print is the layer lines. To achieve a hyper-realistic metal finish, you cannot simply sand the plastic; you must fill the microscopic gaps. This is where resin coating comes into play.
Apply a thin layer of UV-curable resin or a high-build automotive primer to the entire piece. For a professional finish, use a "spray-on" resin or a thin brush application of epoxy resin. The goal is to create a sacrificial layer of material that fills the ridges. Once cured, sand the piece starting with 120 grit to knock down the high points, moving to 220, and finishing with 400 grit wet-sanding. This process eliminates the "plastic" look and gives the armor the dense, seamless appearance of forged metal.
Phase 3: Engineering the Harness and Fit
A common mistake in armor building is gluing the piece directly to a costume. For Daedric armor, which is top-heavy, you need a secure internal harness to prevent the pauldrons from sliding toward your neck.
- The Base Plate: Create a curved plastic or heavy-duty leather plate that sits flush against your shoulder.
- The Floating Mount: Instead of a rigid bond, use nylon webbing and industrial-strength Velcro to attach the 3D printed shell to the base plate. This allows the armor to "float" slightly, moving with your shoulder joint rather than resisting it.
- Padding: Line the interior with high-density EVA foam (5mm) to distribute the weight and prevent the hard plastic from chafing your skin or crushing your under-costume.
Phase 4: Achieving the "Ebony" Metal Finish
Daedric armor isn't just black; it is a complex mix of deep charcoal, iridescent purples, and metallic sheens. A single coat of black spray paint will make your armor look like plastic. To achieve hyper-realism, use a layering technique.
The Base and Mid-Tones
Start with a gloss black primer. Once dry, apply a "color shift" or "chameleon" paint in a deep purple or crimson, but only in the recessed areas and curves. This mimics the otherworldly, magical nature of Daedric materials. Follow this with a semi-gloss charcoal grey over the prominent surfaces, leaving the dark purple in the depths.
The Metallic Edge Highlight
To simulate worn metal, use the "dry brushing" technique. Take a bright silver or steel acrylic paint, wipe most of it off the brush, and lightly flick it across the sharpest edges and spikes of the armor. This creates the illusion that the "ebony" coating has worn away to reveal a harder, metallic core beneath.
Phase 5: Weathering and Final Detailing
Pristine armor looks like a toy; battle-worn armor looks like a prop from a movie. The final step is adding "environmental storytelling" to your gear.
- Acrylic Washes: Mix a very thin, watery solution of black and burnt sienna acrylic paint. Slather this into the crevices and let it pool. Once dry, wipe the surface clean. The dark pigment remains in the cracks, adding artificial depth and "grime."
- Battle Damage: Use a soldering iron or a Dremel tool to create small nicks and gouges in the plastic before the final painting phase. When you apply the silver edge highlights over these scratches, they will look like genuine combat damage.
- The Final Seal: Use a matte clear coat for the main body and a high-gloss varnish specifically on the "gems" or glowing runes of the armor. This contrast in textures—matte metal vs. glossy crystal—is what tricks the eye into perceiving different materials.
Summary Checklist for Builders
Before you hit the print button, ensure you have checked the following:
- Scale: Have you measured your shoulder width and added 2cm of clearance for padding?
- Support Removal: Do you have a set of needle-nose pliers and a hobby knife for cleaning the interior?
- Safety: Are you using a respirator when sanding resin and applying spray paints?
- Weight: If the piece feels too heavy, consider hollowing the print to 2mm walls with a 10% gyroid infill.