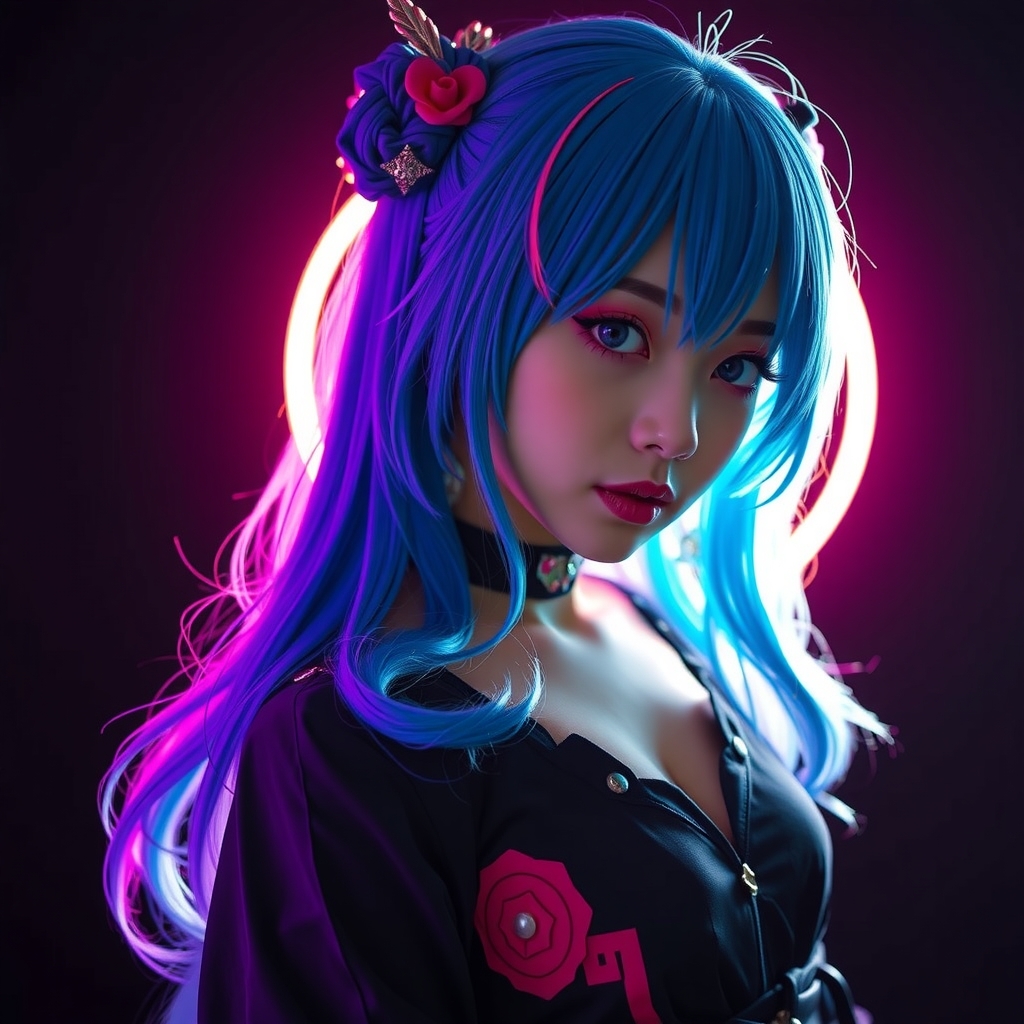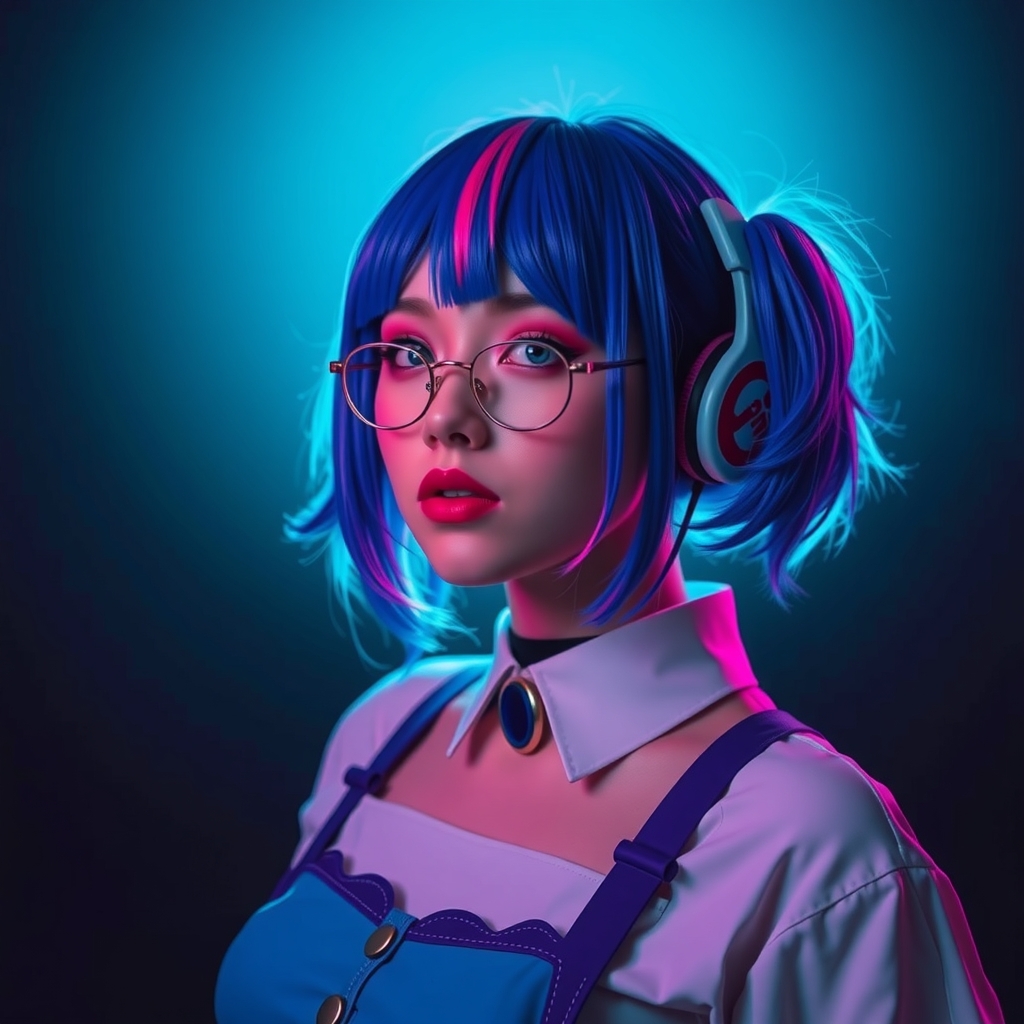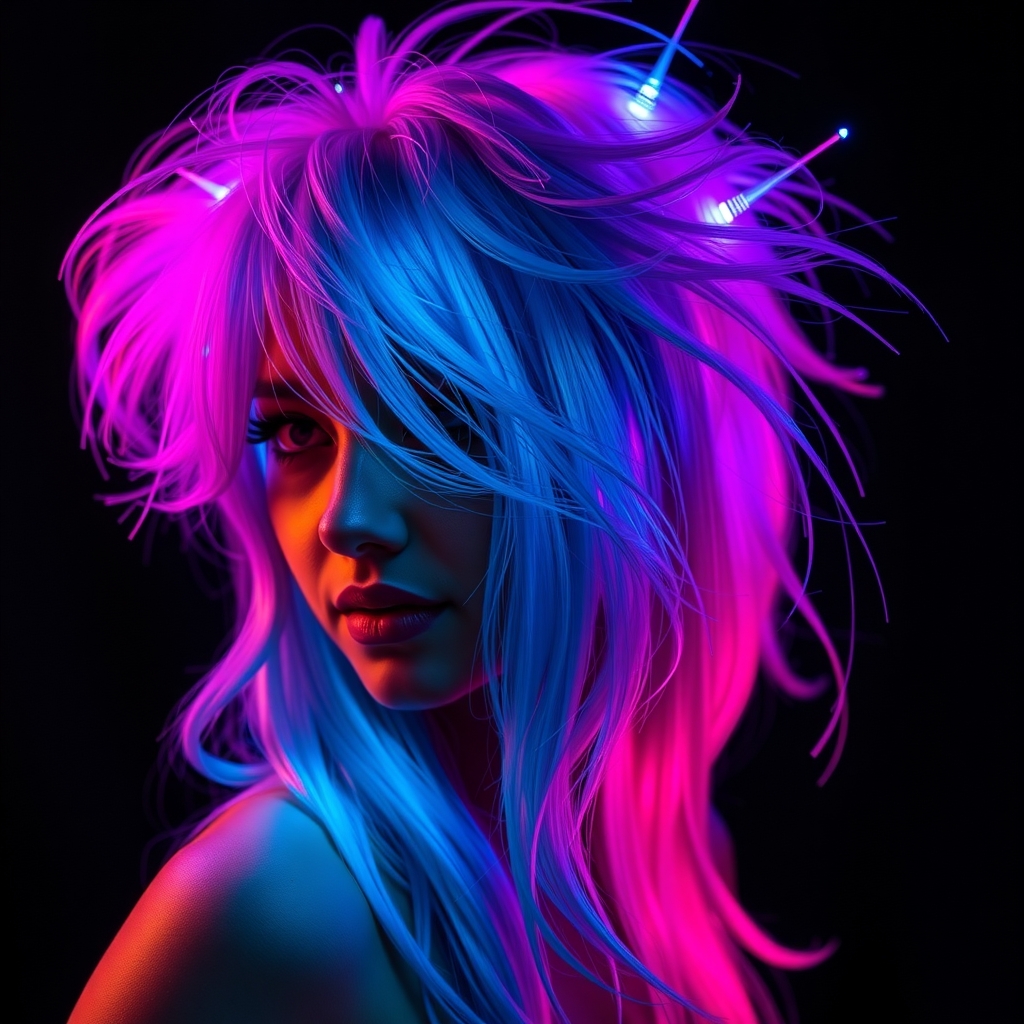
In the world of anime and gaming, character designs often feature hair that defies physics—not just in shape, but in luminosity. Whether it is a magical aura, a cybernetic glow, or an ethereal shimmer, achieving a "lit from within" look requires moving beyond standard styling and into the realm of basic electronics. Integrating light into a wig requires a balance between visibility, weight, and safety.
Choosing Your Light Source: LEDs vs. Fiber Optics
Before beginning your build, you must determine which lighting method best suits your character's aesthetic. Most cosplayers choose between Light Emitting Diodes (LEDs) and fiber optic cables, or a hybrid of both.
LED Strips and Fairy Lights
LEDs provide the strongest light output. Copper-wire fairy lights are the most popular choice for wigs because they are thin, flexible, and lightweight. These are ideal for "starry" effects or creating bold lines of light throughout the hair. However, because LEDs are point-sources of light, they can look like distinct dots rather than a smooth glow if not diffused properly.
Fiber Optic Bundles
Fiber optics do not generate their own light; instead, they transmit light from a single source (an LED) to the end of the cable. This allows you to have hundreds of tiny, glowing points of light without needing hundreds of batteries. Fiber optics are superior for creating a "shimmer" effect or precise, needle-thin lines of light that look more organic than bulky LED beads.
Essential Materials and Safety
Working with electronics near your head requires a safety-first mindset. Always ensure your components are insulated to prevent short circuits or heat buildup against the scalp.
- High-temperature synthetic wig: This allows you to style the wig with heat tools without melting the fibers.
- Battery pack: Use a compact power bank or a coin-cell battery holder with an on/off switch.
- Conductive wire or fiber optic filaments: Depending on your chosen method.
- Wig blocks and T-pins: To hold the wig steady during installation.
- Hot glue and clear silicone: For securing components.
- Breathable wig cap: To protect your natural hair and provide a base for mounting electronics.
Step-by-Step: Installing LED Fairy Lights
Installing LEDs is the more straightforward approach, but the challenge lies in hiding the wires so the effect looks magical rather than mechanical.
- Mapping the Glow: Place the wig on a head form. Use T-pins to mark exactly where you want the lights to appear. If the character has glowing streaks, map those paths carefully.
- Creating a Channel: Gently lift the top layers of the wig fibers. Use a wide-tooth comb to create a "trench" in the wefts where the lights will sit. This prevents the wires from sitting directly on your head.
- Threading the Lights: Carefully weave the copper wire through the wefts. Use small dots of clear silicone or hot glue to tack the wire in place. Avoid using too much glue, as this can make the wig stiff and unnatural.
- Hiding the Battery: The battery pack should never be inside the wig cap, as this is uncomfortable and potentially dangerous. Instead, mount the battery pack to a headband, a piece of costume armor, or a hidden pocket in your clothing, running a thin extension wire up into the wig.
Step-by-Step: Integrating Fiber Optics
Fiber optics offer a more sophisticated, professional look but require a more technical setup. The goal is to concentrate the light at the base and distribute it through the hair.
- Preparing the Bundle: Cut your fiber optic filaments to varying lengths. This creates a more natural, tiered look rather than a flat wall of light.
- Creating the Light Engine: Gather the ends of the fibers into a tight bundle. Secure this bundle directly against a high-brightness LED. The tighter the bundle, the more efficient the light transfer.
- Mounting the Engine: Attach the LED and the bundle base to a sturdy piece of plastic or a modified headband. This "engine" should sit at the crown of the head or hidden within a heavy section of styling (like a large ponytail or a bow).
- Distributing the Fibers: Gently push the filaments through the wig fibers. Because fiber optics are stiffer than synthetic hair, you may need to use a needle or a thin wire to guide them into position.
- Trimming: Once the fibers are positioned, trim them so they blend with the length of the wig. Use a sharp pair of scissors to ensure a clean cut, which maximizes light output at the tip.
Advanced Diffusion Techniques
To move from "lights in a wig" to a "glowing hairstyle," you must master diffusion. Diffusion softens the light, turning a harsh point of light into a soft glow.
Layering Synthetic Hair
The most effective way to diffuse light is to place the LEDs beneath several layers of translucent or light-colored synthetic fibers. The hair acts as a natural filter, scattering the light. This is particularly effective with neon or pastel-colored wigs.
Using Foam or Mesh
For characters with large, chunky hair sections, you can build a "core" out of upholstery foam or white mesh. Embed your LEDs inside this core and then pull the wig fibers over the top. This creates a volumetric glow that fills the entire shape of the hairstyle.
Maintenance and Troubleshooting
Lit wigs are more fragile than standard wigs and require specific care to ensure they last through a full convention weekend.
- Tangle Management: Fiber optics and copper wires can tangle. Avoid brushing the wig in areas where electronics are installed. Use a wide-tooth comb and be extremely gentle.
- Battery Life: Always test your battery life before leaving for an event. If using high-brightness LEDs, consider a rechargeable USB power bank hidden in your costume to avoid the mid-day fade.
- Heat Check: After 30 minutes of wear, check for any "hot spots." If any part of the electronics feels warm against your skin, add a layer of insulating foam or reposition the component.
- Storage: Store your lit wig on a wig stand. Never compress it in a suitcase, as this can snap the delicate copper wires or bend the fiber optics beyond repair.