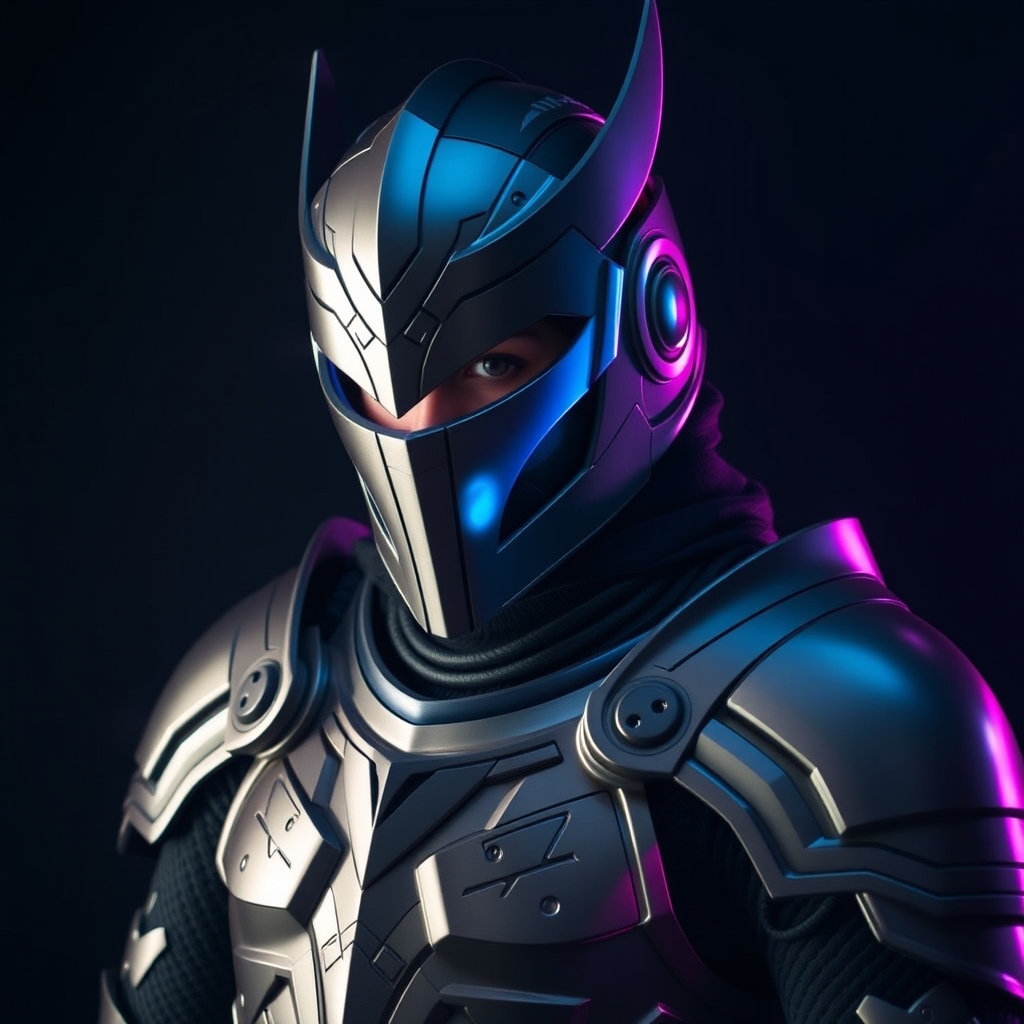
Introduction to Video Game-Inspired Armor Cosplay
Video game-inspired cosplay has become increasingly popular over the years, with many enthusiasts striving to recreate the intricate details and armor designs from their favorite games. However, creating realistic armor can be a daunting task, especially for those new to prop making and cosplay crafting. In this article, we'll explore the essential tips and tricks for crafting stunning video game-inspired armor that will take your cosplay game to the next level.
Design and Planning: The Foundation of Realistic Armor
Before diving into the crafting process, it's essential to have a solid design and plan in place. Here are some key considerations:
- Reference, reference, reference: Gather as many references as possible from different angles, including screenshots, concept art, and official game assets.
- Break down the design: Divide the armor into individual components, such as shoulder pads, chest plates, and greaves, to make the crafting process more manageable.
- Choose a scale: Decide on a scale for your armor, taking into account your body size and the overall aesthetic you want to achieve.
- Select materials: Research and choose materials that will best bring your design to life, considering factors such as weight, durability, and finish.
Materials and Techniques for Realistic Armor
When it comes to crafting realistic armor, the choice of materials and techniques is crucial. Here are some popular options:
- Foam crafting: Worbla, Wonderflex, and EVA foam are popular choices for creating armor components, offering a lightweight and versatile solution.
- 3D printing: For more complex designs, 3D printing can be a viable option, allowing for precise details and intricate geometries.
- Resin casting: Resin casting can add an extra layer of realism to your armor, enabling the creation of smooth, detailed surfaces.
- Painting and finishing: Use a combination of acrylic paints, primers, and finishing techniques, such as weathering and drybrushing, to achieve a realistic, battle-worn look.
- Use a sturdy base: Create a solid foundation for your armor using materials like PVC pipes, foam boards, or Worbla.
- Secure components: Use hot glue, epoxy, or other adhesives to securely attach components, ensuring they can withstand handling and wear.
- Add mobility: Incorporate joints, hinges, or elastic materials to enable movement and flexibility, making your armor more comfortable to wear.
- Add texture and pattern: Use techniques like stenciling, freehand painting, or applying transfers to add texture and pattern to your armor.
- Weathering and distressing: Apply weathering effects, such as scratches, dents, and grime, to give your armor a battle-worn appearance.
- Seal and protect: Apply a clear coat or sealant to protect your armor from damage and extend its lifespan.
- Experiment and innovate: Don't be afraid to try new materials and techniques to achieve unique effects.
- Join the community: Share your work, learn from others, and get feedback from fellow cosplayers and prop makers.
- Have fun: Most importantly, enjoy the process of creating and wearing your armor – it's a labor of love!
Construction and Assembly: Bringing Your Armor to Life
With your design and materials in place, it's time to start constructing your armor. Here are some tips for assembly and construction:
Finishing Touches: Adding Details and Weathering
The final stage of crafting realistic armor involves adding details and weathering effects. Here are some expert tips:
Conclusion and Final Tips
Crafting realistic video game-inspired armor requires patience, dedication, and practice. By following these tips and tricks, you'll be well on your way to creating stunning armor that will elevate your cosplay game. Remember to: