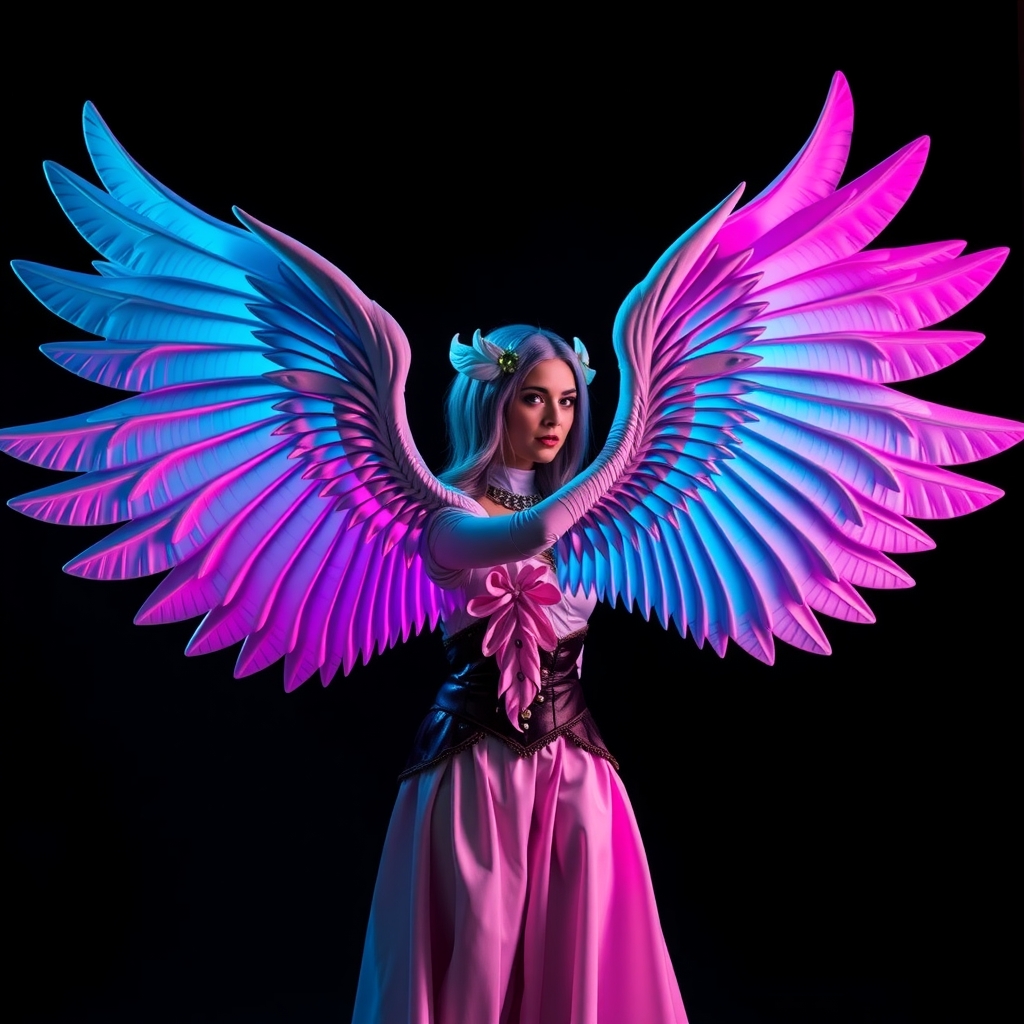
As a cosplayer, creating intricate and detailed armor pieces can be a daunting task, especially for those new to prop-making. However, with the right tools and techniques, you can achieve professional-looking results without breaking the bank. In this article, we'll explore the art of patterning with cardboard, paper, and Pepakura, and provide a step-by-step guide on how to create stunning armor pieces.
The Benefits of Patterning
Patterning is an essential step in the armor-making process, allowing you to create a precise template for your armor piece. This ensures a perfect fit, saves time, and reduces material waste. By using cardboard, paper, and Pepakura, you can create complex patterns with ease, and make adjustments before moving on to more expensive materials.
Materials Needed
- Cardboard (e.g., from a large box)
- Paper (e.g., printer paper or cardstock)
- Pepakura Designer software (free or paid version)
- Printer and cutting tool (e.g., scissors, craft knife, or laser cutter)
- Tape and glue (for assembling and testing patterns)
Step 1: Designing Your Pattern
Start by sketching out your armor design on paper, taking note of the dimensions and shape. Then, use Pepakura Designer to create a digital template. This software allows you to create, edit, and manipulate 3D models, and export them as 2D patterns. If you're new to Pepakura, start with the free version and experiment with its features.
Step 2: Cutting Out Your Pattern
Print out your pattern on paper or cardboard, and use a cutting tool to cut out the individual pieces. Make sure to leave a small margin around each piece for assembly and adjustment. If using cardboard, you can also use a craft knife or laser cutter for more precise cuts.
Step 3: Assembling and Testing Your Pattern
Use tape and glue to assemble your pattern pieces, starting with the largest sections first. Test the fit on a mock-up or a friend, making adjustments as needed. This is where the beauty of patterning comes in – you can easily make changes and re-cut pieces without wasting expensive materials.
Tips and Tricks
When working with cardboard and paper, make sure to use a sturdy material that can hold its shape. You can also use a mixture of cardboard and paper to create a more rigid and detailed pattern. Additionally, experiment with different Pepakura features, such as texture and color, to add depth and realism to your design.
Conclusion
Patterning with cardboard, paper, and Pepakura is a game-changer for cosplayers and prop-makers. By following these steps and tips, you can create intricate and detailed armor pieces with ease, and take your cosplay to the next level. Whether you're a seasoned pro or just starting out, this technique is sure to save you time, money, and frustration – so give it a try and see the difference for yourself!