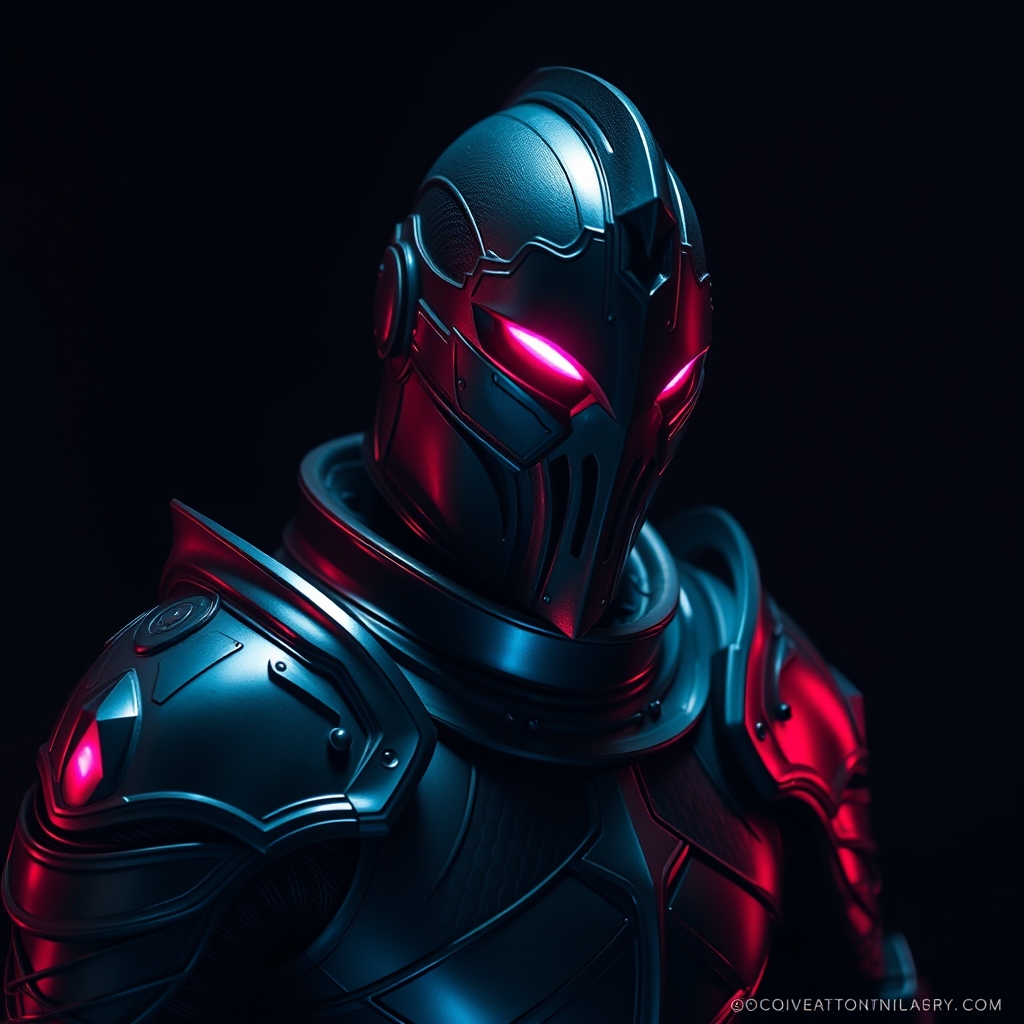
Introduction to Foam Smithing
Foam smithing is a versatile and accessible technique for creating intricate, detailed, and lightweight armor pieces, perfect for cosplayers and prop makers. This craft involves shaping and molding foam to create complex designs, textures, and patterns. With the right tools and materials, anyone can master the art of foam smithing and create stunning, hyper-realistic armor. In this guide, we'll focus on crafting Dark Souls armor, but the techniques and principles learned here can be applied to various projects and fandoms.
Materials and Tools
To get started with foam smithing, you'll need the following materials and tools:
- High-density foam (HD foam) or Worbla, a thermoplastic material
- Hot wire foam cutter or a sharp utility knife
- Heat gun or a hair dryer
- Foam-safe adhesives (e.g., contact cement, epoxy, or hot glue)
- Sandpaper and files for smoothing and shaping
- Paint and primer for finishing and weathering
For Dark Souls armor, you may also want to reference official game art, armor patterns, and 3D models to ensure accuracy and authenticity.
Preparing Your Foam
Before you begin shaping your foam, make sure it's clean and dry. If using HD foam, you can cut it into manageable blocks or sheets using a hot wire foam cutter or a sharp utility knife. For Worbla, follow the manufacturer's instructions for heating and shaping.
To create a smooth surface for your armor piece, use sandpaper to remove any imperfections, bumps, or debris. This step is crucial for achieving a professional finish.
Shaping and Molding Your Foam
Using your hot wire foam cutter or utility knife, start shaping your foam into the desired form. For Dark Souls armor, you may want to create curved or angular sections, such as the iconic Lordvessel helmet or the imposing Dragonplate armor.
Apply heat using a heat gun or hair dryer to soften the foam and make it more pliable. This will allow you to shape and mold the foam into intricate details and complex geometries.
Assembling and Finishing Your Armor
Once you've shaped and molded your foam pieces, use foam-safe adhesives to assemble the various components. Apply a small amount of adhesive to one surface and attach the corresponding piece, holding it in place for a few seconds.
After assembly, use sandpaper and files to smooth out any rough edges or seams. Prime and paint your armor using acrylic or enamel paints, following the official game art for color references and weathering effects.
Tips and Tricks for Hyper-Realistic Results
To achieve hyper-realistic results, pay attention to texture, pattern, and weathering. Study official game art and reference images to capture the intricate details and wear on the armor.
Use a combination of paint, washes, and drybrushing to create depth and dimensionality on your armor. Add weathering effects, such as scratches, dents, or rust, to give your armor a battle-worn appearance.
Conclusion and Future Projects
Mastering the art of foam smithing takes time and practice, but with patience and dedication, you can create stunning, hyper-realistic Dark Souls armor. Experiment with different materials, techniques, and designs to expand your skills and portfolio.
For future projects, consider exploring other fandoms, such as Game of Thrones, Lord of the Rings, or Destiny. The techniques and principles learned in this guide can be applied to various armor and prop-making projects, allowing you to push the boundaries of creativity and craftsmanship.