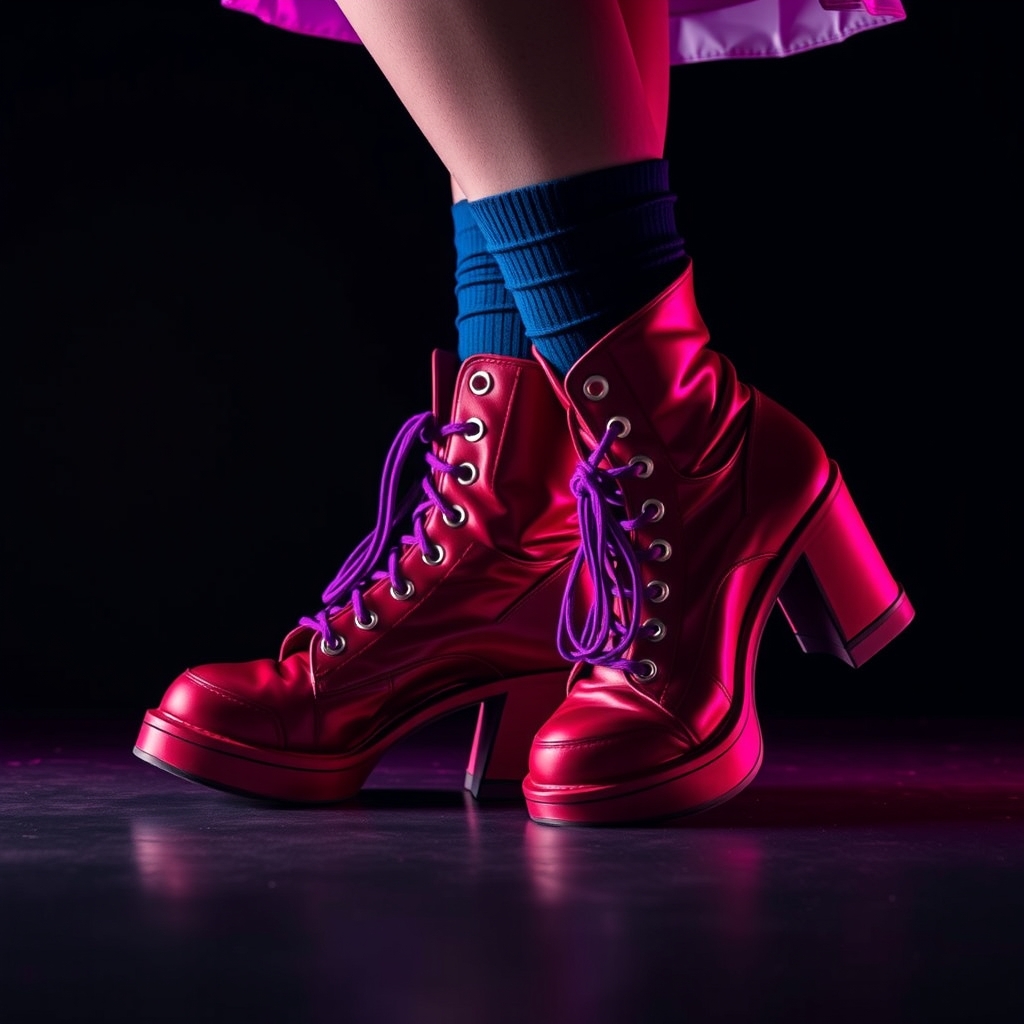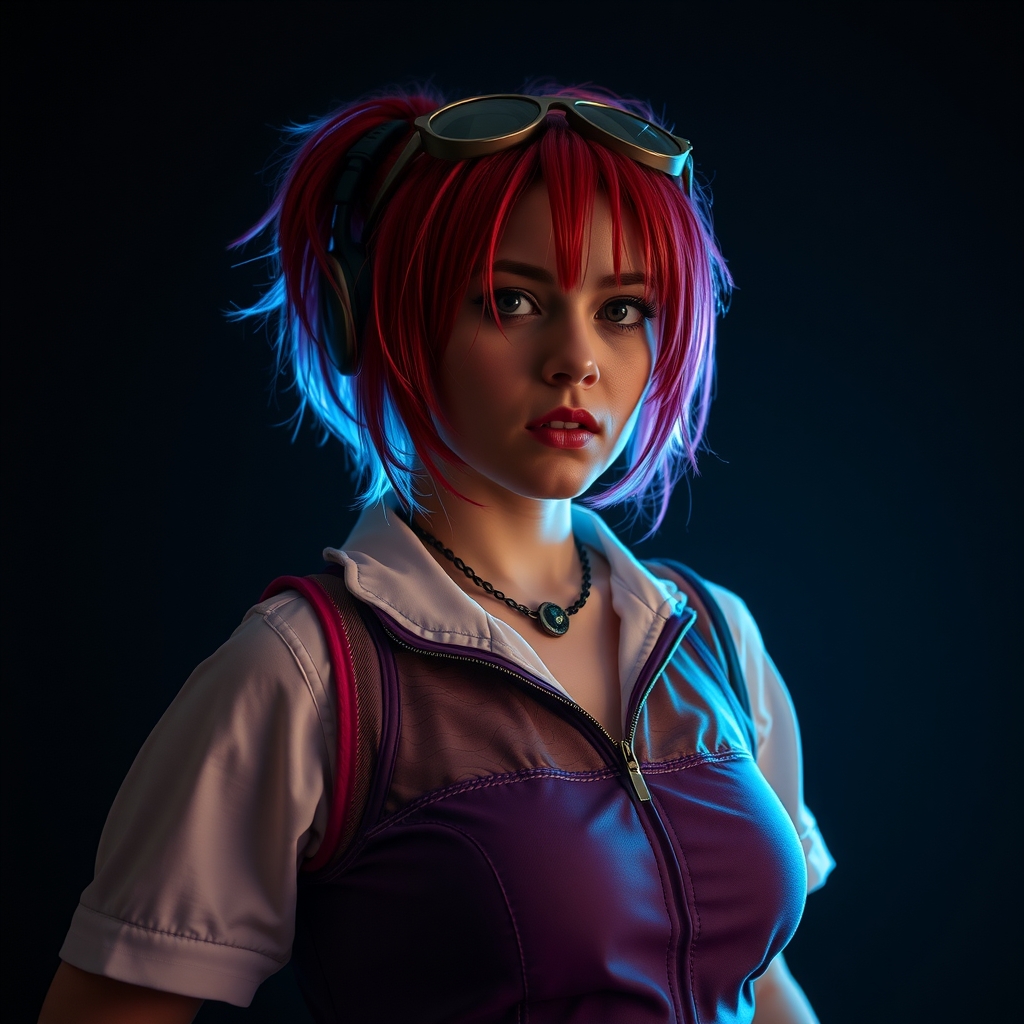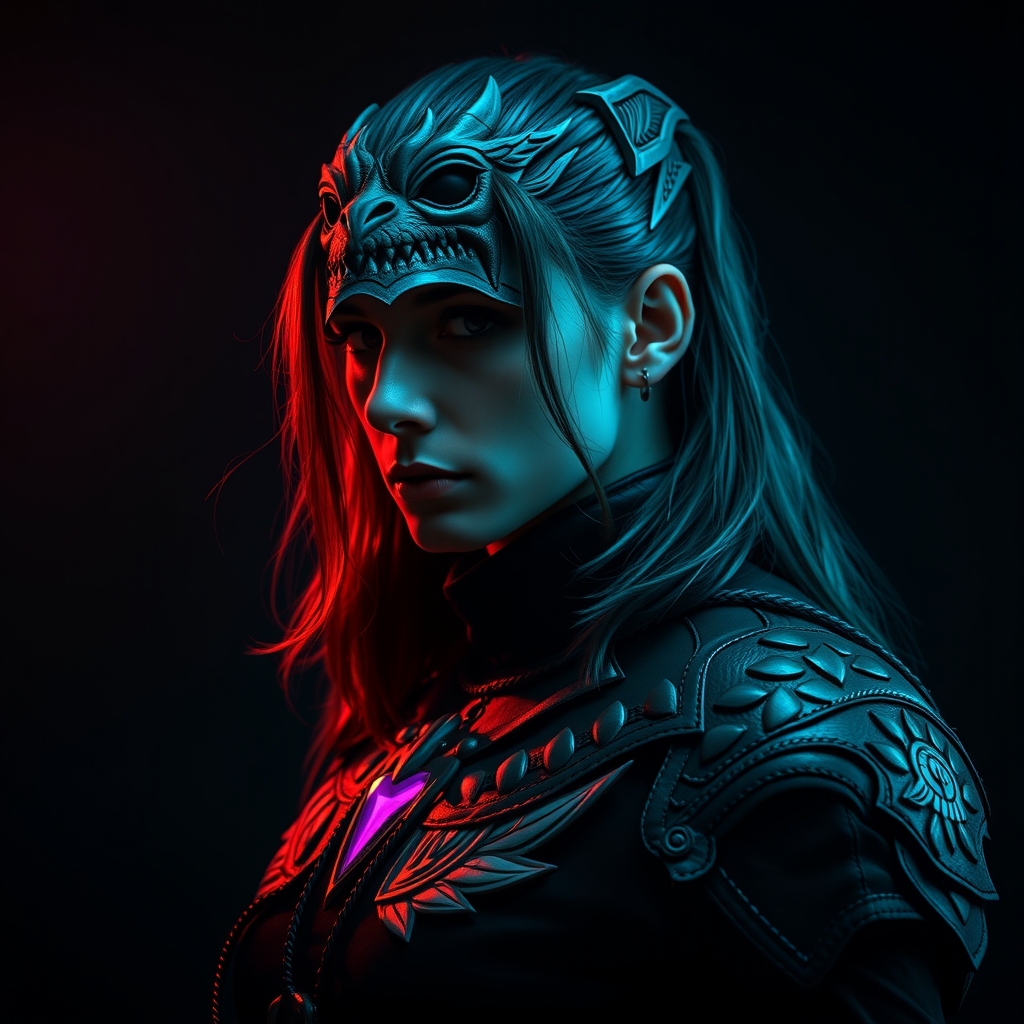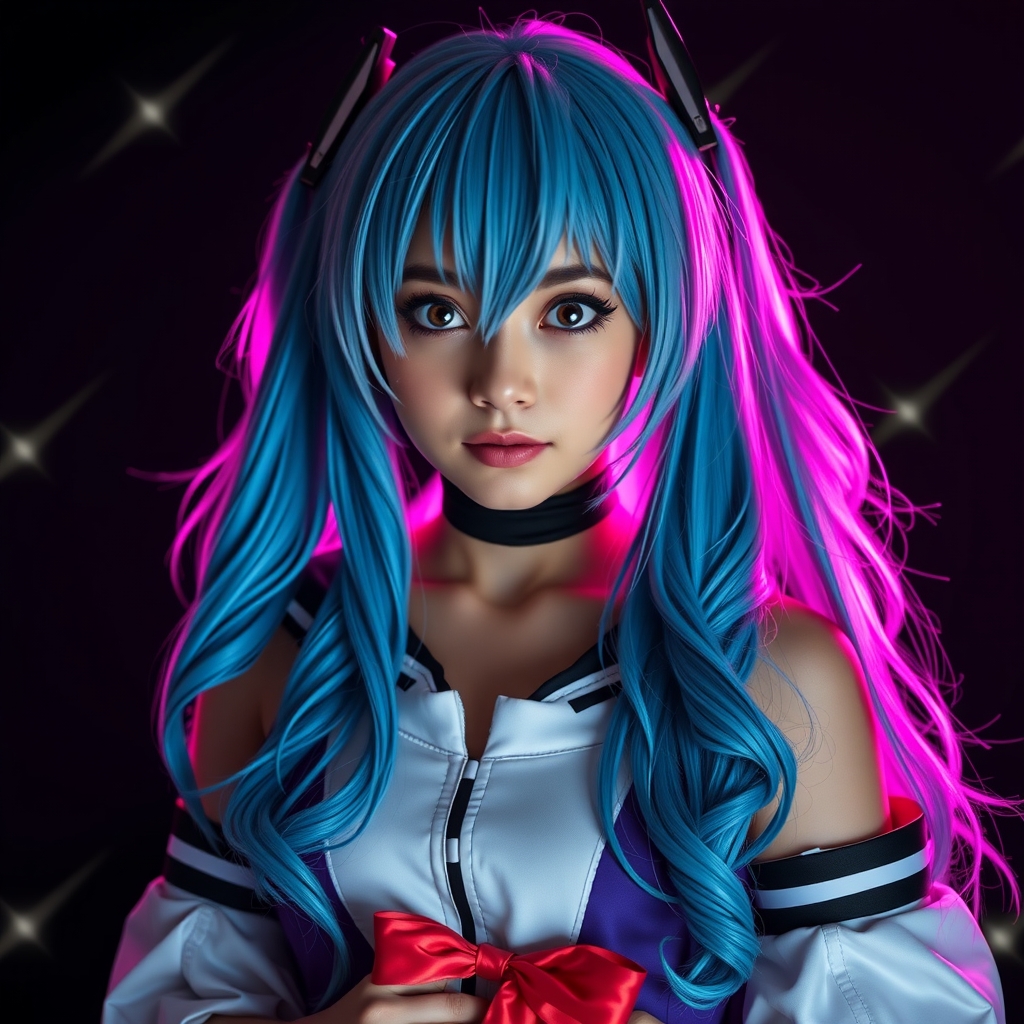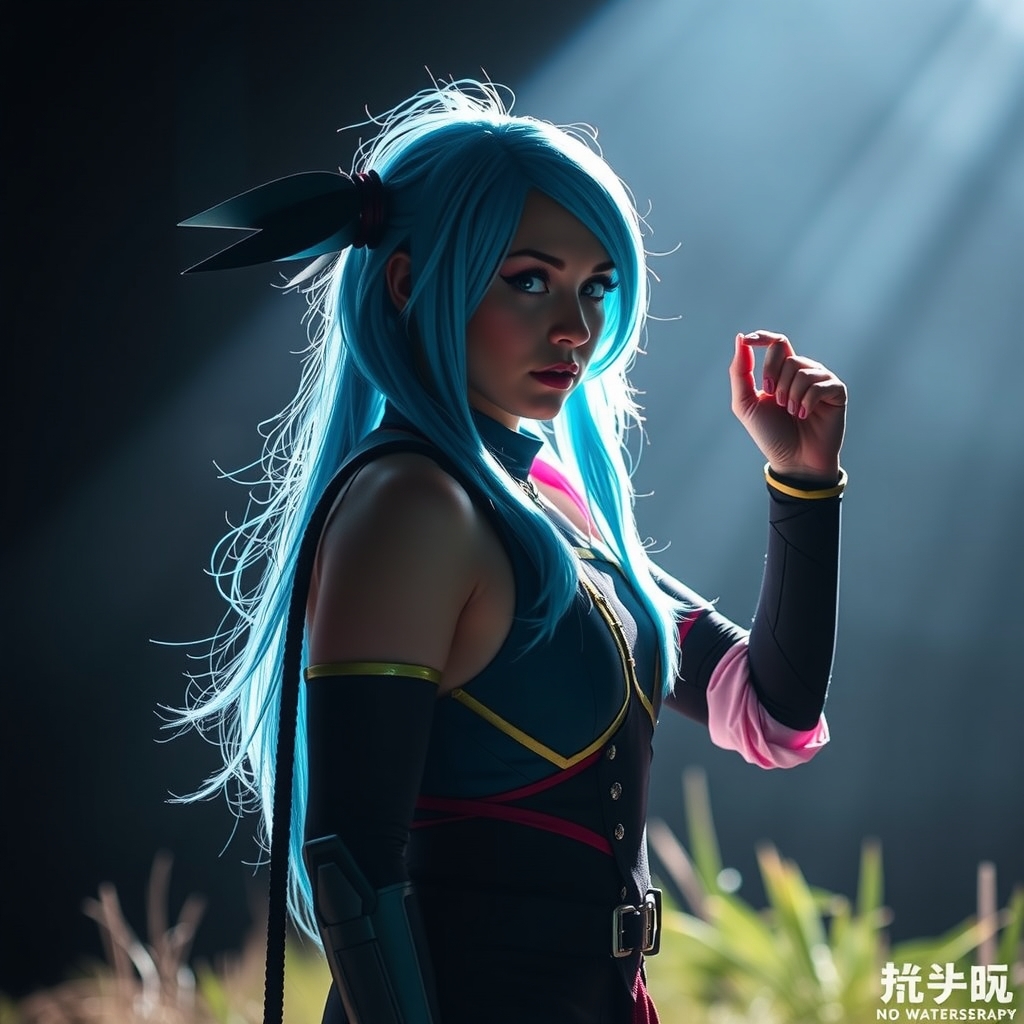
Many cosplayers believe that stunning photography requires a high-end DSLR, a fleet of external flashes, and a professional studio. While high-end gear can simplify certain processes, the most critical elements of a great photograph are composition, lighting, and the interaction between the subject and the environment. For those working with a limited budget—including those using smartphones—the outdoors provides a free, expansive studio with an infinite variety of backdrops.
Understanding Natural Light
Light is the most important variable in photography. When you cannot afford studio strobes, you must learn to work with the sun. The goal is to avoid "harsh" light, which creates deep shadows under the eyes and nose and blows out the highlights on light-colored fabrics.
The Golden Hour
The most coveted time for outdoor photography is the Golden Hour, which occurs shortly after sunrise and shortly before sunset. During this window, the sun is low on the horizon, producing a soft, warm glow that is flattering for all skin tones and costume materials. This light minimizes harsh shadows and adds a natural, cinematic quality to the image.
Overcast Days as Natural Softboxes
Many photographers avoid cloudy days, but for budget cosplay photography, an overcast sky is a secret weapon. The clouds act as a massive, natural diffuser, spreading light evenly across the scene. This eliminates the need for expensive reflectors or diffusers, making it the ideal time to shoot costumes with complex textures or reflective armor that would otherwise suffer from distracting glints of direct sunlight.
Managing Midday Sun
If you must shoot during the middle of the day, seek "open shade." This refers to areas that are not in direct sunlight but are still open to the sky, such as under a large tree canopy or the shadow of a building. This provides a consistent light source while protecting the cosplayer from squinting and preventing the costume colors from appearing washed out.
Selecting the Right Location
A budget shoot relies heavily on "environmental storytelling." Instead of relying on post-production effects to create a mood, choose a location that complements the character's lore.
Matching the Aesthetic
Avoid generic parks if the character is from a cyberpunk or urban setting. Instead, look for industrial zones, concrete underpasses, or modern architectural facades. For fantasy characters, seek out dense foliage, rocky outcrops, or botanical gardens. The more the background aligns with the character's world, the less work you will have to do in editing to make the image feel authentic.
Evaluating the Background
Before snapping the photo, check for "visual clutter." A stray trash can or a distant power line can distract from the cosplayer. Use a technique called "cleaning the frame," where you shift your angle slightly to hide distracting elements behind the subject or a natural landmark. This ensures the viewer's focus remains entirely on the craftsmanship of the costume.
Composition Techniques for Maximum Impact
You do not need an expensive lens to create depth and drama. By changing your physical position and the angle of the camera, you can manipulate how the viewer perceives the character.
The Power of the Low Angle
To make a character look powerful, heroic, or intimidating, shoot from a low angle. By crouching or placing the camera near the ground and tilting upward, you create a sense of scale and authority. This is particularly effective for characters with large armor or capes, as it emphasizes their silhouette against the sky.
Utilizing Leading Lines
Use the environment to guide the viewer's eye toward the cosplayer. A forest path, a fence line, or a row of pillars can act as "leading lines." When these lines converge on the subject, it creates a dynamic composition that feels intentional and professional, regardless of the camera used.
Creating Depth with Foreground Elements
To avoid "flat" images, place something in the foreground. This could be a few blurred leaves, a piece of fabric, or a rock. By shooting through these objects, you create a three-dimensional feel that draws the viewer into the scene, mimicking the shallow depth-of-field effect found in expensive portrait lenses.
Budget-Friendly Gear Hacks
While you don't need a professional kit, a few low-cost additions can significantly elevate your results.
- DIY Reflectors: A piece of white foam board or a silver emergency blanket can be used to bounce natural light back onto the subject's face, filling in dark shadows.
- Smartphone Stability: If you are shooting in low light, a basic tripod or even leaning your phone against a steady rock prevents motion blur.
- The Power of a Cloth: A simple piece of colored fabric or a cheap faux-fur rug can be used as a ground cover to hide an unattractive floor or to add a pop of color to a neutral environment.
Directing the Cosplayer
The difference between a snapshot and a portrait is often the posing. Since you aren't using expensive lighting to create mood, you must use the body to convey emotion.
Dynamic Posing
Encourage the cosplayer to avoid standing flat toward the camera. Instead, suggest "triangles"—bending an arm at the elbow, popping a hip, or crossing a leg. Triangles create visual interest and prevent the subject from looking stiff. For action characters, suggest a "captured moment" pose, such as the middle of a stride or the beginning of a weapon draw.
Focusing on the Eyes
Regardless of the equipment, the eyes are the focal point of any portrait. Ensure the cosplayer is looking slightly above or below the lens depending on the desired emotion. If the sun is too bright, have them close their eyes and open them on the count of three to capture a fresh, wide-eyed expression without the squint.
Post-Processing on a Budget
You do not need expensive software to polish your images. Many free mobile applications allow for "non-destructive" editing, meaning you can tweak the photo without ruining the original file.
Basic Adjustments
Focus on three main areas: Contrast, Saturation, and White Balance. Increasing the contrast can make armor look more metallic, while adjusting the white balance can turn a neutral afternoon shot into a moody, blue-toned evening scene or a warm, nostalgic memory.
Cropping for Composition
If you couldn't perfectly clean the frame during the shoot, use the crop tool. Following the "Rule of Thirds"—placing the subject off-center—often creates a more balanced and professional-looking image than centering the subject perfectly every time.