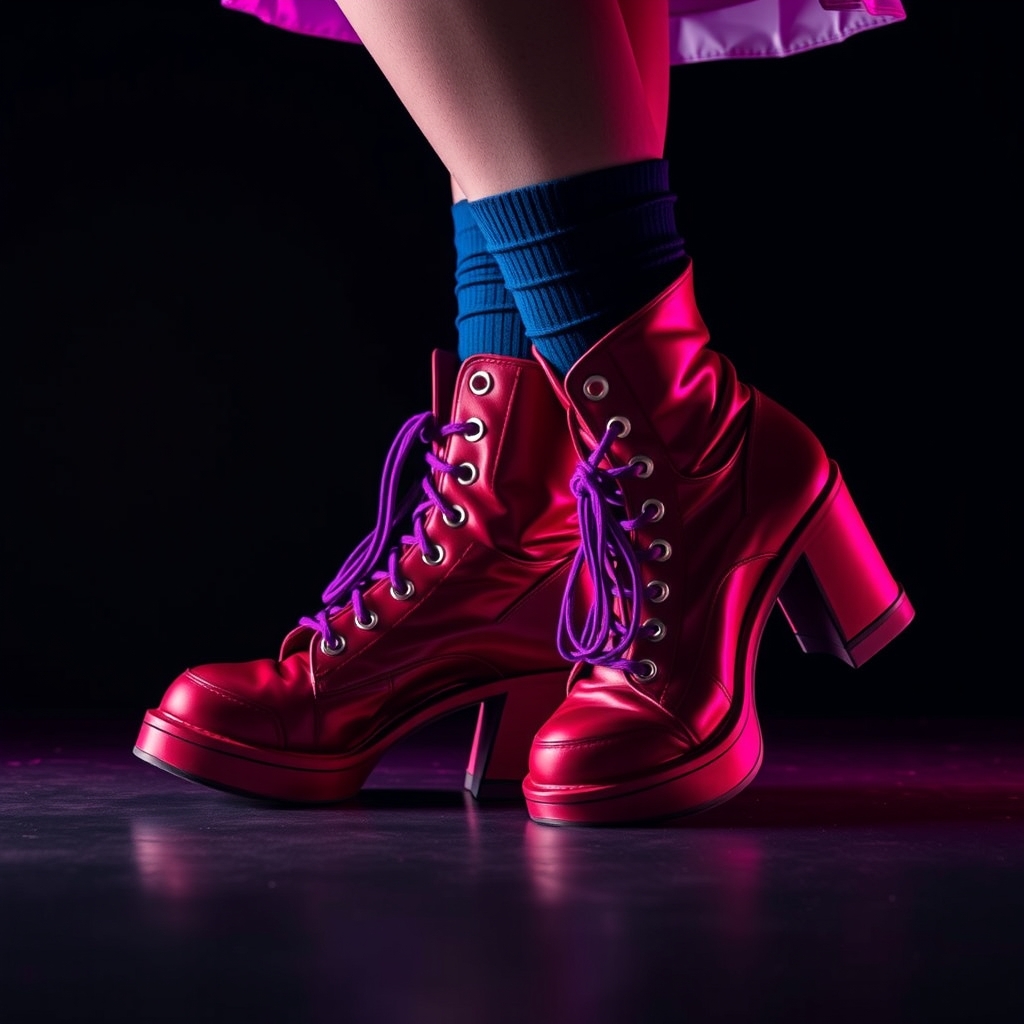
Footwear is often the most overlooked aspect of a cosplay build, yet it is one of the most critical for both comfort and visual cohesion. Many cosplayers fall into the trap of buying expensive, character-specific boots that are uncomfortable or purchasing cheap, thin-soled alternatives that lead to blisters during a long convention day. The most sustainable and cost-effective solution is upcycling second-hand shoes. By sourcing quality pre-owned footwear and modifying it, you can achieve a high-end look while ensuring your feet are supported.
Sourcing the Right Base
The success of a shoe modification depends entirely on the base. When browsing thrift stores or online second-hand marketplaces, look for structural integrity over aesthetic perfection. Scuffs, faded colors, and outdated styles are irrelevant because you will be altering them, but a collapsed heel or a worn-down sole is a dealbreaker.
Focus on these key criteria when selecting your base shoes:
- Material: Genuine leather or high-quality synthetic leather is preferred for boots as it takes paint and adhesives better than fabric or mesh.
- Sole Thickness: Look for a sturdy rubber sole. If the character requires height, look for platforms or wedges that are already built-in rather than attempting to add height manually, which can compromise stability.
- Silhouette: Match the general shape of the shoe to the character's design. It is much easier to add decorative elements to a plain boot than it is to remove a chunky heel or change the toe shape.
- Size: Consider buying a half-size larger if you plan to add thick insoles for comfort or if the shoes are a material that does not stretch.
Preparing the Surface for Modification
You cannot simply paint over an old shoe and expect the finish to last. Second-hand shoes carry oils, waxes, and old polishes that will cause new paint to peel or bubble. Proper preparation is the difference between a professional finish and a costume that flakes off by the second hour of a convention.
Follow these steps to prep your footwear:
- Deep Clean: Use a mild detergent and a scrub brush to remove all surface dirt. For leather, use a dedicated leather cleaner.
- Deglaze: Use a cotton ball soaked in acetone or a dedicated leather preparer/deglazer. Rub the surface firmly to remove the factory finish or old wax. The surface should look matte and feel slightly "tacky."
- Sanding: For plastic or rubber soles, use a fine-grit sandpaper (around 220 to 400 grit) to create a "tooth" for the paint to grip onto.
- Masking: Use painter's tape to cover the areas you do not want painted, such as the very bottom of the sole, to maintain grip and prevent premature wear.
- Orthopedic Insoles: Replace the old, compressed insoles of the second-hand shoe with high-quality gel or foam inserts. This is the single best investment you can make for your feet.
- Heel Grips: If the shoes are slightly too large, add suede heel grips to prevent your foot from sliding forward, which reduces friction and blisters.
- Breaking Them In: Never wear your refurbished shoes for the first time at a convention. Wear them around the house with thick socks for several days to ensure there are no pressure points.
Painting and Coloring Techniques
Standard acrylic paint will crack and peel on footwear because shoes are designed to flex. To achieve a durable finish, you must use flexible paints specifically designed for leather or vinyl.
Layering for Depth: Instead of one thick coat, apply multiple thin layers. This prevents pooling and reduces the risk of cracking. Allow each layer to dry completely before applying the next.
Color Matching: If you are struggling to match a specific character color, mix your flexible paints. Start with a neutral base and add pigments slowly. Always test your color on a scrap piece of similar material or a hidden part of the shoe before committing to the entire boot.
Sealing the Work: Once the paint is dry, apply a flexible finisher or sealant. Choose a matte finish for tactical or rugged boots, and a gloss finish for dress shoes or sci-fi armor. This layer protects the paint from rain, scuffs, and dust.
Adding Dimensional Details
Once the base color is set, you can transform a generic shoe into a character-specific piece by adding 3D elements. This is where the "cosplay" aspect of the build truly happens.
Using EVA Foam
EVA foam is the gold standard for adding armor plates, toe caps, or decorative trim to shoes. Cut your shapes, heat-form them to the curve of the shoe using a heat gun, and adhere them using contact cement. Contact cement is essential here; avoid hot glue, as it can melt under the heat of a convention floor or peel away from the smooth surface of the shoe.
Adding Hardware and Trim
To add buckles, studs, or straps, you may need to punch holes through the material. Use a leather punch tool rather than scissors to ensure the holes are clean and do not tear. For straps, use heavy-duty webbing or faux leather strips, securing them with rivets for a professional, industrial look.
Fabric Overlays
If the character wears fabric boots, you can create "gaiters" or shoe covers. Instead of sewing directly into the shoe, create a separate sleeve of fabric that slips over the shoe and secures with Velcro or laces. This allows you to wash the fabric covers separately from the shoes.
Prioritizing Long-Term Comfort
A stunning pair of shoes is useless if you cannot walk in them. Upcycling provides a great opportunity to customize the interior of the shoe for maximum endurance.
Maintenance and Longevity
To keep your upcycled footwear in top condition, implement a post-con care routine. Use a damp cloth to wipe away surface dust and dirt immediately after the event. If you used flexible paint, you can touch up small scuffs with a small detail brush and a bit of leftover paint.
Store your shoes in a cool, dry place away from direct sunlight, which can fade the colors and degrade the adhesives used for foam attachments. By treating your footwear as a piece of art rather than just an accessory, you ensure that your character's look remains polished from head to toe.