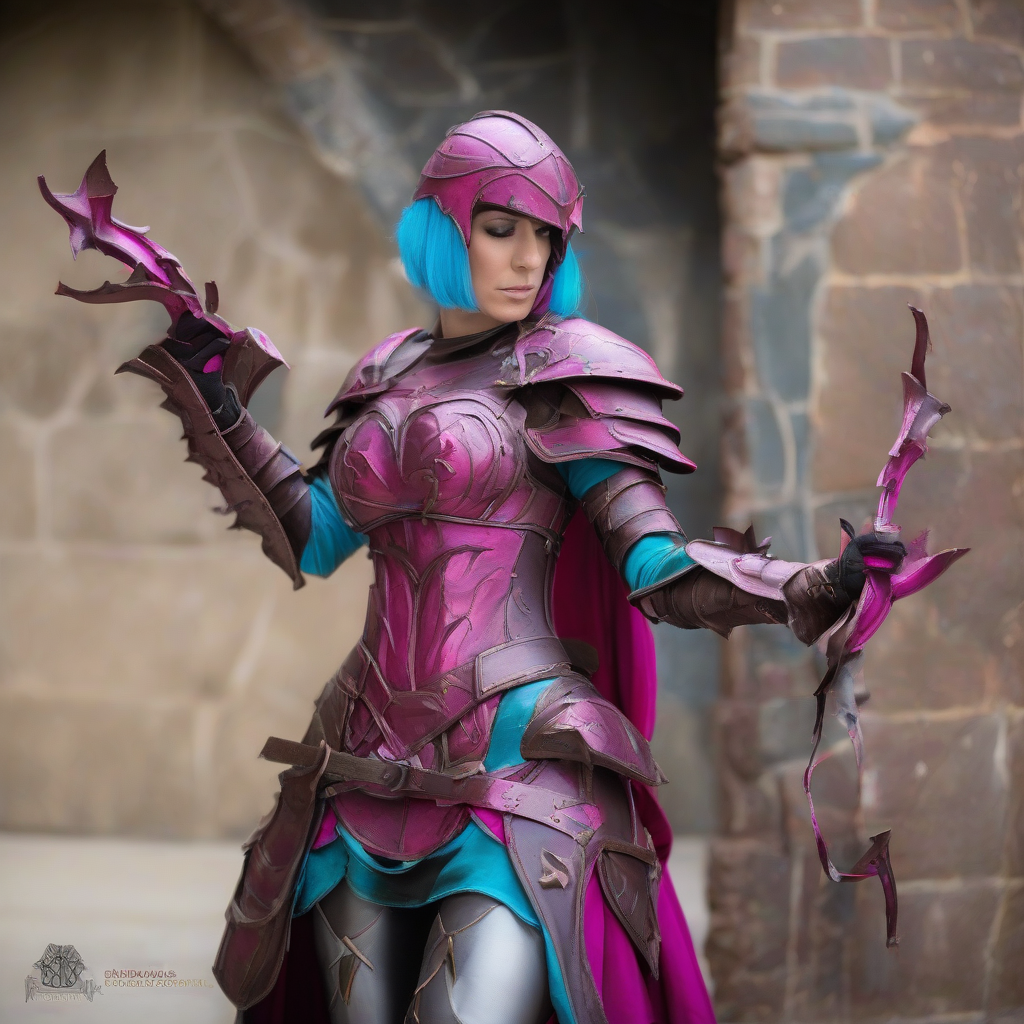
Every experienced cosplayer knows the distinct heart-sink moment: you have spent forty hours meticulously pattern-making, cutting, heat-shaping, and sanding high-density EVA foam armor. You lay down a base coat of metallic spray paint, and suddenly, it looks less like legendary dwarven plate armor and more like a shiny plastic toy from a department store shelf. The secret weapon that bridges this gap between prop-making and movie-magic realism is weathering. By simulating mud, rust, soot, and structural wear, you can tell a visual story about where your character has been and what battles they have survived.
Among the vast toolkit available to makers, two foundational techniques reign supreme for their accessibility, speed, and stunning results: the acrylic wash and drybrushing. When used in tandem, these methods create instant depth, shadow, and highlighted texture. This guide will walk you through the practical mechanics of executing these techniques on EVA foam, thermoplastic, and 3D-printed props without ruining your hard work.
The Golden Rule: Seal Your Surface First
Before any weathering product touches your prop, proper surface preparation is non-negotiable. Whether you are working with EVA foam, Worbla, or PLA print lines, raw materials will absorb moisture unevenly, ruining your washes and ruining the finish.
Always apply a reliable primer after your sanding and Dremel work is complete. For foam, a mixture of Plasti Dip, PVA glue, or flexible automotive primer works best to maintain flexibility. Once primed, lay down your base coat—usually a satin or matte acrylic spray. Avoid high-gloss finishes unless you are going for a pristine sci-fi aesthetic, as gloss reflects light in a way that fights against painted-on weathering effects. Give your base coat a full 24 hours to cure before moving on to weathering.
Laying Down Shadows with Acrylic Washes
While base coats give your armor its primary color, the real world is rarely a single flat shade. Dust, grime, grease, and shadows naturally settle into crevices, rivets, panel lines, and seams. An acrylic wash mimics this natural shadow accumulation.
How to Mix and Apply a Wash
- Select your pigment: For general grime and organic dirt, use a dark brown (burnt umber) or raw umber. For sci-fi grease, soot, and carbon scoring, use a deep black or Payne's gray. Avoid pure stark black for organic weathering, as it can look muddy and cartoonish.
- Thin it down drastically: A wash is essentially tinted water. Mix your acrylic craft paint with water in a ratio of roughly 1 part paint to 8 or 10 parts water. You can add a single drop of liquid dish soap to break the surface tension, allowing the wash to flow smoothly into deep recesses.
- Flood the details: Using a soft mop brush or a medium filbert brush, load up the mixture and slather it liberally over your prop, ensuring it pools in the crevices and engraved lines.
- Wipe away the excess: Before the wash completely dries, take a damp (not dripping) paper towel or cosmetic sponge and wipe across the raised surfaces. The dark pigment will remain trapped in the recesses, instantly creating dramatic depth and shadow.
Highlighting Texture with Drybrushing
If the acrylic wash represents shadows and grime, drybrushing represents light hitting edges, corners, and areas of high friction where paint has chipped away. It is the yin to the wash's yang.
Mastering the Drybrushing Technique
- Choose a lighter or metallic tone: If you are weathering a steel breastplate, use a bright silver or gunmetal metallic paint. If you are weathering a leather pauldron, use a lighter tan or ochre than your base coat.
- Load and offload: Dip just the tips of the bristles into your undiluted acrylic paint. Then, take a dry paper towel and vigorously scrub the brush back and forth. You want to remove almost all visible paint from the bristles until the brush leaves only a faint, dusty trace when wiped on your hand.
- Light, feathery strokes: Gently graze the brush horizontally across the raised edges, rivets, and textured surfaces of your prop. Because there is so little paint on the brush, the pigment will only catch on the highest points, making them pop out visually.
- Build up slowly: Never press hard. It is far easier to add a second pass of drybrushing than it is to remove an accidental blob of silver paint from the middle of a clean panel.
Simulating Battle Damage and Scratches
Once you have mastered washes and drybrushing, you can layer in structural battle damage to sell the illusion of combat.
- Use a hobby knife or wood burner to carve realistic gashes, notches, and gouges into your EVA foam before painting.
- When you apply your dark acrylic wash, ensure some of that dark pigment settles deep into these physical cuts to represent old, accumulated dirt inside the wounds.
- During your drybrushing phase, use a fine detail brush or a piece of sponge to dab a tiny line of bright metallic silver directly along the upper lip of the gouge. This creates the optical illusion that metal has been freshly sheared away, catching the light.
- For rust effects, dab a rusty orange-brown paint sparingly inside deep scratches using a torn piece of packing sponge rather than a paintbrush, mimicking the random, speckled texture of oxidization.
Sealing Your Masterpiece
The biggest heartbreak in prop-making is spending hours applying delicate washes and drybrushing, only to watch it rub off onto your hands, costume pieces, or con-goers during a crowded convention weekend. Acrylic paint, especially when thinned down for washes, can remain somewhat fragile.
Always lock in your finished weathering effects with a protective topcoat. Matte sealers work best for fabric, leather, and weathered fantasy armor, while satin or semi-gloss can be used sparingly on sci-fi metals where a bit of oily sheen is desired. Spray two light, even coats from a distance of about 12 inches in a well-ventilated area, and let your armor cure completely before packing it into your travel bins. By combining these simple sealing, washing, and drybrushing techniques, your next build will possess the undeniable weight and realism of a true museum-grade prop.