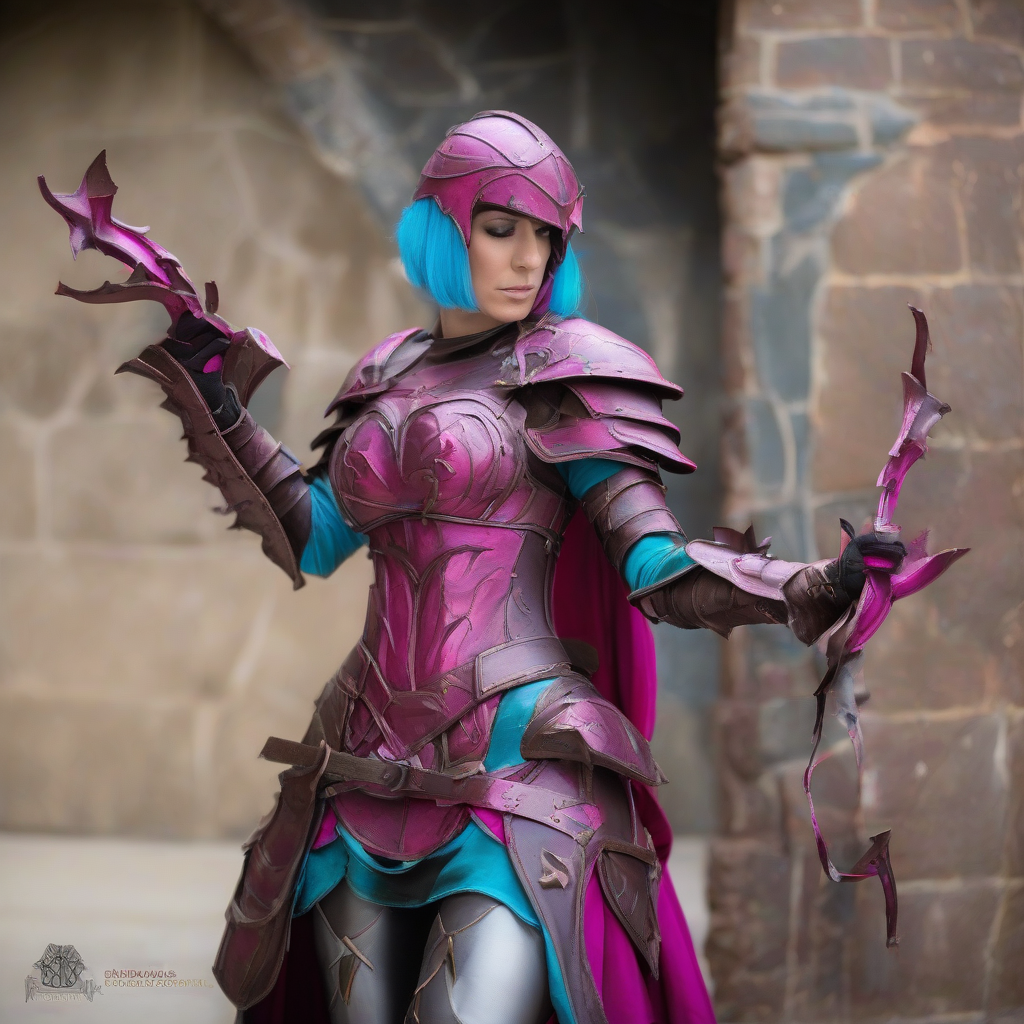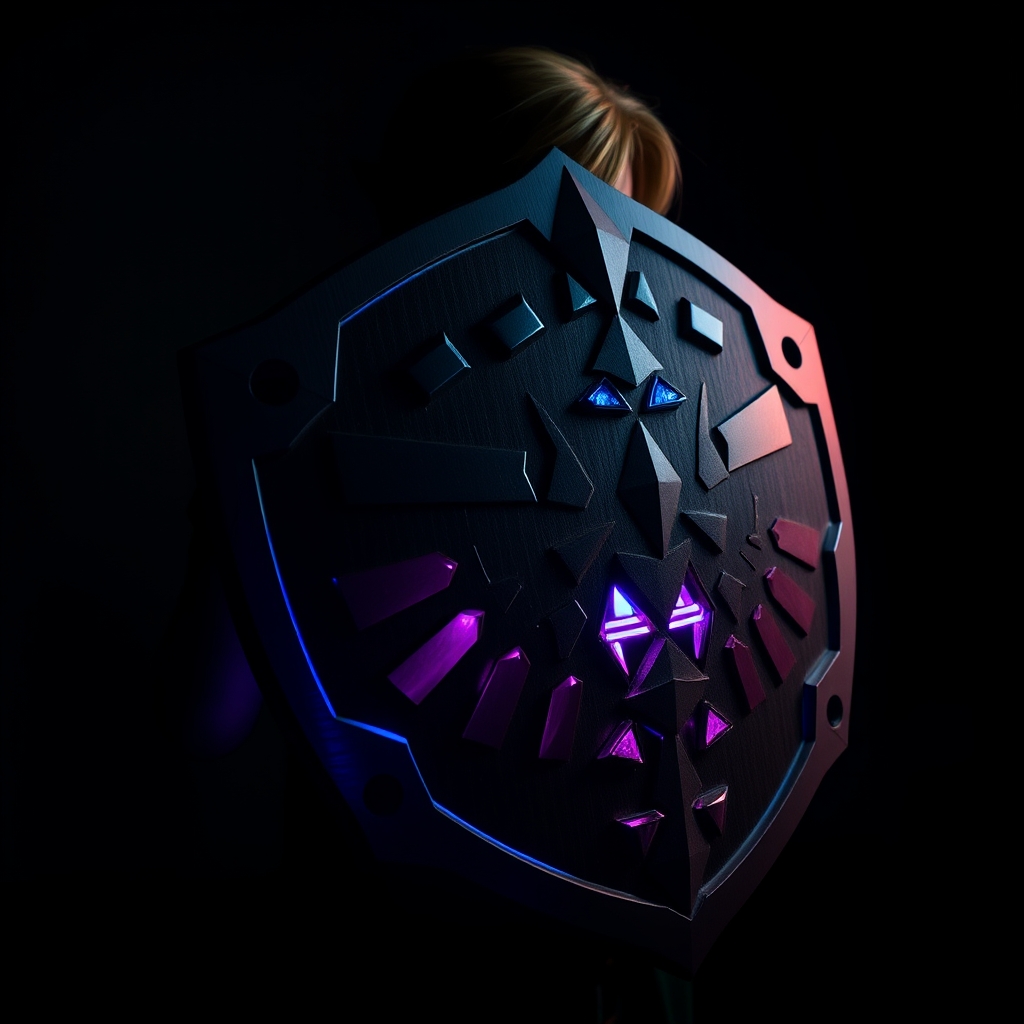
Introduction
The Legend of Zelda series has been a staple of gaming culture for decades, inspiring countless fans around the world with its richly detailed worlds, memorable characters, and iconic props. Among these props, the shields wielded by Link, the series' protagonist, are some of the most recognizable and coveted. In this guide, we'll walk you through the process of crafting your own authentic and durable shields inspired by The Legend of Zelda series.
Choosing Your Shield
With a wide range of shields to choose from, selecting the right one for your cosplay can be overwhelming. From the classic Hylian Shield to the more elaborate Master Sword shield, each design presents its own unique challenges and opportunities. Consider the following factors when choosing your shield:
- Size and weight: Larger shields may be more impressive, but can be cumbersome to carry and display.
- Material: Different materials offer varying levels of durability, texture, and authenticity.
- Complexity: Some shields feature intricate designs or patterns that may require advanced crafting skills.
Materials and Tools
To create a sturdy and realistic shield, you'll need a variety of materials and tools. Here are some essentials to get you started:
- Foam board or Worbla: For the shield's body and edging.
- PVC pipe or foam tubing: For the handle and mounting hardware.
- Hot glue gun and epoxy: For bonding and reinforcing the shield's structure.
- Paint and primer: For achieving a realistic finish and color scheme.
- Sandpaper and files: For smoothing and shaping the shield's surface.
Crafting the Shield Body
The shield body is the foundation of your prop, and its construction requires careful planning and execution. Here's a step-by-step guide to crafting a basic shield body:
- Cut out the shield shape from foam board or Worbla, using a template or pattern as a guide.
- Sand and smooth the edges, using progressively finer grits of sandpaper.
- Apply a coat of primer and paint, using acrylic or enamel paints for a durable finish.
- Allow the paint to dry completely, then apply a clear coat to protect the finish.
Adding Details and Embellishments
Once the shield body is complete, it's time to add details and embellishments that bring your prop to life. Consider the following techniques:
- Painting: Use thin coats of paint to build up intricate designs or patterns.
- Decals: Apply vinyl decals or stickers to add texture and visual interest.
- Edge highlighting: Use a fine brush to add subtle shading and depth to the shield's edges.
Finishing Touches
The final stage of crafting your shield involves adding a handle and mounting hardware. Here's a simple method for attaching a handle:
- Cut a length of PVC pipe or foam tubing to serve as the handle.
- Attach the handle to the shield body using hot glue or epoxy.
- Add mounting hardware, such as a strap or clip, to secure the shield to your arm or back.
Conclusion and Tips
Crafting a shield inspired by The Legend of Zelda series requires patience, creativity, and attention to detail. Here are some final tips to help you elevate your gaming cosplay:
- Research and reference: Study official artwork, screenshots, and real-world examples to ensure accuracy and authenticity.
- Practice and experiment: Don't be afraid to try new techniques or materials – it's all part of the creative process.
- Join the community: Share your work and learn from fellow cosplayers and prop makers online or at local meetups.
With these techniques and materials, you'll be well on your way to crafting an iconic shield that will make your gaming cosplay shine.