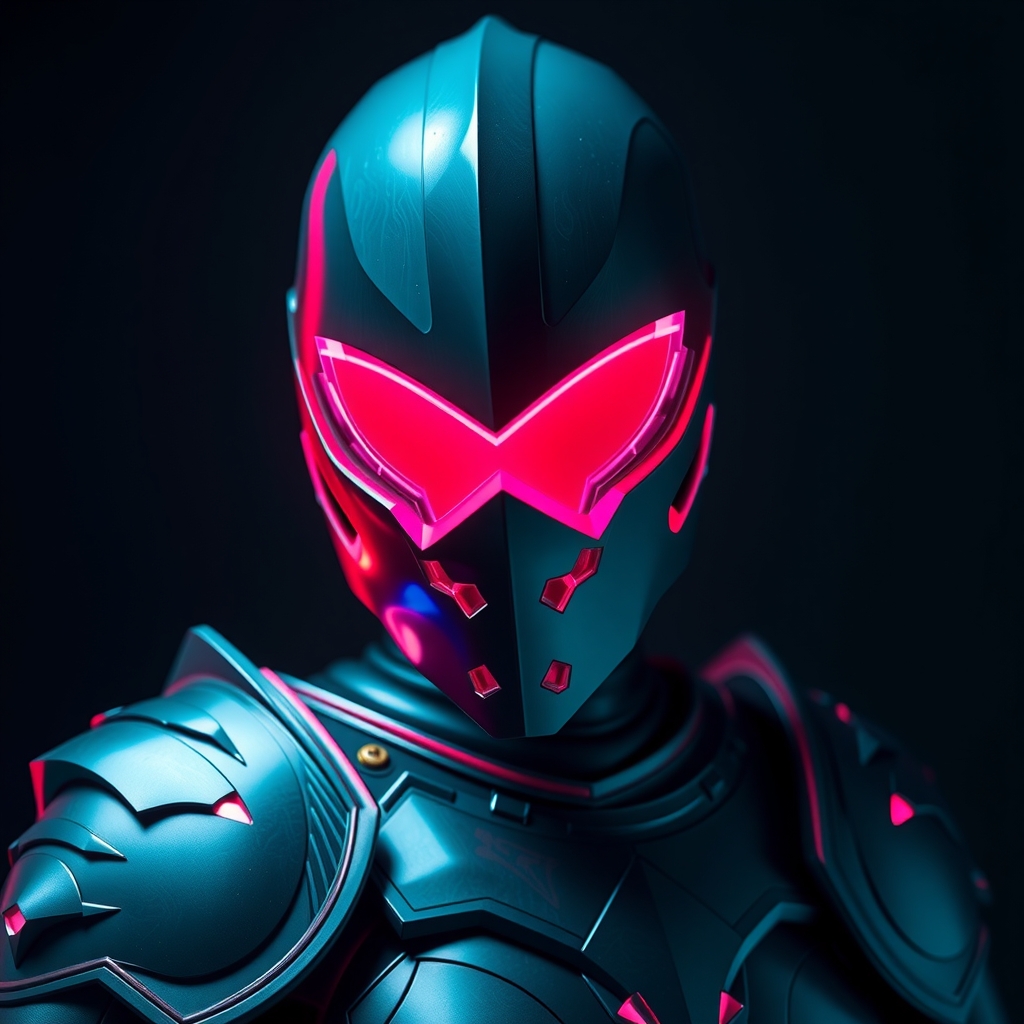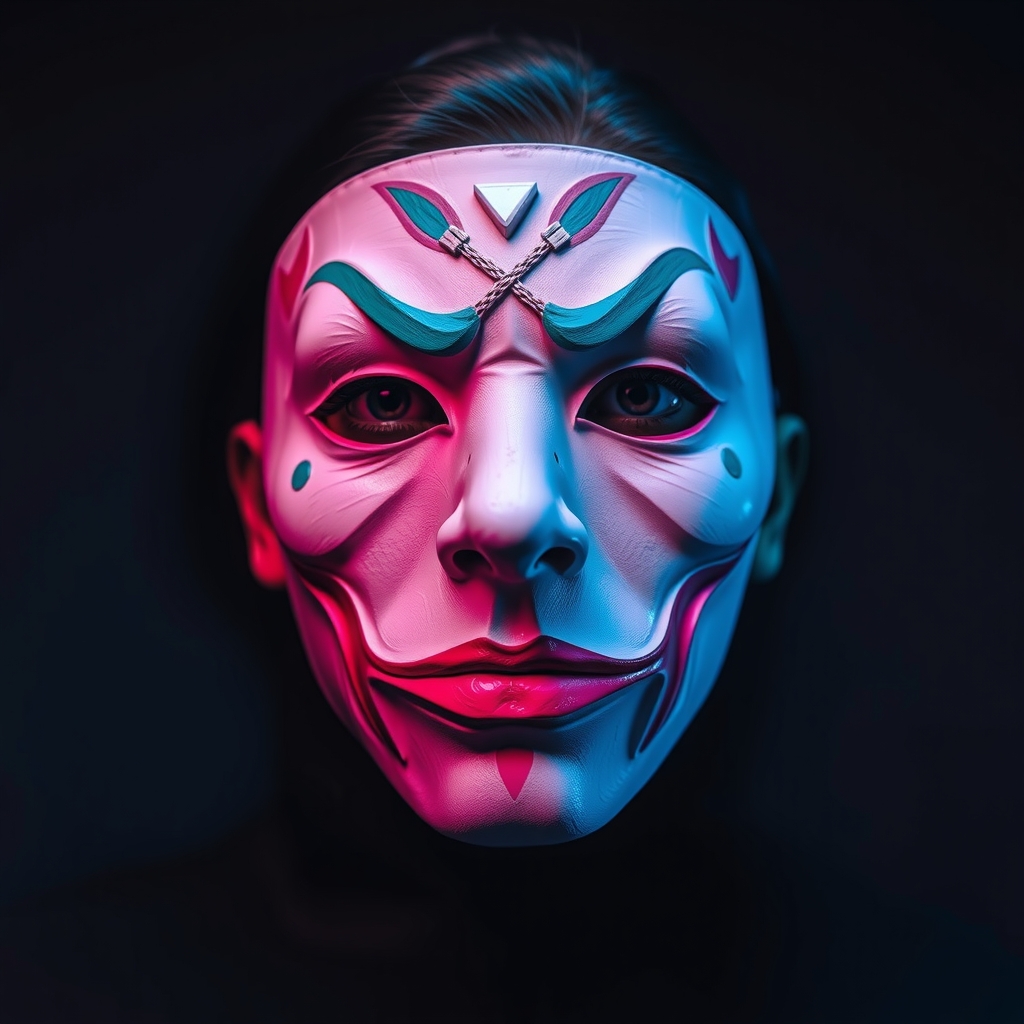
For many cosplayers, the mask is the centerpiece of a character's identity. Whether it is a stylized creature, a robotic visor, or an exaggerated humanoid face, the mask dictates the silhouette and the emotional tone of the costume. While high-end resins and 3D prints are popular, they can be heavy, expensive, and difficult to modify on the fly. Papier-mâché remains one of the most accessible and versatile methods for creating custom masks, offering a lightweight finish that can be sculpted into complex, expressive shapes without requiring industrial machinery.
Phase One: Building the Foundation
The secret to a professional-looking papier-mâché mask is the armature. You cannot simply layer paper over a flat surface; you need a structural base that mimics the anatomy of the character and the proportions of your own head.
Selecting Your Base
Depending on the complexity of the mask, you have three primary options for your armature:
- The Balloon Method: Ideal for spherical or rounded masks. Inflate a balloon to slightly larger than your head size to create a smooth, curved surface.
- The Foil and Tape Method: Use crumpled aluminum foil to build up specific features—such as a prominent brow, a long nose, or horns—and secure them with masking tape. This allows for asymmetrical and organic shapes.
- The Mannequin Head: For highly accurate humanoid proportions, use a styrofoam wig head. To prevent the paper from sticking permanently, wrap the head entirely in plastic cling wrap before beginning.
Creating the Paste
Avoid using only glue, as it can create a plastic-like skin that is difficult to paint. A traditional flour-and-water paste is effective, but for cosplay, a mixture of white PVA glue and water (roughly a 2:1 ratio) provides better durability and a smoother finish. For added strength and mold resistance, some builders add a small amount of salt to the mixture.
Phase Two: The Layering Process
The goal of layering is to achieve structural rigidity without adding excessive weight. The most common mistake is applying too many layers of thick paper, which leads to a bulky, "clumpy" appearance.
Tearing vs. Cutting
Always tear your paper into small strips rather than cutting them with scissors. Torn edges blend into one another more seamlessly, eliminating the visible ridges and "steps" that occur when straight-edged strips overlap. This results in a smoother surface that requires less sanding later.
The Layering Strategy
- The Base Layer: Apply the first layer of thin newsprint or tissue paper. This layer should be saturated with paste to ensure it bonds firmly to the armature.
- The Structural Layers: Apply three to five subsequent layers. To ensure the mask is strong, rotate the direction of the strips with each layer. If the first layer runs vertically, the second should run horizontally.
- The Finishing Layer: Use a high-quality tissue paper or a thin white paper for the final layer. This creates a more uniform surface and makes it easier to see imperfections that need to be smoothed out.
Crucial Tip: Allow the mask to dry completely between every two layers. If you apply too many wet layers at once, you risk trapping moisture against the armature, which can lead to warping or mold.
Phase Three: Refining the Form
Once the mask is fully cured and hard to the touch, it is time to transition from "paper craft" to "sculpture." This is where the mask gains its expressive character.
Sanding and Smoothing
Use a medium-grit sandpaper to knock down any high spots or rough edges. For deep crevices or areas that need a more organic look, you can apply a thin layer of joint compound or lightweight spackle. Once the spackle dries, sand it flush with the paper surface. This fills in the "pores" of the papier-mâché, creating a surface that looks like molded plastic or bone.
Cutting the Vents
Before painting, carefully cut out the eye holes and nostrils. Use a sharp X-Acto knife and cut from the inside out to avoid tearing the exterior surface. Ensure the eye holes are slightly larger than your actual pupils to improve peripheral vision, which is critical for safety during convention navigation.
Phase Four: Painting for Expression
The paint job is what breathes life into the mask. A flat color looks like a toy; a layered color scheme looks like a character.
Priming the Surface
Papier-mâché is highly absorbent. If you apply paint directly to the paper, it will soak in unevenly, leading to streaks. Apply a primer—either a dedicated spray primer or a mixture of white acrylic paint and PVA glue—to seal the surface. This creates a non-porous canvas for your colors.
The Three-Step Painting Technique
To create depth and expression, follow this professional painting workflow:
- The Base Coat: Apply a solid mid-tone color across the entire mask. This establishes the general hue of the character.
- The Wash: Mix a dark color (black or deep brown) with a large amount of water or acrylic medium. Brush this over the mask, allowing it to settle into the recesses, wrinkles, and crevices. Wipe away the excess from the raised areas with a damp cloth. This instantly adds "age" and definition to the sculpt.
- The Dry Brush: Dip a stiff brush into a light-colored paint and wipe most of it off onto a paper towel. Lightly flick the brush across the highest points of the mask (the brow, the cheekbones, the tip of the nose). This simulates light hitting the surface and makes the features "pop."
Phase Five: Final Seals and Comfort
A mask is only useful if it is wearable. The final steps focus on longevity and ergonomics.
Adding Interior Padding
Papier-mâché can be abrasive against the skin. Glue small pieces of upholstery foam or felt pads to the interior of the forehead and cheek areas. This prevents the mask from shifting and provides a comfortable cushion for long hours of wear.
The Final Seal
To protect your paint from humidity and accidental scuffs, apply a clear sealant. Use a matte varnish for organic characters (monsters, humans) and a high-gloss varnish for inorganic characters (robots, porcelain dolls). This locks in the paint and ensures the mask remains a permanent part of your cosplay collection.