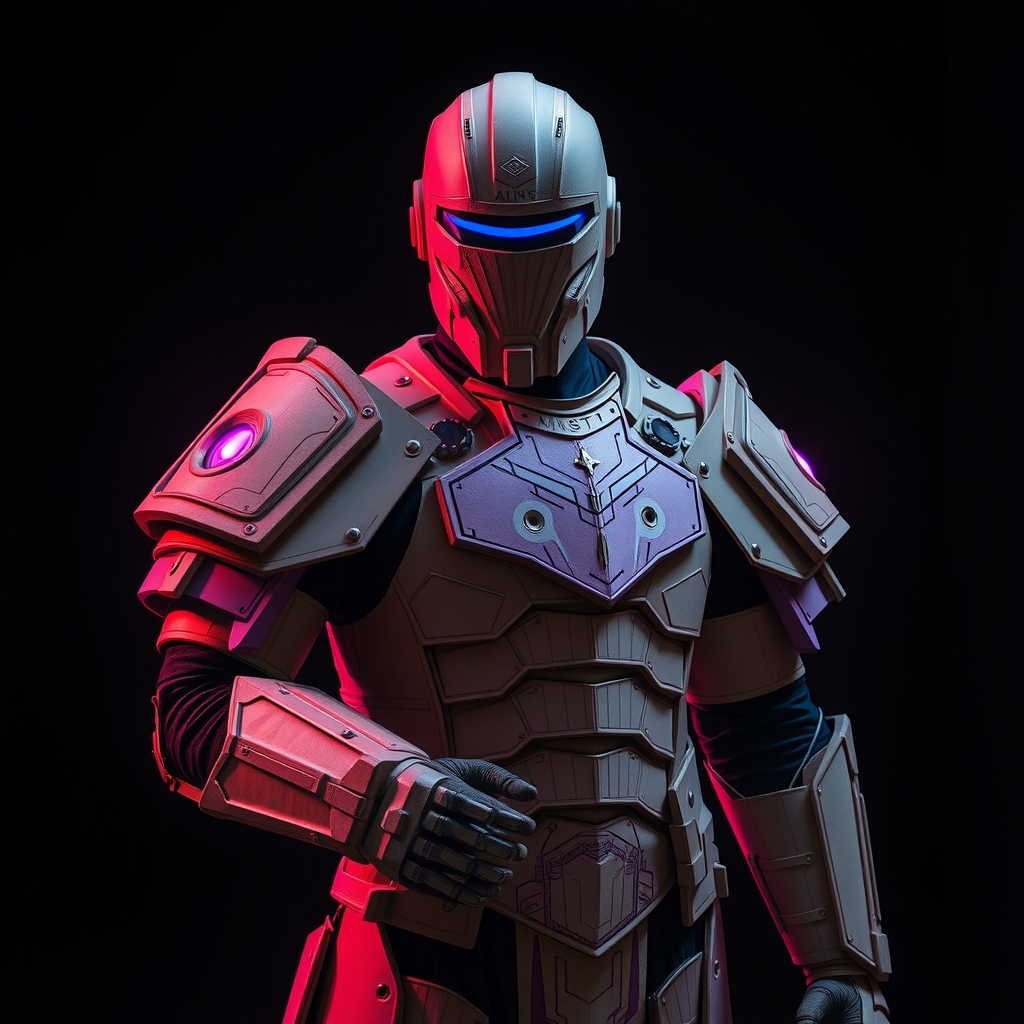
Introduction to Interactive Cosplay
As cosplayers and fans of gaming, we're always looking for ways to take our craft to the next level. One exciting trend is the creation of interactive cosplay props that respond to sound, movement, or other environmental factors. With the help of Arduino and sensors, you can bring your favorite game characters to life and create an immersive experience for yourself and those around you.
Getting Started with Arduino
Arduino is an open-source electronics platform that allows you to create interactive projects with ease. To get started, you'll need an Arduino board, such as the Arduino Uno or Arduino Nano, and a computer with the Arduino IDE software installed. Familiarize yourself with the board's components and the software's interface. There are many online resources and tutorials available to help you learn the basics of Arduino programming and circuitry.
Choosing the Right Sensors
Sensors are crucial for creating interactive cosplay props. Some popular sensors for cosplay projects include:
- Accelerometers: measure acceleration and movement
- Gyroscopes: measure orientation and rotation
- Light sensors: detect changes in light levels
- Sound sensors: detect sound waves and vibrations
- Pressure sensors: detect changes in pressure
When choosing a sensor, consider the type of interaction you want to create and the environment in which the prop will be used.
Designing and Building Interactive Props
Once you've chosen your Arduino board and sensors, it's time to design and build your interactive prop. Here are some general steps to follow:
- Conceptualize your prop: sketch out your design and think about how you want it to function
- Choose your materials: select materials that are durable, lightweight, and suitable for your prop's design
- Build the prop's structure: use materials like foam, Worbla, or 3D printing to create the prop's shape and structure
- Integrate the Arduino and sensors: connect your Arduino board and sensors to the prop's structure
- Program the prop's behavior: use the Arduino IDE to write code that responds to sensor inputs and creates the desired interaction
Example Project: Interactive Lightsaber
Let's say you want to create an interactive lightsaber prop that responds to sound and movement. Here's a possible project:
- Arduino board: Arduino Uno
- Sensors: sound sensor, accelerometer
- Materials: foam, LED strip, battery pack
- Behavior: when the sound sensor detects a loud noise, the LED strip turns on and the accelerometer triggers a vibration effect
This project requires some basic circuitry and programming knowledge, but the result is a highly interactive and immersive prop.
Tips and Tricks for Success
Working with Arduino and sensors can be challenging, especially for beginners. Here are some tips and tricks to keep in mind:
- Start small: begin with simple projects and gradually build complexity
- Test and iterate: test your prop regularly and make adjustments as needed
- Use online resources: take advantage of online forums, tutorials, and code libraries to help with your project
- Practice safety: always follow proper safety precautions when working with electronics and power tools
Conclusion and Inspiration
With Arduino and sensors, the possibilities for interactive cosplay props are endless. From simple LED effects to complex robotic movements, you can bring your favorite game characters to life and create an immersive experience for yourself and others. Don't be afraid to experiment and try new things – and don't forget to share your creations with the cosplay community!