Introduction
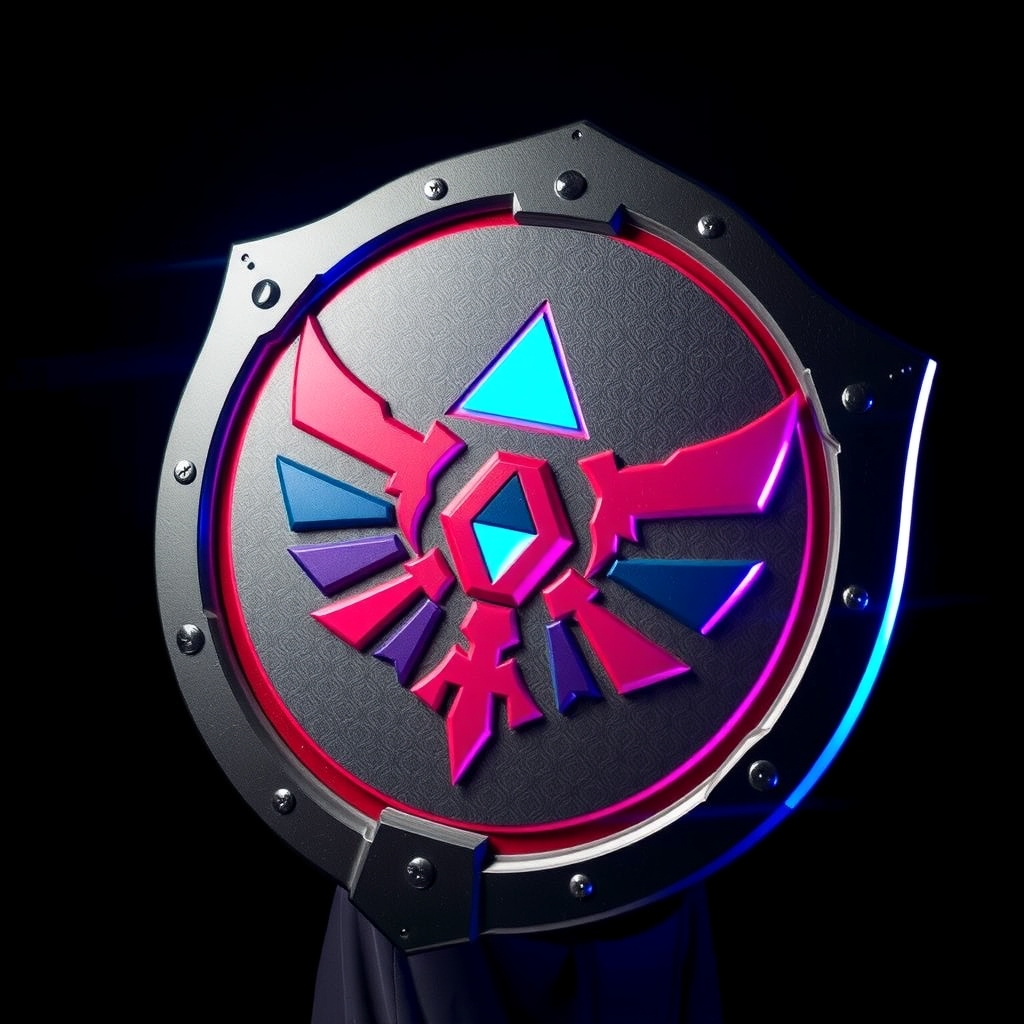
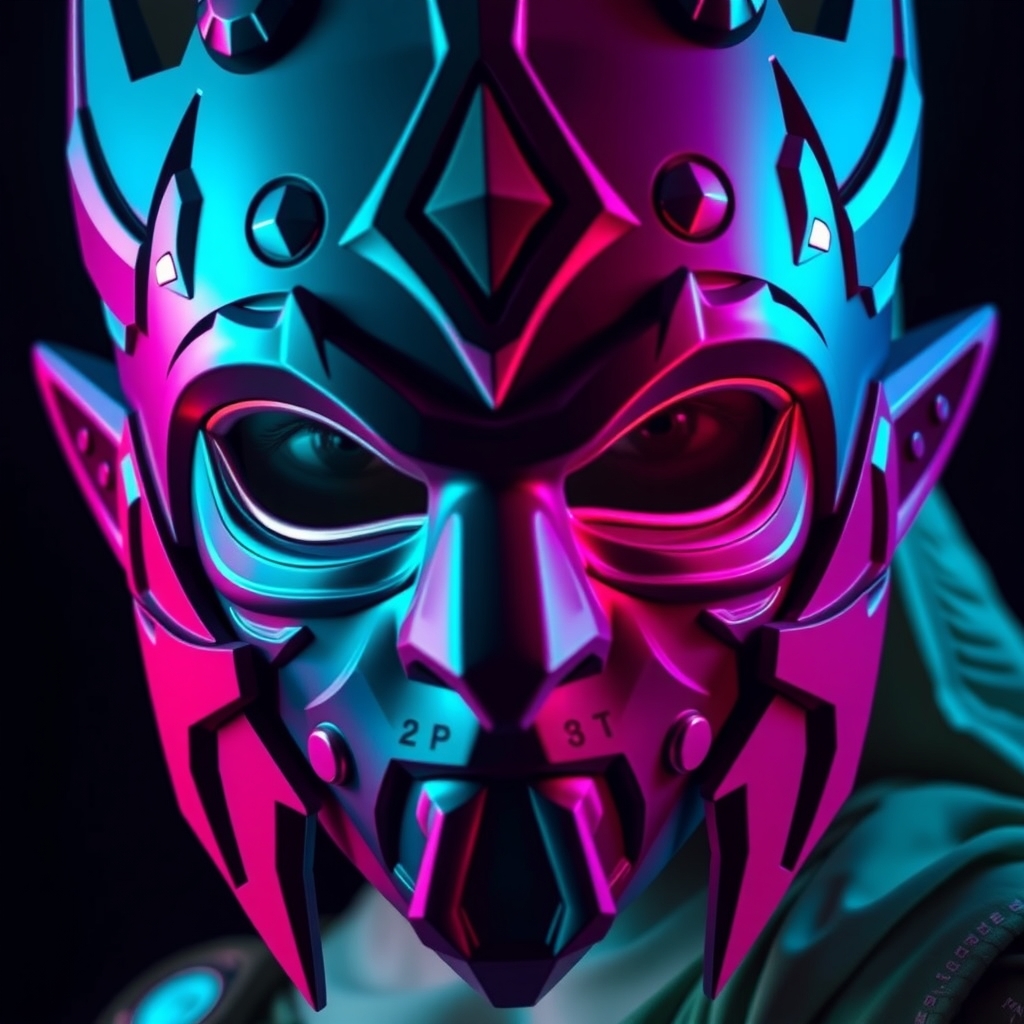
For cosplayers and prop-makers, creating a hyper-realistic Legend of Zelda mask is a dream project. With the advancement of 3D printing technology, achieving a high level of detail and realism has become more accessible. In this guide, we'll walk you through the process of designing, 3D printing, and painting a stunning Legend of Zelda mask.
Designing Your Mask
The first step in creating a hyper-realistic Legend of Zelda mask is to design the model. You can either create your own design or use an existing one as a reference. For this guide, we'll assume you're using a 3D model of a Legend of Zelda mask. You can find various 3D models online or purchase them from 3D model marketplaces.
When selecting a 3D model, consider the level of detail and complexity. A good model should have intricate details, such as textures, patterns, and shapes that resemble the in-game mask. You can also modify the design to fit your cosplay needs or add personalized touches.
Preparing the 3D Model for Printing
Once you've obtained the 3D model, you'll need to prepare it for 3D printing. This involves:
- Scaling the model to the desired size
- Repairing any mesh errors or gaps
- Optimizing the model for 3D printing by adjusting the thickness and complexity
You can use software like Blender or MeshLab to edit and prepare your 3D model.
3D Printing the Mask
With your 3D model prepared, it's time to print the mask. You can use various 3D printing technologies, such as FDM (Fused Deposition Modeling) or SLA (Stereolithography). For a hyper-realistic mask, we recommend using a high-resolution 3D printing method, such as SLA.
When printing, consider the following:
- Layer thickness: A lower layer thickness will result in a more detailed print.
- Print resolution: Adjust the print resolution to achieve the desired level of detail.
- Support material: Use support material to prevent the mask from warping or collapsing during printing.
Post-Processing the Mask
After printing, the mask will require post-processing to achieve a smooth, realistic finish. This involves:
- Removing support material
- Sanding the surface to smooth out any imperfections
- Applying a primer to create a uniform base coat
Painting the Mask
Painting is a crucial step in creating a hyper-realistic Legend of Zelda mask. You can use various painting techniques, such as airbrushing or hand-painting, to achieve the desired colors and textures.
For a realistic finish, consider the following:
- Use reference images to accurately match the in-game colors and textures.
- Apply multiple coats of paint to achieve a deep, rich color.
- Use a clear coat to protect the paint and give the mask a glossy finish.
Adding Final Details
The final step is to add any additional details, such as:
- Adding a harness or strap to secure the mask
- Applying a weathering effect to give the mask a battle-worn look
- Adding LED lights or electronics to create a functional effect
With these final touches, your hyper-realistic Legend of Zelda mask is complete.
Conclusion
Crafting a hyper-realistic Legend of Zelda mask using 3D printing and painting techniques requires patience, skill, and attention to detail. By following this guide, you'll be able to create a stunning mask that will elevate your cosplay to the next level. Remember to experiment, innovate, and have fun with the process – and don't be afraid to share your creations with the cosplay community.