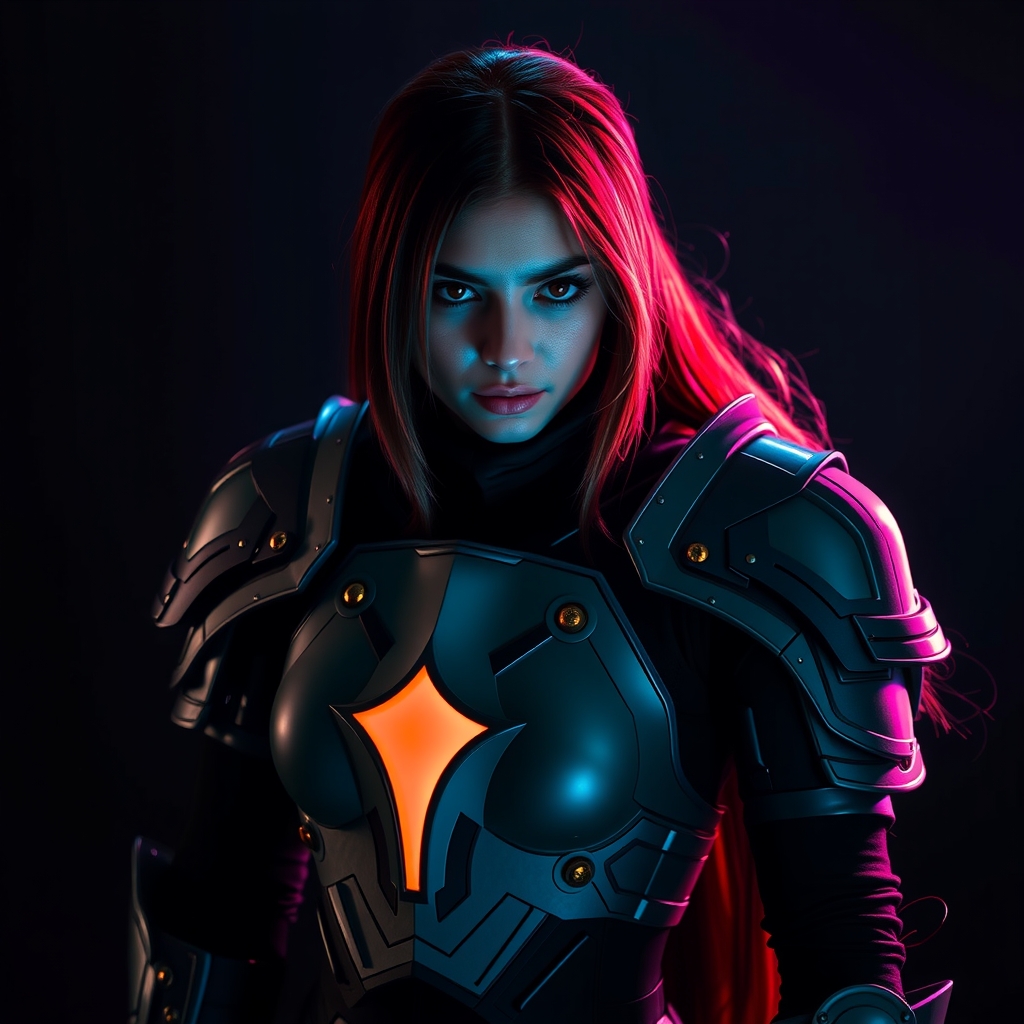
Introduction to Cosplay Armor Making
Cosplay armor is an integral part of many video game-inspired costumes, adding an extra layer of detail and realism to the overall look. With the right materials and techniques, anyone can create impressive armor pieces that will take their cosplay to the next level. In this guide, we'll focus on working with EVA foam and Worbla, two popular materials for crafting cosplay armor.
Materials and Tools
Before starting your project, make sure you have the necessary materials and tools. For EVA foam and Worbla armor making, you'll need:
- EVA foam sheets (various thicknesses)
- Worbla thermoplastic sheets (various thicknesses)
- A heat gun or Worbla heat gun attachment
- A craft knife or foam cutter
- Contact cement or hot glue gun
- Sandpaper and files
- Paint and primer (optional)
Understanding EVA Foam and Worbla
EVA foam is a versatile, closed-cell foam material that's ideal for crafting cosplay armor. It's lightweight, easy to shape, and can be bonded with various adhesives. Worbla, on the other hand, is a thermoplastic material that can be molded and shaped when heated. It's often used in conjunction with EVA foam to add strength, durability, and a smooth finish to armor pieces.
Pattern Making and Foam Shaping
The first step in creating your cosplay armor is to design and pattern your piece. You can use paper or digital tools to create a template, taking into account the shape, size, and details of the armor. Once you have your pattern, transfer it to the EVA foam sheet and cut out the shape using a craft knife or foam cutter.
Next, use various techniques to shape and refine the foam, such as:
- Heat shaping: Use a heat gun to soften the foam and shape it to your desired form.
- Sandpapering: Smooth out rough edges and surfaces with sandpaper.
- Carving: Use a craft knife or Dremel to add details and texture to the foam.
Adding Worbla and Finishing Touches
Once you're happy with the shape and design of your foam piece, it's time to add Worbla. Cut a sheet of Worbla to size and apply it to the foam using a heat gun. Make sure to follow the manufacturer's instructions for temperature and application guidelines.
After applying the Worbla, use sandpaper and files to smooth out any rough edges or bumps. You can also add additional details, such as rivets or bolts, using paint or small pieces of Worbla.
Assembly and Installation
The final step in creating your cosplay armor is to assemble and install the piece. Use contact cement or a hot glue gun to bond multiple pieces together, making sure they're securely attached.
When installing the armor, consider using a combination of straps, buckles, and adhesives to ensure a secure and comfortable fit. You may also need to add additional support or padding to ensure the armor stays in place during wear.
Tips and Tricks
Here are a few additional tips to keep in mind when working with EVA foam and Worbla:
- Always work in a well-ventilated area, and use protective gear when working with power tools or heat guns.
- Test your materials and techniques on a small, inconspicuous area before starting your project.
- Don't be afraid to experiment and try new things – it's all part of the creative process!
With these basics under your belt, you're ready to start creating your own stunning cosplay armor pieces using EVA foam and Worbla. Happy crafting!