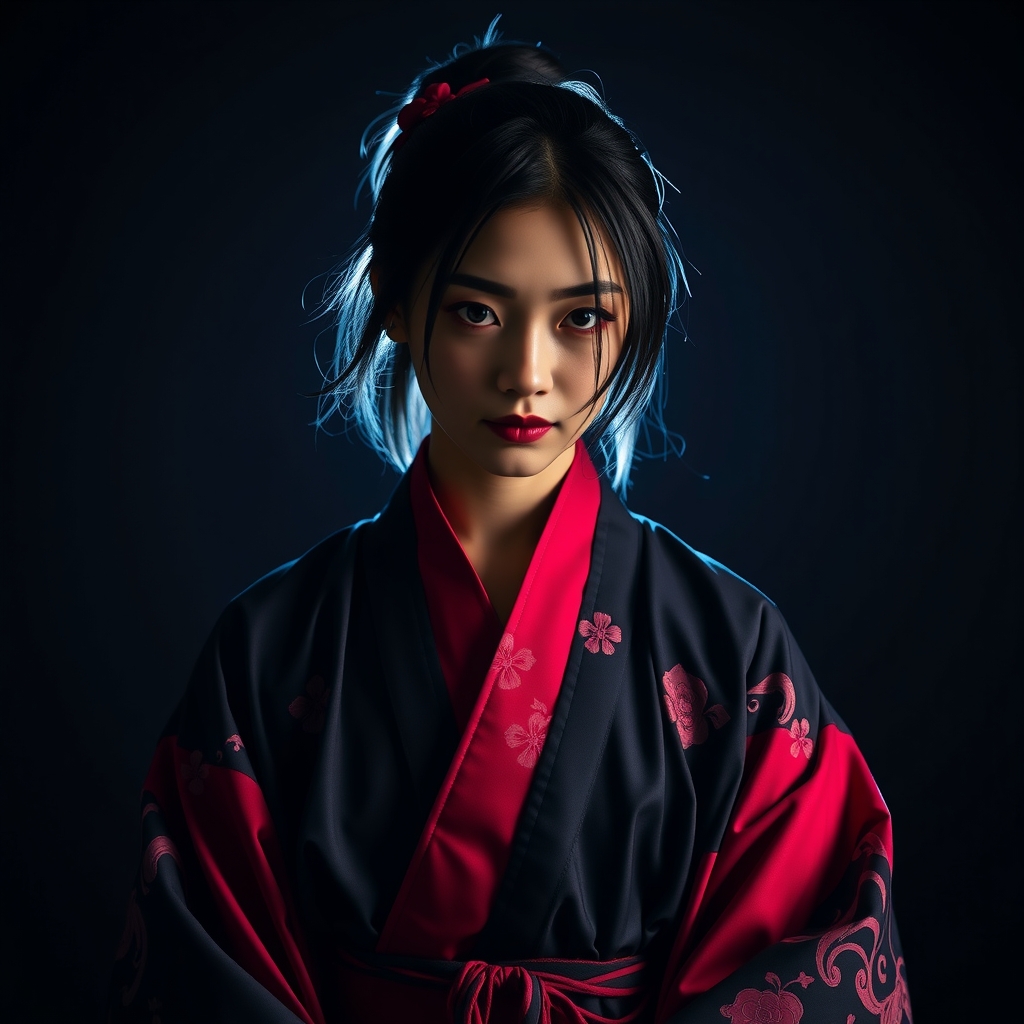
The obi is more than just a belt; it is the structural anchor of a traditional Japanese ensemble. For cosplayers, the challenge of the obi lies in the contradiction between its appearance and its function. While a finished obi looks like a stiff, sculptural piece of art, it must also be secure enough to withstand a full day of convention walking and posing without sagging or shifting.
Whether you are recreating a character from a historical period or a modern anime interpretation, understanding the physics of wrapping and the internal structure of the fabric is essential. This guide focuses on the practical construction and wrapping techniques required to achieve a professional, realistic finish.
Understanding the Anatomy of the Obi
Before attempting a wrap, you must understand that there are different types of obi, each serving a different aesthetic purpose. The most common types encountered in cosplay are the Obi-age (the decorative scarf tied above the belt), the Obi-makura (the bolster pillow used to create volume in the back), and the main belt itself.
The main belt generally falls into two categories: the wide, formal Maru Obi or Fukuro Obi, and the narrower, more casual Hanhaba Obi. For most cosplayers, the goal is to mimic the stiffness of a formal obi without the immense weight of traditional silk brocade. To achieve this, focus on the interfacing. A heavy-duty sew-in interfacing or a layer of canvas between the outer fabric and the lining is what allows the obi to hold its shape and resist wrinkling during the wrapping process.
Preparing the Base for Stability
One of the most common mistakes in cosplay is relying solely on the obi to stay in place. Because the fabric is often heavy, gravity will eventually pull the belt downward, creating unsightly gaps at the waist. To prevent this, you must create a stable foundation.
- The Under-layer: Wear a tight-fitting camisole or a dedicated under-garment that smooths the torso. This prevents the obi from catching on the folds of the kimono or yukata.
- The Anchor Belt: Use a thin, non-slip ribbon or a piece of elastic tied firmly around the waist beneath the kimono. This provides a physical "ledge" for the obi to sit on, preventing it from sliding down throughout the day.
- Friction Management: If your outer fabric is particularly slippery (such as satin), consider adding small strips of silicone grip tape to the inside of the obi where it contacts the waist.
The Mechanics of the Wrap
The process of wrapping an obi is an exercise in tension. If the wrap is too loose, the garment will shift; if it is too tight, you will struggle to breathe and move naturally. The goal is a firm, consistent pressure across the entire midsection.
The Initial Wrap
Start by centering the obi against your waist. Wrap the fabric around the body, ensuring the top edge is perfectly horizontal. As you overlap the fabric, pull firmly but avoid twisting the material. The overlap should be roughly two to three inches to ensure a secure hold. If you are using a pre-made obi belt, ensure the buckle or tie is positioned where it will be hidden by the final knot.
Creating the Volume
For formal styles, the "drum" shape at the back is iconic. This is achieved using an Obi-makura. This small, firm pillow is placed against the lower back, tucked into the wrap. The obi is then wrapped tightly over the pillow. The tension of the wrap holds the pillow in place, creating the elevated silhouette that allows the final decorative knot to sit prominently.
Tying the Decorative Knot
While there are dozens of traditional knots, the Bunko (butterfly) style is the most frequent in cosplay due to its visual impact. The secret to a clean knot is not the tie itself, but the "folding" phase.
- The Fold: Instead of tying a loose bow, fold the fabric into precise, flat rectangles. Use a ruler or a piece of cardboard to ensure the edges are crisp.
- The Pinning: In professional costuming, "invisible" pins are the best friend of the builder. Once the knot is shaped, use dressmaker pins to secure the folds to the main body of the obi. This ensures that even if you move vigorously, the knot remains symmetrical.
- The Final Tuck: Tuck the remaining ends of the fabric under the main belt, pulling them tight to lock the entire structure in place.
Material Selection for Different Aesthetics
The fabric you choose dictates how the obi will wrap and how it will photograph. Different materials react differently to tension and folding.
Stiff Brocades and Jacquards
These are ideal for formal looks. They hold a crease well and provide the structural integrity needed for complex knots. However, they can be bulky. If the fabric is too thick, reduce the number of wraps around the waist to avoid adding unnecessary bulk to your silhouette.
Cottons and Linens
Common for yukata-style cosplays, these fabrics are breathable and easy to work with. Because they lack inherent stiffness, you must use a heavier interfacing. Cotton is also more prone to wrinkling, so a quick steam once the obi is wrapped can polish the final look.
Satin and Synthetics
While visually striking, these are the most difficult to wrap because they slide. When using these materials, rely more heavily on the anchor belt and internal pinning. Avoid over-tightening, as synthetic fabrics can "pull" and create unsightly tension lines across the chest or hips.
Maintenance and On-the-Go Adjustments
No matter how well an obi is wrapped, the movement of a convention environment can cause slight shifts. To maintain your look, carry a small "obi kit" consisting of a few safety pins, a handheld steamer (if possible), and a small mirror.
If you notice the back volume sagging, do not attempt to re-tie the entire belt. Instead, reach under the fold and gently reposition the Obi-makura, then tighten the outer wrap by pulling the fabric slightly upward. For the knot, a quick check every few hours to ensure the pins are still holding will keep the silhouette sharp from the first photo to the final panel.