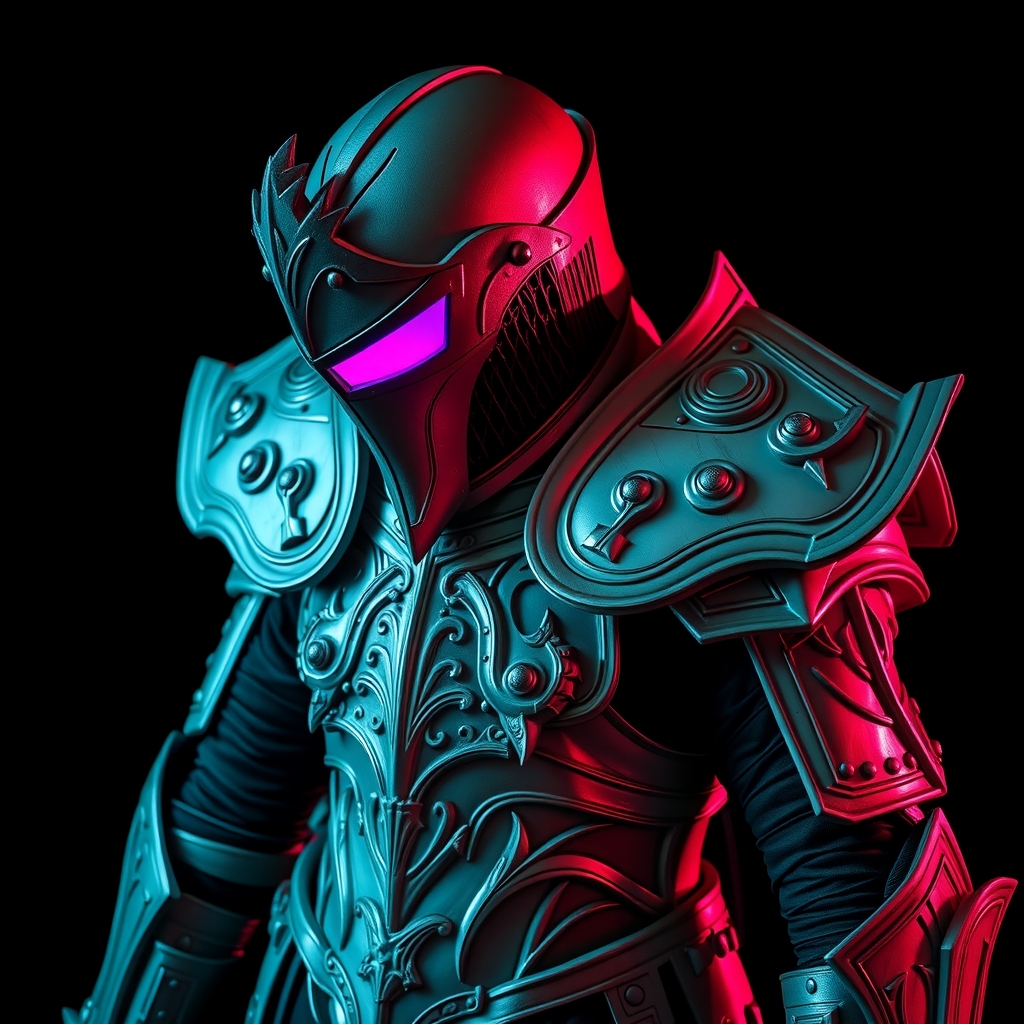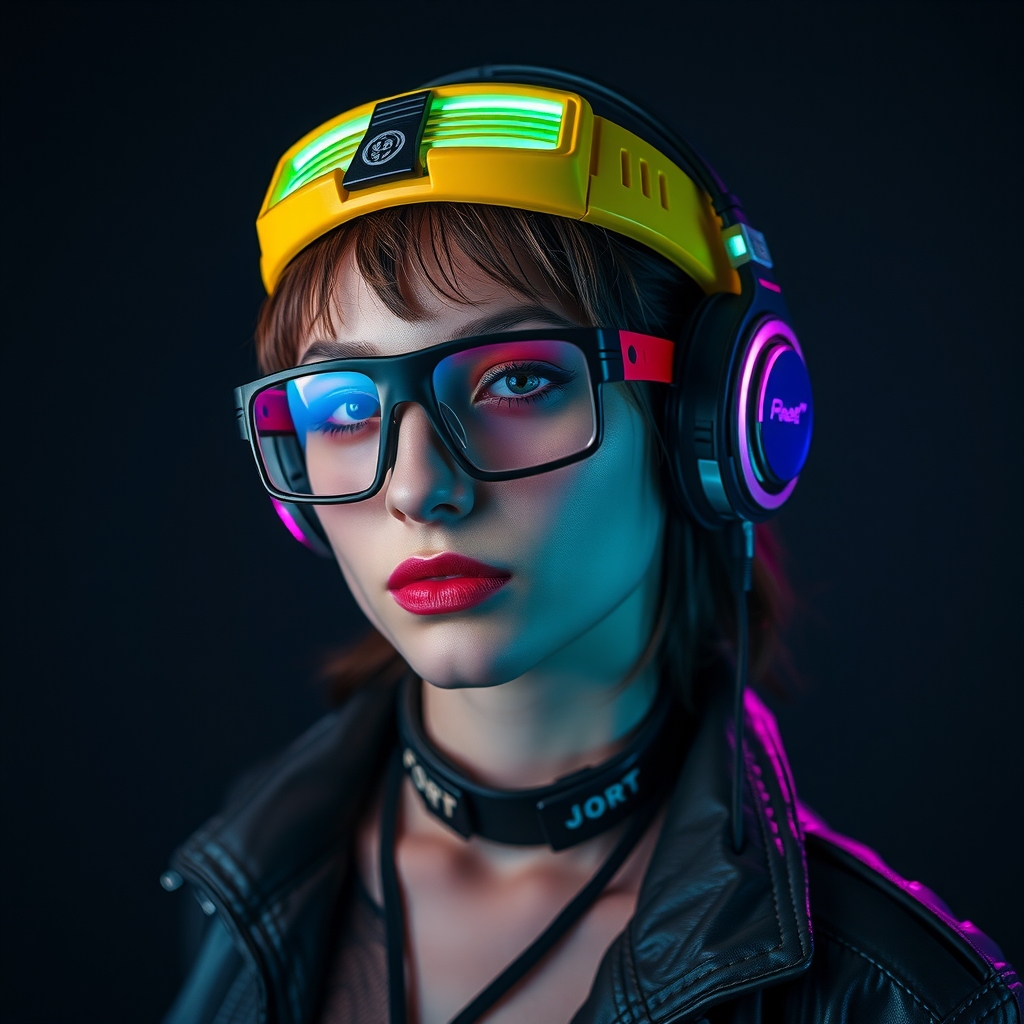
The cyberpunk aesthetic is defined by "high tech, low life." This philosophy makes it one of the most accessible genres for budget cosplayers. You do not need a 3D printer or a CNC machine to create a convincing futuristic look; in fact, the genre's grit is better served by the weathered, repurposed nature of garage sale finds. The secret lies in seeing the geometric potential of an object rather than its original purpose.
Sourcing the Right "Tech" Trash
When hunting through garage sales or thrift stores, stop looking for "props" and start looking for shapes, textures, and mechanical interfaces. The goal is to find items that possess an inherent industrial or electronic feel. Look for objects made of hard plastics, metals, or dense resins that can withstand sanding and adhesive.
Ideal Target Items
- Old Electronics: Broken calculators, remote controls, old routers, and defunct VCRs. These provide the "greebles"—small, intricate details that make a prop look functional.
- Kitchen Gadgets: Plastic soap dispensers, egg timers, and handheld frothers. These often have the cylindrical or ergonomic shapes needed for wrist-mounted computers or medical implants.
- Hardware Store Scraps: PVC pipe offcuts, washers, nuts, and cable ties. These are essential for adding structural detail and "wiring" to your accessories.
- Toys: Old sci-fi action figures or model kits. Even a broken toy robot can provide the perfect chassis for a shoulder-mounted sensor.
Preparing the Surface for Paint
The biggest giveaway of a "budget" prop is the original finish of the object. Most thrifted plastics are glossy or textured in a way that rejects paint. To achieve a professional, factory-made look, you must prepare the surface meticulously.
Start by cleaning the object with dish soap and water to remove oils and grime. Once dry, use a medium-grit sandpaper (around 120 to 220 grit) to scuff the surface. This creates "tooth," allowing the primer to bond to the plastic. For very smooth plastics, a light sanding is sufficient, but for textured surfaces, you may need to sand them flat or fill gaps with a budget-friendly filler like wood putty or a mixture of glue and baking soda.
Pro Tip: If you are working with electronics, ensure all batteries are removed and capacitors are discharged before sanding or drilling to avoid accidents.
The Base Coat and Priming Strategy
In cyberpunk design, the base color sets the mood. While neon is the highlight, the foundation is usually industrial. Choose a base color that suggests a manufactured material: matte black, gunmetal grey, or a stark, clinical white.
Always use a primer specifically designed for the material you are using. A plastic-bonding primer prevents the paint from peeling or chipping when the prop is handled during a convention. Apply the primer in thin, multiple layers rather than one thick coat. This prevents drips and preserves the fine details of your greebles.
Once the primer is dry, apply your base color. For a "corporate" cyberpunk look, go with a clean, satin white. For a "street" or "mercenary" look, a matte charcoal or deep navy works best. Avoid high-gloss blacks, as they tend to look like cheap plastic under convention lighting.
Adding Detail and "Greebling"
Greebling is the art of adding small, non-functional details to a surface to make it look complex and technical. This is where your garage sale electronics come into play.
- Deconstruct: Carefully take apart old remotes or calculators. Save the buttons, circuit boards, and small plastic sliders.
- Compose: Arrange these pieces on your main prop. Use a strong adhesive, such as a two-part epoxy or a high-quality super glue, to attach them.
- Integrate: Use thin electrical wires or old USB cables to connect different components. Running a wire from a "sensor" on the wrist to a "battery pack" on the forearm creates a sense of logic and functionality.
- Symmetry vs. Asymmetry: Cyberpunk is often asymmetrical. Avoid making both sides of a prop identical; instead, cluster details in one area to suggest a specific function, like a control panel or a power source.
Advanced Finishing: Weathering and Glow
A pristine prop looks like a toy; a weathered prop looks like a story. To make your accessory feel lived-in, you need to simulate wear and tear.
The Dry-Brush Technique
To simulate worn metal, use the dry-brush method. Dip a stiff-bristled brush into a metallic acrylic paint (silver or copper), then wipe almost all of the paint off onto a paper towel until the brush is nearly dry. Lightly flick the brush across the raised edges of your prop. The paint will only catch the highest points, creating the illusion of paint rubbing off to reveal metal underneath.
The Black Wash
To add depth to the crevices of your greebles, use a "wash." Mix a small amount of black or dark brown acrylic paint with a significant amount of water (or a dedicated acrylic thinner). Slather this mixture into the recessed areas of the prop, then immediately wipe the surface clean with a rag. The dark pigment remains in the cracks, simulating accumulated grease and dirt.
Simulating Neon without Electronics
If you don't have the budget for LEDs, you can simulate a glow using fluorescent paints. Apply a bright, neon-colored acrylic to small strips or buttons. To enhance the effect, use a "glow" technique: paint a very thin, blended ring of a lighter shade of the same color around the edge of the neon strip. Under UV lights (common at many conventions), these areas will pop, mimicking the look of an active display.
Final Assembly and Comfort
The final step is ensuring the prop is wearable. Many thrifted items are bulky or have sharp edges. Use adhesive foam or felt pads on the inside of the accessory to prevent it from chafing your skin. If the prop is heavy, use wide elastic straps or Velcro wraps rather than thin rubber bands, which can snap under the weight of the modified hardware.
By combining the grit of thrifted finds with the precision of sanding and weathering, you can create high-impact cyberpunk accessories that look expensive but cost almost nothing. The beauty of the genre is that the more "kit-bashed" your gear looks, the more authentic it feels in the world of the neon dystopia.