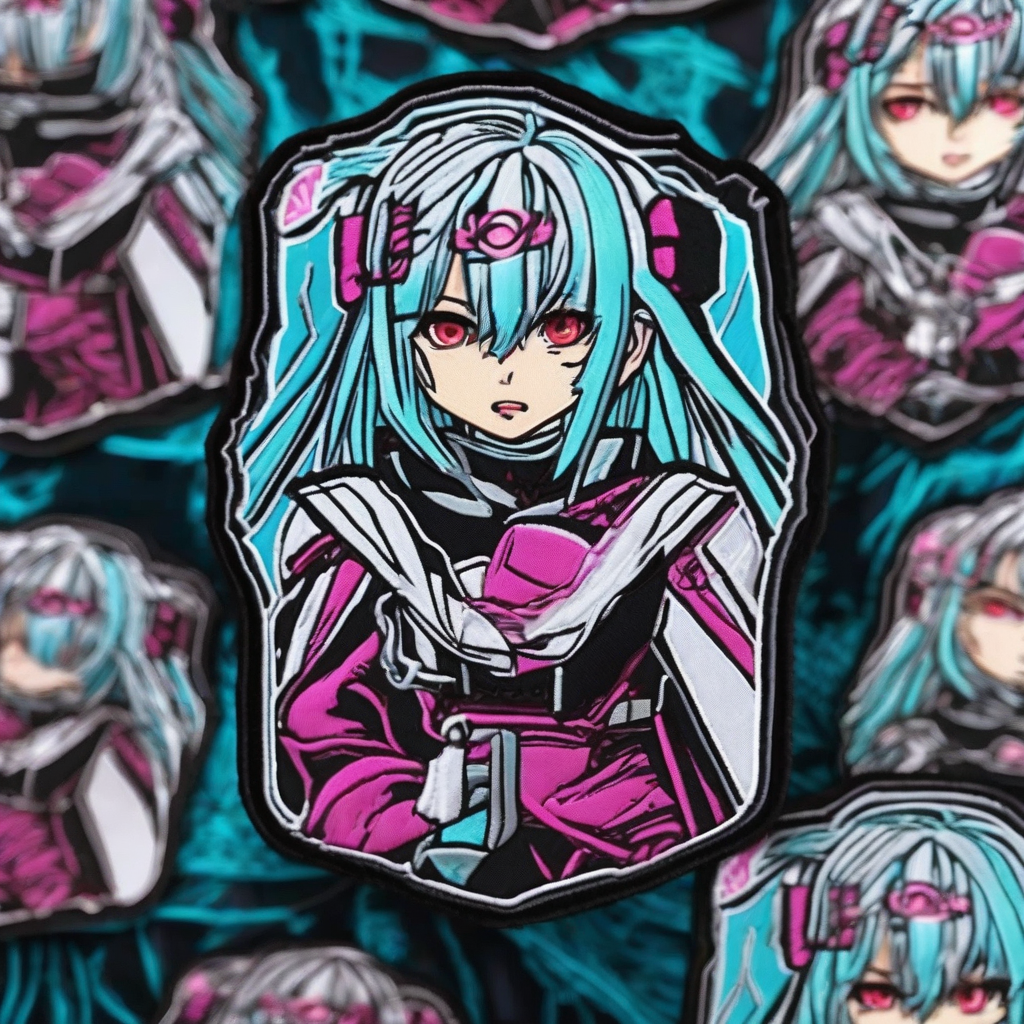
In the world of anime cosplay, the difference between a costume that looks "store-bought" and one that looks "screen-accurate" often lies in the smallest details. Many anime character designs feature intricate emblems, unit patches, or decorative crests on jackets, capes, and uniforms. While fabric paint or heat-transfer vinyl can work, nothing matches the tactile depth, durability, and professional finish of a custom embroidered patch.
Whether you are working with a professional embroidery machine, a handheld digitizer, or traditional hand-stitching, creating your own patches allows you to control the scale, color palette, and texture of your garment. This guide explores the end-to-end process of mastering anime-inspired patches.
Designing for Thread: From Screen to Sketch
Designing for embroidery is fundamentally different from designing for digital art or printing. Because you are working with physical thread, you must account for "thread pull" and the thickness of the stitches.
Simplifying Complex Imagery
Anime art often features thin, tapered lines and complex gradients. These do not translate directly to embroidery. To create a successful patch, you must simplify your reference image into distinct "color blocks." Avoid overly thin lines that are smaller than a single needle width, as these often disappear into the base fabric or cause the machine to snag.
Choosing the Right Base Fabric
The "stabilizer" or base fabric determines how the patch holds its shape. For heavy-duty military-style anime uniforms, a heavy twill or canvas is ideal. For more delicate costumes, such as school uniforms or magical girl attire, a lightweight satin or felt base provides a cleaner look. Always ensure your base fabric matches the stretch properties of your final garment; placing a rigid, non-stretch patch on a spandex bodysuit can lead to unsightly puckering.
Digitizing and Mapping Your Stitch
If you are using an embroidery machine, the "digitizing" phase—converting an image into a stitch file—is where the magic happens. The order in which the machine sews determines the final quality of the patch.
- Fill Stitches: Start with the largest areas of color. Use a "satin stitch" for narrow borders and a "tatami fill" for larger background areas to prevent the fabric from bunching.
- Layering: Always sew from the background to the foreground. If your design has a character overlapping a circle, sew the circle first.
- The Border (The Merrow Edge): To prevent fraying, finish your patch with a thick, wrapped edge. This is the classic "patch look" seen on military insignia. If you don't have a professional merrowing machine, a tight satin stitch border is a highly effective alternative.
The Hand-Stitched Approach: Artisanal Detail
Not every cosplayer has access to a digital embroidery machine. Hand-stitching patches allows for a level of organic detail and customization that machines sometimes lack, and it is an excellent way to add "weathering" or character to a piece.
Essential Hand-Stitch Techniques
For anime patches, three primary stitches are most useful:
- The Satin Stitch: Used for filling in solid shapes. By sewing parallel lines very close together, you create a smooth, raised surface.
- The Backstitch: Ideal for the sharp, clean outlines common in anime character art. It provides a solid line that mimics a machine-sewn edge.
- The Chain Stitch: Great for adding texture or creating thicker, rope-like borders around an emblem.
When hand-stitching, use an embroidery hoop to keep your base fabric taut. This prevents the fabric from sagging under the weight of the thread, ensuring your lines remain straight and your circles remain circular.
Selecting Threads for Maximum Impact
The type of thread you choose can change the entire mood of the costume. While standard polyester thread is the most durable, anime designs often require specific finishes.
Matte vs. Metallic
Polyester and cotton threads provide a matte finish that looks natural under convention lighting. However, for royal crests, sci-fi logos, or magical symbols, metallic threads are essential. Be cautious with metallic threads; they are more prone to snapping and often require a larger needle eye to prevent shredding.
Color Matching
Avoid using "generic" colors. If a character's jacket is a specific shade of navy, find a thread that is exactly one shade lighter or darker than the fabric. This creates a subtle contrast that makes the patch "pop" without looking disconnected from the garment.
Application: Attaching Patches to the Costume
How you attach the patch is just as important as how you make it. The method you choose should depend on whether the garment needs to be washable or if it needs to maintain a specific drape.
Iron-On Adhesives
Heat-activated adhesive webs are the fastest method. They are ideal for temporary costumes or for those who aren't confident in their sewing skills. However, be warned: heat-bond adhesives can sometimes seep through the patch, creating a "shiny" spot on the front of the embroidery.
The Permanent Stitch
For high-quality cosplay, sewing the patch on is the only way to ensure it doesn't peel off during a long convention day. Use a "whip stitch" or a "blind stitch" around the edges of the patch. This secures the patch firmly to the garment while keeping the stitches invisible from the front.
Dealing with Stretch Fabrics
If you are applying a patch to a stretchy material (like neoprene or spandex), do not sew it on too tightly. If the fabric stretches but the patch does not, the garment will pull and create "stress lines" around the emblem. To solve this, lightly stretch the garment while sewing the patch on, or use a flexible adhesive that allows for slight movement.
Maintenance and Longevity
Embroidered patches are durable, but they can snag or fade. To keep your patches looking fresh across multiple conventions, avoid scrubbing them with harsh brushes. Instead, use a lint roller to remove dust and debris from the thread. If a thread pulls, do not cut it; instead, use a needle to gently pull the loop back through to the reverse side of the patch.
By investing the time to create custom embroidered patches, you move beyond simple costume assembly and into the realm of true garment construction. These small additions provide a level of professional polish that transforms a cosplay from a costume into a piece of wearable art.