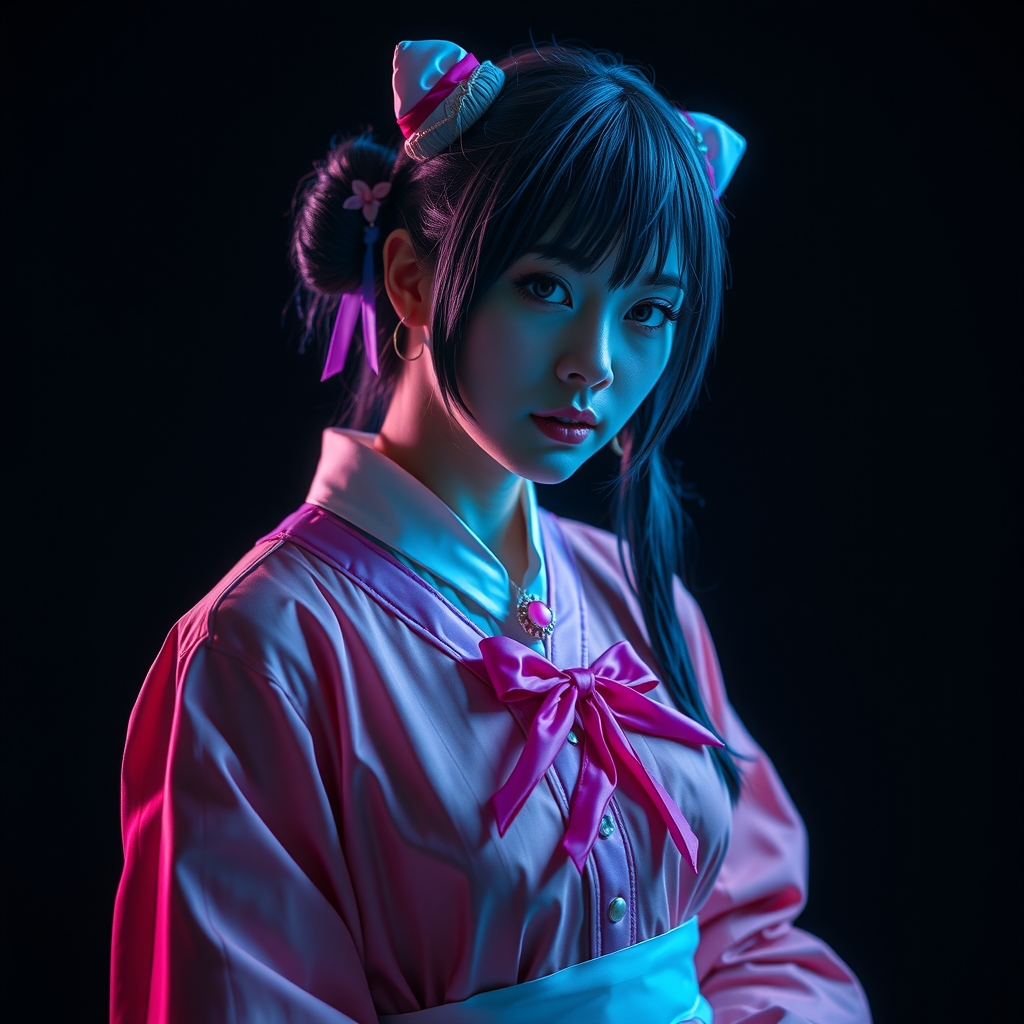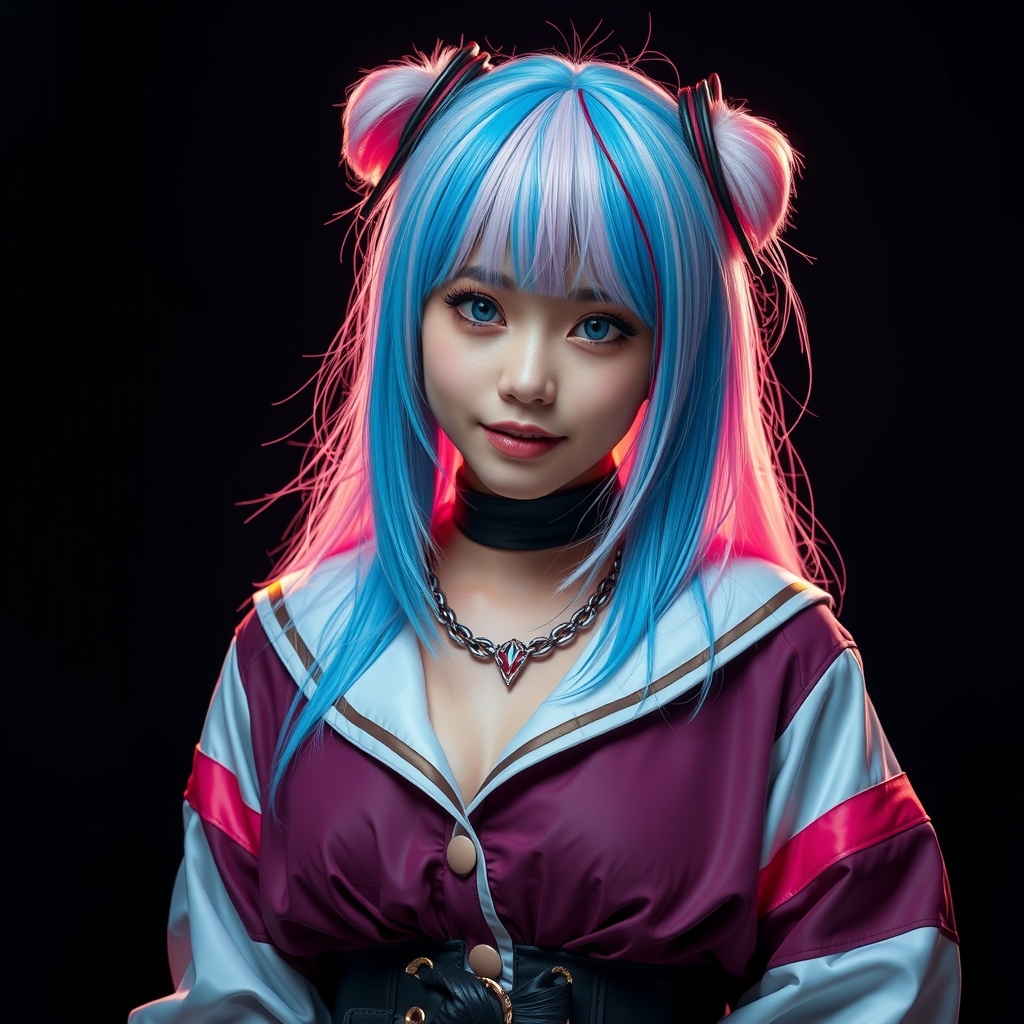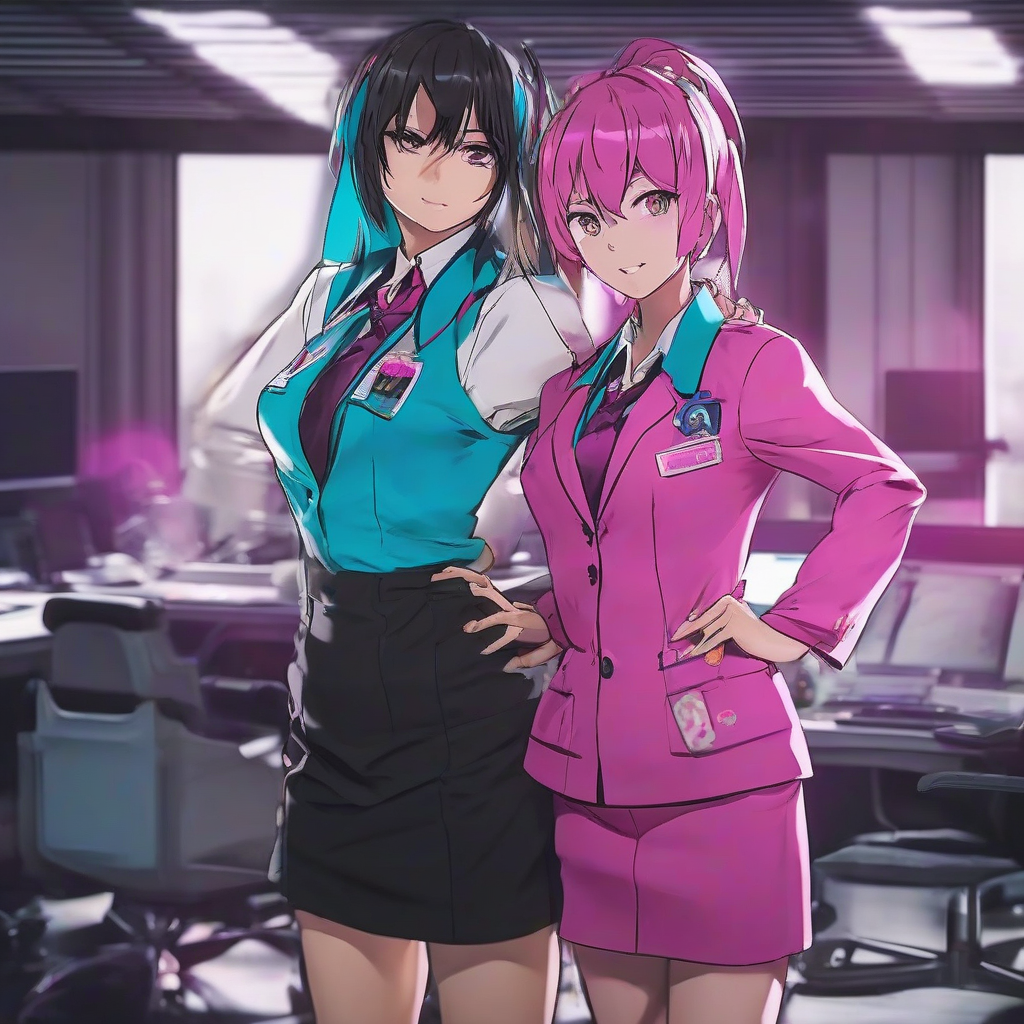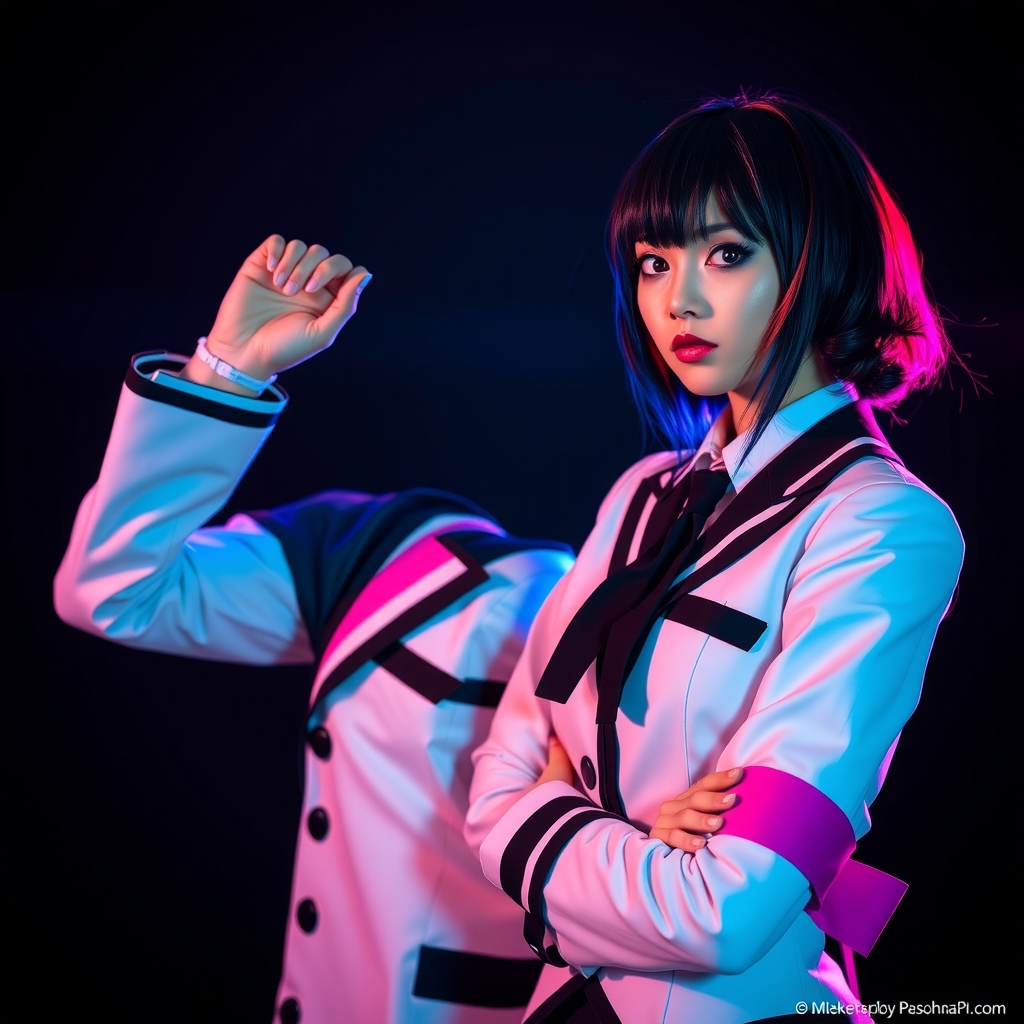
Recreating characters from Persona 3 requires a dual approach to craftsmanship. On one hand, you have the Gekkoukan High School uniforms, which demand crisp lines, specific silhouettes, and a professional "academic" finish. On the other, you have the surreal, often architectural designs of the Personas themselves, which require structural stability and lightweight materials. To achieve a screen-accurate look, a cosplayer must bridge the gap between traditional garment construction and prop fabrication.
Perfecting the Gekkoukan High Silhouette
The core of most Persona 3 character designs is the school uniform. While it may look like a standard blazer and trousers combination, the specific fit is what separates a generic school outfit from a character-accurate cosplay. The goal is a "slim-fit" aesthetic that maintains a formal structure.
Selecting the Right Fabric
Avoid thin, stretchy polyester blends that cling to the body. Instead, opt for a mid-weight wool blend or a high-quality gabardine. These fabrics hold a crease well, which is essential for the sharp lines of the blazer and the pleats of the skirts. For the shirts, a crisp cotton poplin provides the necessary stiffness in the collar to maintain that disciplined student look.
Tailoring for Character
To get the specific Persona 3 look, focus on the shoulders. The blazers should have a slight structure—small shoulder pads can help create the rectangular frame seen in the character art. If you are sewing from scratch, ensure the sleeves are tapered toward the wrist. For the trousers, a straight-leg cut with a sharp center crease (achieved through pressing with a steam iron) adds a level of polish that elevates the entire costume.
Integrating Accessories and Detailing
The details are where the character's personality shines. Whether it is the specific way a tie is knotted or the addition of a personalized bag, these elements ground the costume in the game's universe.
The Evoker Prop
The Evoker is the most iconic accessory in Persona 3. Because it is a handheld object used frequently in posing, it must be durable yet lightweight. High-density EVA foam (5mm to 10mm) is the ideal material. Start by creating a 2D template on cardstock, then transfer it to the foam. Use contact cement for the seams to ensure a permanent bond.
To achieve the metallic, industrial finish of the Evoker, seal the foam with a flexible primer or a mixture of PVA glue and water. Once sealed, apply a matte black or gunmetal acrylic paint. To prevent the paint from chipping during convention wear, finish the piece with a clear matte sealant.
Sculpting Persona Elements with Foam
When cosplaying as a Persona or adding Persona-inspired armor to a human character, you move from tailoring to sculpting. Persona designs often feature floating elements, organic curves, and sharp spikes that fabric cannot support.
Building the Internal Structure
For larger armor pieces or headpieces, a "sandwich" method is most effective. Layer a thin, flexible EVA foam (2mm) over a rigid core of thicker foam (10mm). This allows you to create a hard exterior shell that still contours to the body. For elements that need to appear to "float" or extend far from the body, integrate PVC piping or aluminum wire into the foam structure to provide hidden support.
Creating Organic Textures
Persona designs often blend mechanical and biological looks. To create organic textures, use a heat gun to warp the EVA foam, creating "muscle" ripples or flowing drapery. You can also use a Dremel tool to carve veins or etch patterns directly into the foam before painting. This adds a layer of depth that makes the prop look like a living entity rather than a plastic toy.
Painting and Finishing Techniques
The color palette of Persona 3 is heavily centered around deep blues, blacks, and contrasting highlights. Achieving a professional finish requires a layered approach to painting.
The Base and Gradient
Start with a solid base coat of primer. Once dry, use an airbrush or a sponge to apply gradients. For example, if a piece of armor transitions from a deep navy to a bright cyan, blend the colors while the paint is still slightly tacky. This mimics the digital cel-shading effect seen in the game's art style.
Adding the "Glow" Effect
Many Persona elements feature glowing runes or energy lines. Since actual LEDs can be bulky and difficult to hide, you can simulate a glow using a technique called "edge highlighting." Paint the recessed areas of your prop in a very dark shade, and then paint the extreme edges in a near-white version of the primary color. This creates an optical illusion of luminosity when viewed from a distance.
Practicality and Convention Wear
A costume is only successful if the wearer can move comfortably. The contrast between a restrictive blazer and heavy foam armor can be taxing over a long day.
Managing Heat and Weight
To prevent overheating in the Gekkoukan blazer, consider lining the interior with a moisture-wicking fabric. For foam armor, drill small, discreet ventilation holes in areas that are not visible to the camera. If your Persona gear is heavy, distribute the weight using a hidden harness or wide elastic straps rather than relying on glue alone.
Maintenance and Repairs
Always carry a "battle kit" for your Persona 3 cosplay. This should include:
- Contact cement and super glue: For quick fixes to foam armor.
- A portable steamer: To remove wrinkles from the blazer and trousers.
- Matching acrylic paint: For touching up scuffs on the Evoker or armor.
- Safety pins: To manage wardrobe malfunctions with the school uniform.
By combining the precision of tailoring with the versatility of foam smithing, you can capture the unique atmosphere of Persona 3. Whether you are focusing on the understated elegance of the students or the bold, surrealism of the Personas, the key lies in the balance of structure and detail.