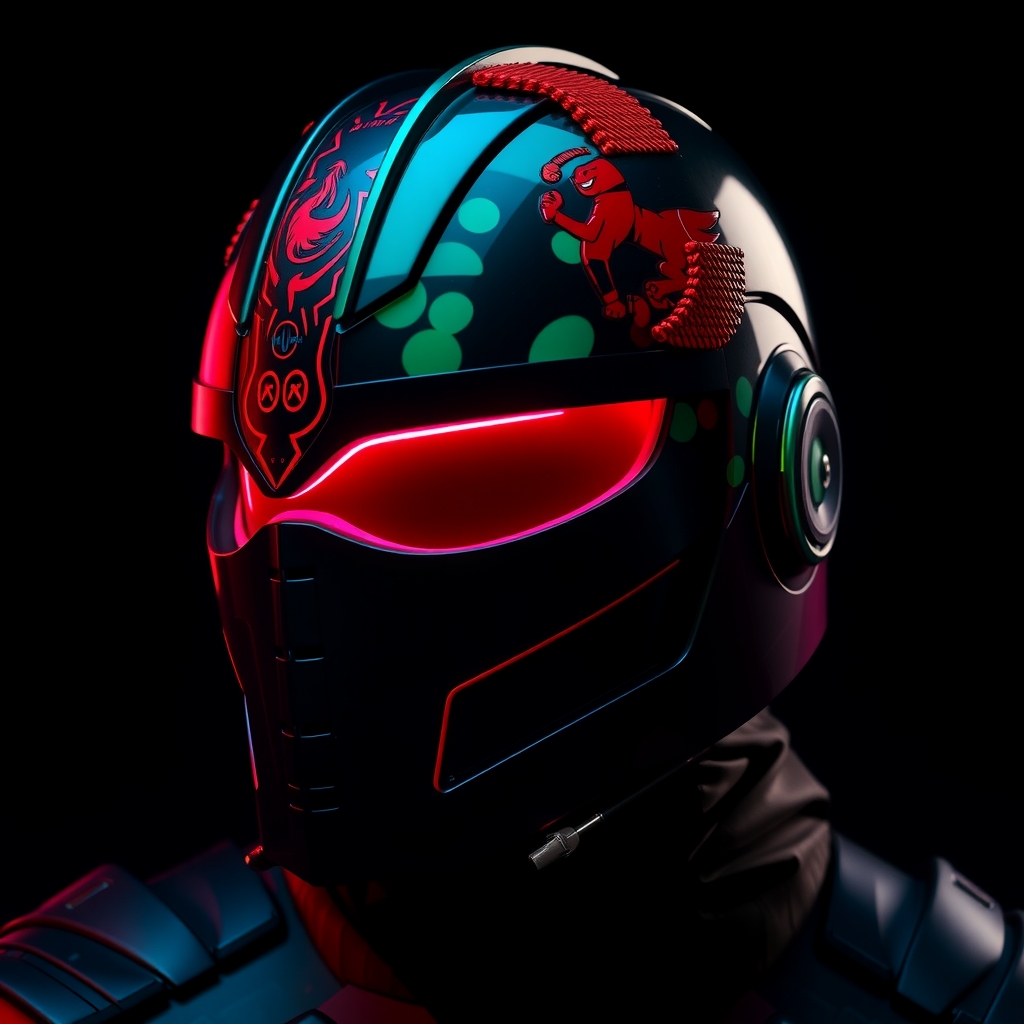
The transition from a raw 3D print to a finished, cinematic-quality helmet is often the most challenging phase of a cosplay build. While the printer does the heavy lifting of creating the geometry, the "magic" happens during post-processing. Achieving a mirror-like finish or a battle-worn metallic texture requires a systematic approach to surface preparation and structural reinforcement.
Optimizing the Print for Post-Processing
A professional finish begins long before the printer starts. The settings you choose during the slicing phase dictate how much sanding and filling you will have to do later. For helmets, which feature large, sweeping curves, layer lines are the primary enemy.
Orientation and Supports: Orient your helmet pieces to minimize supports on visible exterior surfaces. While it may seem intuitive to print a helmet upright, tilting it backward often moves support scarring to the interior or the underside of the jawline, saving hours of sanding. Use "tree supports" where possible to reduce the surface area of the contact points.
Wall Thickness and Infill: To prevent the "ghosting" effect where the internal infill pattern telegraphs through the outer skin, increase your wall count (perimeters). Three to four walls provide a solid foundation that resists collapsing when you apply pressure during sanding. A low infill percentage is usually sufficient for helmets, as weight reduction is critical for wearer comfort.
The Art of Surface Refinement
The goal of post-processing is to erase the "digital" look of the print. This is achieved through a progressive sanding sequence. Jumping straight to a high-grit sandpaper will only polish the ridges of the layer lines rather than removing them.
The Sanding Ladder: Start with a coarse grit, such as 80 or 120, to knock down the largest layer lines and support nibs. Once the surface is uniform, move to 220, then 400. Always sand in circular motions to avoid creating flat spots on curved surfaces. Using a sanding block or a flexible foam pad ensures that you are leveling the surface rather than digging grooves into the plastic.
Filling the Gaps: No matter how precise the print, seams and pits are inevitable. For small gaps, a high-build spray filler is ideal. For larger seams where parts are glued together, use a two-part epoxy putty or a dedicated plastic filler. Apply the filler slightly higher than the surrounding surface, let it cure completely, and then sand it flush. This creates a seamless transition that is invisible even under harsh convention lighting.
Reinforcing with Resin
3D printed plastics, particularly PLA, can be brittle and prone to warping under heat. Resin is the secret weapon for adding structural integrity and a perfectly smooth substrate for paint.
Interior Coating: To prevent the helmet from cracking during impact or accidental drops, apply a layer of fiberglass-reinforced resin to the interior walls. This creates a hard shell that supports the thinner outer walls of the print. Ensure you use a brush to work the resin into the corners and crevices to avoid air pockets.
Exterior Glazing: For a glass-smooth finish, some builders apply a thin layer of UV-curable resin or a clear casting resin over the sanded exterior. This fills the microscopic pores of the plastic. Once cured, a final light sanding with 600-grit paper results in a surface that feels like injection-molded plastic rather than a 3D print.
Priming and Base Coating
The primer is the bridge between the raw material and the final color. It serves two purposes: revealing remaining imperfections and providing a "tooth" for the paint to grip.
Filler Primer: Use a high-build filler primer. This is a thicker paint designed to fill in the tiny scratches left by sanding. Apply in thin, multiple coats. After the first coat dries, you will likely see "shadows" where layer lines still exist. Sand these areas back down and re-prime until the surface is flawlessly smooth.
The Base Layer: For metallic helmets, a gloss black base coat is essential. Most metallic paints are translucent; a dark, shiny undercoat provides the depth and reflection necessary to make silver, gold, or chrome look like real metal. For matte finishes, a neutral grey base helps the final colors pop without shifting the hue.
Achieving Dynamic Finishes
A helmet that is one solid color often looks like a toy. To make it look "dynamic," you must simulate the way light and wear interact with real materials.
Weathering and Depth: Use the "black wash" technique to create artificial depth. Mix a highly diluted black or dark brown acrylic paint and brush it into the recessed lines of the helmet. Quickly wipe away the excess from the flat surfaces with a damp cloth. This leaves dark pigment in the crevices, simulating accumulated grime and making the architectural details of the helmet stand out.
Dry Brushing: To simulate worn edges, use a technique called dry brushing. Dip a stiff brush into a metallic paint, then wipe almost all of it off onto a paper towel. Lightly flick the brush across the sharp edges and protrusions of the helmet. This catches the raised areas, mimicking the look of paint chipping away to reveal the metal underneath.
Final Assembly and Comfort
A helmet is only as good as its fit. A heavy, wobbling helmet will ruin a photoshoot and cause physical strain during a long convention day.
Custom Padding: Avoid using generic foam blocks. Instead, use high-density EVA foam scraps or memory foam. Cut the padding into a "crown" shape that distributes the weight across the top of the head and the sides of the cheeks. Use contact cement to secure the padding, ensuring there is enough clearance for your glasses or a face mask if needed.
Clear Coating: Protect your hard work with a final clear coat. A matte varnish is best for tactical or weathered looks, while a high-gloss clear coat is necessary for sci-fi or royal armor. The clear coat not only protects the paint from fingerprints and scratches but also unifies the different textures used during the weathering process.