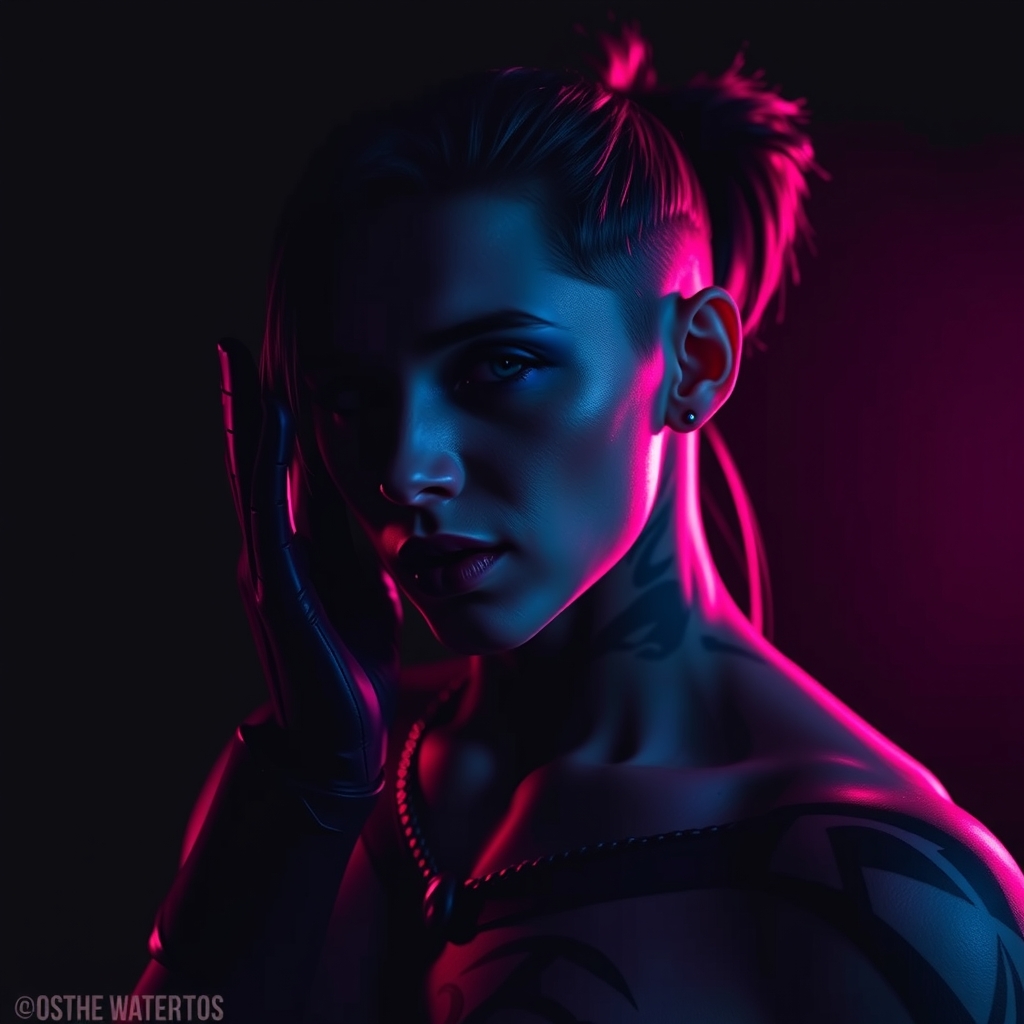
In many modern video game character designs, tattoos serve as more than just decoration; they are storytelling devices. Whether it is the intricate runes of a fantasy mage, the gritty gang markings of a cyberpunk mercenary, or the glowing sigils of a supernatural entity, these markings define the character's history and status. For a cosplayer, achieving a realistic "inked" look is a challenge of balancing longevity, skin texture, and color theory.
Understanding the Anatomy of a Tattoo
To make a temporary tattoo look authentic, you must first understand how real ink interacts with the skin. Real tattoos are not sitting on top of the epidermis; they are embedded within the dermis. This creates a soft, slightly diffused edge rather than a sharp, sticker-like border. Furthermore, ink is filtered through the skin's natural oils and texture, meaning a perfectly flat, matte black line often looks artificial.
When designing your markings, consider the "settled" look. In video games, tattoos often follow the musculature of the character. To replicate this, you should map your designs onto your body while in a neutral pose, but test them while moving. If a tattoo wraps around a bicep or forearm, ensure the design distorts naturally with the muscle movement to avoid the appearance of a flat decal.
Choosing Your Medium: Pros and Cons
Depending on the complexity of the design and the duration of your convention, different materials will yield different results.
Alcohol-Based Body Paints
Alcohol-activated palettes are the gold standard for professional cosplay. Because they are waterproof and smudge-proof once dry, they are ideal for areas of the body that rub against costume fabric. They sink into the skin's pores, providing a seamless finish that mimics real ink. However, they require 99% isopropyl alcohol to activate and remove.
Liquid Eyeliner and Cosmetic Markers
For small, high-detail symbols or fine lines, waterproof liquid eyeliners are an accessible option. They provide a deep pigment and a sharp point. The downside is that they can flake or peel if the skin is too dry or if the layer is applied too thickly. To prevent this, set the ink with a translucent setting powder.
Custom Temporary Decals
For massive, intricate pieces—such as full back-pieces or complex sleeves—hand-painting is often impractical. Printing your own temporary tattoos using specialized inkjet papers allows for perfect symmetry and precision. While these can sometimes have a "plastic" sheen, this can be mitigated with a matte makeup sealer.
The Application Process for Maximum Realism
Regardless of the medium, the preparation of the skin determines how long the tattoo lasts and how realistic it looks.
- Skin Preparation: Clean the area with rubbing alcohol to remove surface oils. This ensures the pigment adheres directly to the skin. Avoid applying lotion or moisturizer to the area immediately before application.
- Mapping the Design: Use a light-colored eyeliner pencil to sketch the basic shapes of the tattoo. This prevents mistakes and ensures the design is centered correctly on the muscle group.
- Layering for Depth: Real tattoos are rarely a single flat color. To create depth, apply a base layer of a slightly lighter shade (such as a deep navy or charcoal) and then add the darkest black to the center of the lines. This creates a subtle gradient that mimics how ink spreads in the skin.
- Blending the Edges: If using paint, use a small blending sponge or a clean finger to lightly soften the outermost edges of the design. This removes the "drawn-on" look and makes the art appear as though it is beneath the skin.
Achieving Specialized Effects
Many video game tattoos go beyond standard ink, requiring special effects to truly capture the character's essence.
The "Glowing" Effect
For magical sigils that appear to glow, avoid using a single bright color. Instead, use a technique called "inner-glow mapping." Paint the center of the tattoo in a very pale version of the color (almost white), and then apply a more saturated version of the color around the edges. To finish, use a small amount of neon-colored eyeshadow or pigment around the perimeter to create a soft bloom effect on the skin.
The "Scarred" or "Branded" Look
Some characters have tattoos that are actually brands or scarred markings. To achieve this, use a combination of a deep red-brown pigment and a clear 3D gel or rigid collodion. Apply the pigment first, then layer the clear medium over the top to create a raised, glossy texture that mimics scar tissue. This adds a tactile element that looks impressive in photography.
The "Weathered" Look
If your character is a rugged survivor, their tattoos shouldn't look brand new. You can create a weathered effect by lightly dabbing a skin-toned makeup or a light beige powder over parts of the tattoo. This makes the ink look faded or aged, suggesting the character has spent years in the sun or in harsh environments.
Longevity and Removal
The biggest struggle with body art is the "costume rub," where fabric wipes away the design. To prevent this, use a professional makeup setting spray. Apply the spray in thin layers, allowing each to dry completely before adding the next. If the tattoo is in a high-friction area, such as the inner wrist or neck, a light dusting of translucent powder before the setting spray can provide an extra layer of protection.
When the event is over, removal depends on your medium. Alcohol-based paints require an oil-based cleanser or more isopropyl alcohol. For heavy-duty adhesives or 3D gels, use a dedicated makeup remover or baby oil to gently lift the product without irritating the skin. Always follow up with a moisturizer to soothe the skin after the removal process.