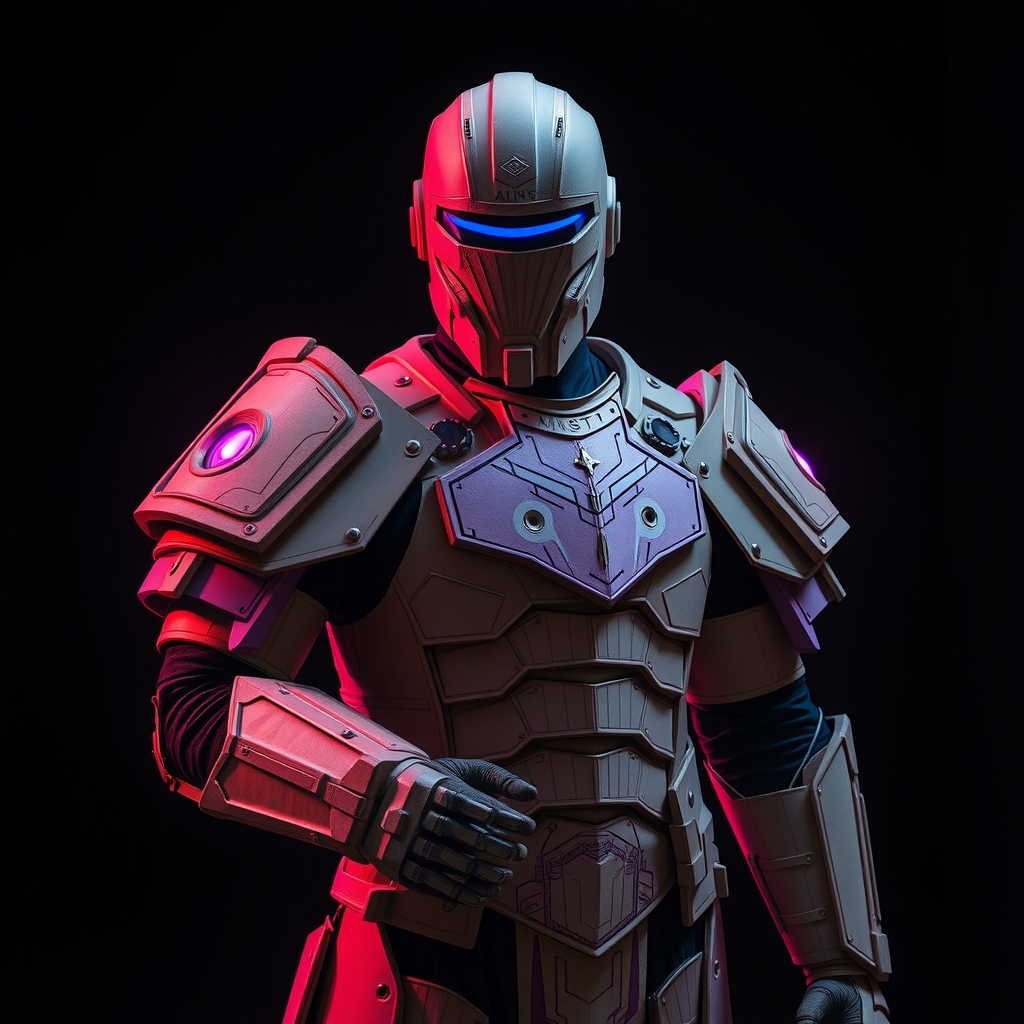
While high-density EVA foam and 3D printing have become the gold standards for modern cosplay, there is a timeless versatility in papier-mâché that remains unmatched for organic shapes and intricate, sculptural details. Whether you are crafting a haunting theatrical mask, a stylized anime visage, or a complex fantasy creature, the ability to mold paper and adhesive allows for a level of artistic fluidity that rigid plastics often lack. The secret to a professional result lies in moving beyond the childhood "flour and water" paste and embracing structured layering and strategic finishing.
Building the Foundation: The Armature
The most common failure in mask making is a lack of structural integrity. A mask that collapses under its own weight or fails to fit the wearer's face is unusable. To avoid this, you must start with a solid armature—the internal skeleton of your piece.
For a custom fit, create a positive mold of your own face using aluminum foil or masking tape. Wrap your head in plastic wrap first to protect your skin, then apply strips of masking tape over the plastic to create a rigid shell. Once you have a likeness of your facial structure, remove the shell and reinforce it with cardboard or heavy-duty wire where necessary. If your mask requires exaggerated features, such as long noses, horns, or protruding cheeks, build these shapes out of crumpled newspaper or aluminum foil and secure them to the base shell with masking tape. This ensures that your papier-mâché has a physical surface to cling to, preventing the paper from sagging during the drying process.
Choosing Your Adhesive: Paste vs. Glue
The longevity and finish of your mask depend entirely on the binder you use. While traditional flour-based pastes are accessible, they are prone to mold and can attract pests if not sealed correctly. For a professional cosplay build, consider these two superior alternatives:
- PVA Glue Mix: Mix white school glue (PVA) with water in a 2:1 ratio. This creates a flexible, strong bond that dries clear and is far more durable than flour paste. It is ideal for masks that require a smoother surface.
- Wheat Paste (Cooked): For those preferring a traditional approach, cooking flour and water over heat until it thickens into a translucent gel creates a much stronger bond than raw mixing. This method is excellent for heavy sculptural work but requires a thorough sealant later.
Regardless of the adhesive, the key is the application. Never soak your paper to the point of saturation; instead, dip the strip and then run it through your fingers to remove excess glue. Over-saturation leads to warping and excessively long drying times, which can cause the mask to slump.
The Layering Process: Strength Through Geometry
The strength of papier-mâché comes from the cross-grain strength of the paper layers. To achieve a rigid, armor-like quality, you must vary the type of paper and the direction of the strips.
Start with lightweight newsprint for the first two layers. This allows you to define the shape without adding too much bulk. For the middle layers, switch to brown kraft paper or packing paper. These fibers are longer and provide significantly more structural tension. Apply these strips in alternating directions—vertical, then horizontal—to create a woven effect that prevents the mask from cracking along a single axis.
For the final structural layer, use white tissue paper or thin napkins. Because these materials are more porous and thinner, they fill in the gaps between the larger strips of kraft paper, creating a more uniform surface. Aim for at least five to seven layers in total. Be patient; allowing each layer to dry completely before adding the next prevents moisture from becoming trapped in the center, which can lead to internal rot or bubbles.
Refining the Surface: Sanding and Filling
A common mistake is attempting to paint directly onto the raw paper layers. This results in a "lumpy" appearance that betrays the handmade nature of the prop. To achieve a professional, seamless look, you must treat the mask like a piece of sculpture.
Once the mask is fully cured, use a medium-grit sandpaper to knock down high ridges and overlapping seams. For deeper pits or gaps, create a "paper clay" by blending leftover papier-mâché pulp with a small amount of joint compound or lightweight spackle. Apply this filler to the recessed areas and sand it flush once dry. For an ultra-smooth finish, apply a thin layer of gesso or a specialized primer. Gesso fills the microscopic pores of the paper, providing a neutral, non-absorbent base that allows your paint to glide on without soaking into the fibers.
Painting and Weathering for Realism
Because papier-mâché is an organic material, it takes acrylics and inks exceptionally well. To avoid a "plastic" look, avoid using a single flat color. Instead, utilize a layering technique to add depth.
- Base Coat: Apply a solid base color in a matte finish.
- Shadowing: Use a watered-down dark brown or black acrylic (a wash) to fill the deep crevices of the mask. This emphasizes the sculptural details you built into the armature.
- Highlighting: Use a dry-brush technique with a lighter shade of your base color. Lightly flick the brush across the highest points of the mask to simulate light hitting the surface.
- Finishing: Depending on the character, apply a matte varnish for a bone or skin effect, or a high-gloss resin for a porcelain or metallic look.
Comfort and Wearability
A mask is only as good as its fit. To ensure you can wear your creation for several hours at a convention, focus on the interior. The inside of a papier-mâché mask can be rough and abrasive. Glue thin strips of upholstery foam or neoprene padding to the forehead, cheekbones, and chin areas. This not only increases comfort but also creates a snugger fit, preventing the mask from wobbling when you move.
For the strapping system, avoid using simple elastic bands, which can put too much pressure on the back of the head. Instead, use a combination of nylon webbing and adjustable buckles. Drill small, clean holes through the reinforced edges of the mask—using a leather punch or a small drill bit—and anchor the straps with washers to prevent the fabric from tearing through the paper over time.